Run the Connection Wizard
Once you have run the Default Configuration, the next step would be to run the Connection Wizard in order to assist you with defining which Authentication Type you would like to use with your Handheld Devices.
The options available to select from are:
|
Basic |
Basic Authentication should only be selected for use in On-Premise Deployments or Azure Deployments prior to Business Central 2022 Release Wave 1. For any other types of Business Central SaaS Deployments, one of the Service-to-Service (S2S) options should be used as Basic Authentication is being deprecated by Microsoft in March 2022. |
|
S2S Clever Multi-Tenant
|
S2S Clever Multi-Tenant Authentication can be used for Azure Deployments of Business Central 2022 Release Wave 1 and onwards. It uses Clever Dynamics own Multi-Tenant Application ID and is recommended for the majority of implementations for the sake of simplicity. |
|
S2S Clever Single-Tenant
|
S2S Clever Single-Tenant Authentication can be used for Azure Deployments of Business Central 2022 Release Wave 1 and onwards. Please refer to the following link for more information on how to setup and use this Authentication Type: |
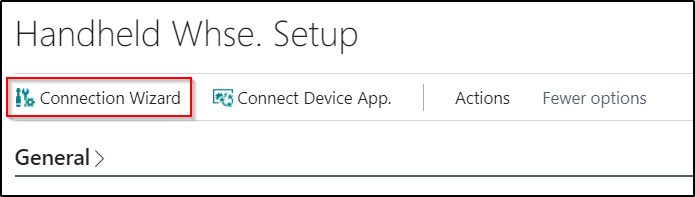
Click on the Connection Wizard Menu Option from the Ribbon on the Handheld Warehouse Setup Page and select the required Authentication Type and then follow each of the steps.
Service-to-Service Authentication Types:
You must have Administrative Privileges to complete this process as you will be asked to grant permission at the end on behalf of your Organisation.
Once you click on the Finish button on the Connection Wizard, the below Page will be displayed. This is where you will need to grant Full Access to Web Service API's and Sign in and Read User Profile to the App. More information on this can be viewed on the screenshot below:

Once you click on the Accept button, a confirmation message will appear confirming if consent has been granted successfully. For more information on the consent being granted, please refer to the following to Using Service to Service Authentication - Business Central | Microsoft Docs
You will be consenting to allow the API.ReadWrite.All Permission which access to Web Services in Business Central. You can check the permissions granted by looking in Azure Active Directory Application, Enterprise Applications and Clever WMS Devices.
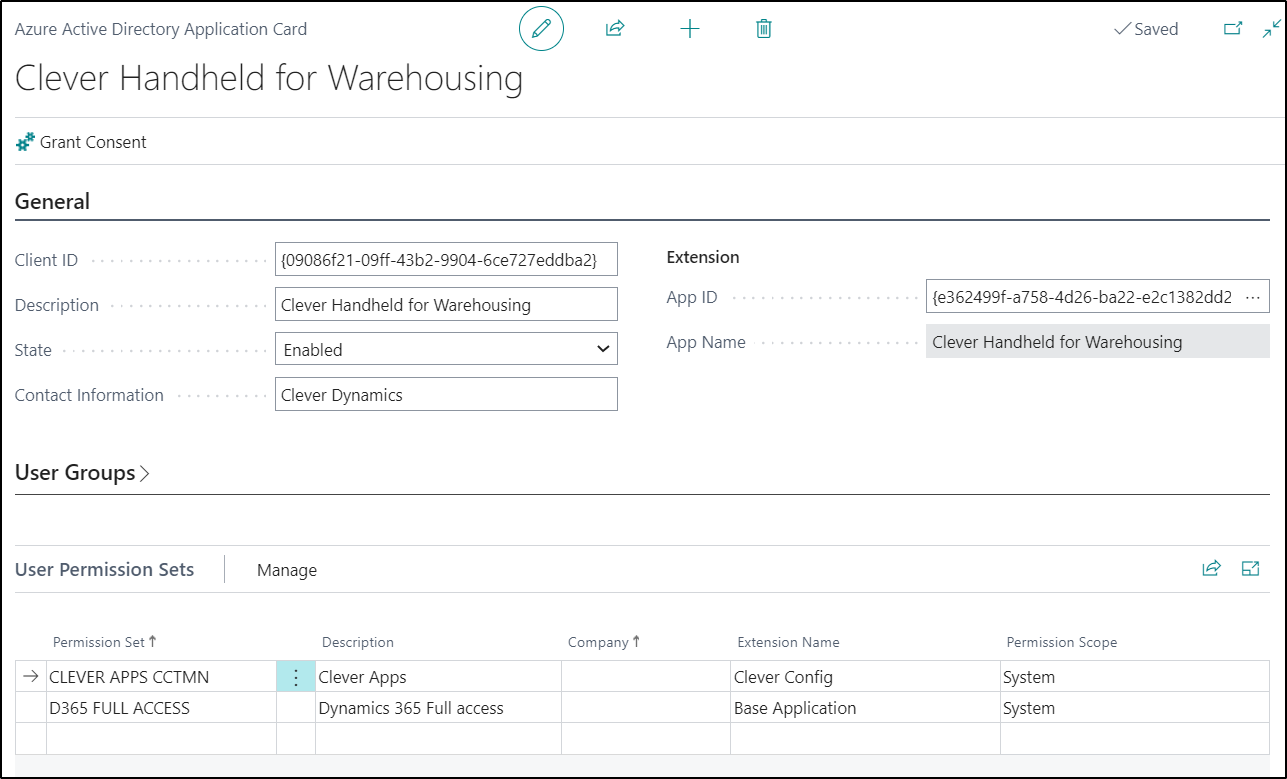
Azure Active Directory Application
New entries will have been created in the Azure Active Directory Application which are used to define the Permission Sets used for the Handheld Devices. These should be reviewed and amended where required.
Enterprise Applications
To check what you’ve given access to after the fact, you can check from the Azure Active Directory Admin Centre. Under Enterprise Applications (On the left hand menu) you’ll find a list of applications and Clever Handheld will be one of them.

Click on Clever Handheld and then select Permissions. You can see that Clever Handheld has been granted API.ReadWrite.All.

This grants access to Business Central web services / API. Further permissions are handled by standard Business Central functionality as described in the Azure Active Directory Application section.
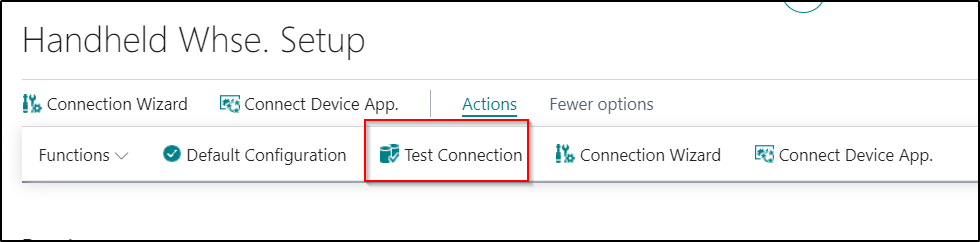
Basic Authentication Type:
Once you have finished setting up the Basic Authentication Type setup, you can use the Test Connection Function to test the connection and make sure everything is working correctly.
Installing the Clever Handheld App.
The next step to complete would be to install the Clever Handheld App onto all your Handheld Devices. The App should be downloaded from the Google Play Store.

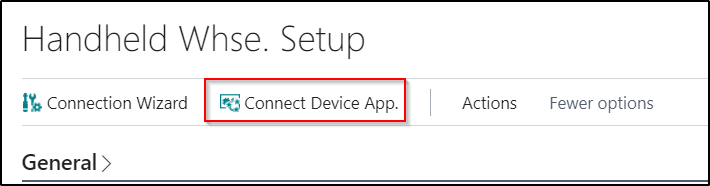
Connecting the Clever Handheld App
The last step to complete would be to connect your Handheld Device App to your Business Central Environment. The easiest way to do this is by going into the Handheld Warehouse Setup Page and then selecting the Connect Device App menu option.
Once selected, a Token will be displayed on the screen for you.

On your Handheld Device, you should select the Use A Token option and then either manually enter in the token details or scan them from the Handheld Device.

Once completed, you should then be connected to your Business Central Environment. You can then log in as a Handheld User which is covered in more detail in a separate section.
Sharing Settings Between Handheld Devices
Version 7.5 of the Handheld Android Client contains a couple of options to allow you to easily share settings between devices, these are described below. In the example, we will be using two devices, one with a settings profile set up and another with no settings configured.
Sharing Via a Barcode:
The first option allows you to share setting by scanning a barcode. Note the device that is receiving the settings must be able to scan 2D barcodes. On the device which is already setup up;
- In the app go to the settings screen
- View the side menu by dragging the screen to the right or tapping the ellipsis in the top right of the screen. Then choose Share by Barcode under the Share Grouping

- A screen with a DataMatrix barcode will appear

On the device that is not setup;
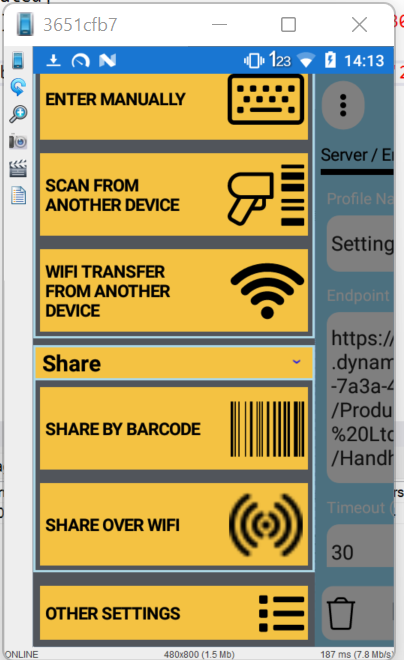
- Choose the Scan from another device option on the initial page. This option can also be accessed from the side menu in the settings screen if there is already an existing settings profile.
- Scan the barcode on the other device. If this device uses the camera as a scanner you will need to press the button on the screen to activate the camera.
- The settings should be successfully imported and you should be taken to the log in screen.
Sharing Over WiFi:
The second option transmits the settings over the WiFi network. In order for this to work both the devices must be on the same WiFi network. On the device which is already setup:
- In the app go to the settings screen
- View the side menu by dragging the screen to the right or tapping the ellipsis in the top right of the screen. Then choose Share over WiFi under the Share Grouping
- On the following screen tap Proceed

- After a few seconds a confirmation screen will appear saying that the profile has been published.

On the device that is not setup:
- Choose the WiFi transfer from another device option on the initial page. This option can also be accessed from the side menu in the settings screen if there is already an existing settings profile.
- Tap Scan for Other Devices.

- Any available devices that are sharing their settings will be listed. Tap the one that matches name displayed on the other device:

- The settings will be imported and you will be taken to the login screen.