The next section of the "Document Type" card is the Delivery FastTab. This FastTab contains settings that will be used when creating emails from this document type.
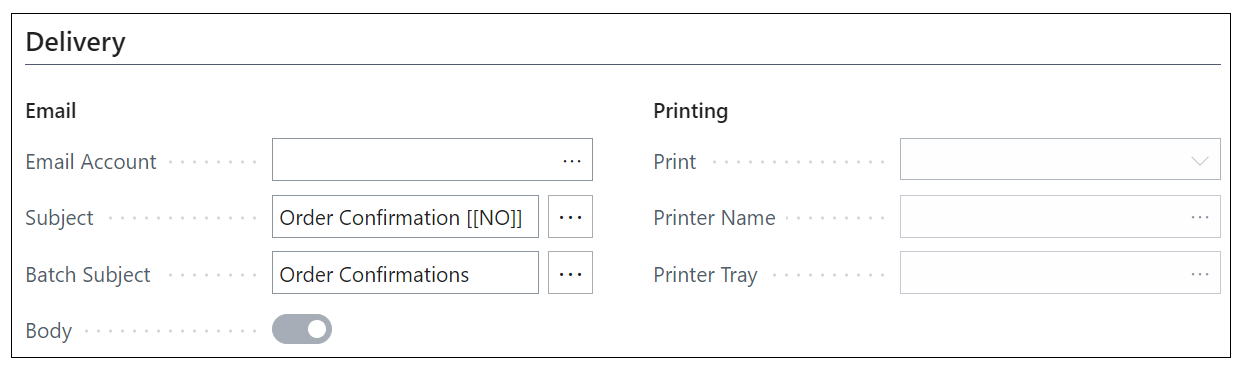
The Email Account field has a dropdown to the stored Email Addresses in Business Central and is the place to store what email address you want the sent mail to appear from for your Customers or Vendors. More information on how to set these up can be found here.
The Subject relates to the subject of the email received by the recipient(s), this will be picked up when choosing individual records to send out. If multiple records have been selected and then grouped it will use the Batch Subject field as the subject of the email received by the recipient(s). The Batch Subject will be used when choosing to 'Queue' the emails rather than send them straight away.
The other side of the FastTab relates to the printing of documents. Previously in the user guide we setup some Print Node fields allowing us to test whether we could print documents through Microsoft Dynamics 365 Business Central.
The settings in here allow you to determine if a document type should be printed or not. The Print field is a drop-down field allowing you to choose when and if you want the document type to print. Leaving the field 'blank' indicates that the document type does not need to be printed and only emailed to customers. If you choose 'When No Recipient', then you need to make sure you fill in the field Printer Name.
By choosing 'When no recipient', you are telling the application that if an email address hasn’t been found for a customer/vendor for a particular document type then print the document to a dedicated printer (indicated in the Printer Name field).
If you choose the final option 'Always', you are saying that regardless of whether there is an email to send the document type out to or not, you still want the document printing. This means in some cases only a printout of the document type will be done for all records selected. In other cases, both an email will be sent to the customer/vendor as well as printout being done.
When populating the Printer Name field you can either type in the printer name (if know) or use the assist next to the field to choose from the list of printers.

Printer Tray is an optional field to populate. You don’t need to go to that level of detail unless you want your document printing from a certain printer tray in your printer.