Once you have completed your Interaction Types, you can start using Interactions in your credit control process.
Firstly, Interactions can be created from the "Customer Credit Status" screen, the "Customer card" (from Clever Credit menu), from a "Credit Control To-Do" or directly from the "Customer Ledger Entries" page.
Creating an Interaction from the "Customer Credit Status" page will allow the Credit Controller to have full visibility of the Customers credit position at the time of making the Interaction with the Customer. To create an Interaction, find the customer record on screen and select Create Interaction from the menu. An Interaction card will open showing all of the outstanding Ledger Entries from which you are then able to select the transactions that are being targeted as part of the credit control process.

Raising an Interaction directly from the "Customer Card" will create an Interaction in exactly the same way.
However if you raise an interaction directly from the "Customer Ledger Entries" page, the selected Entry from the "Customer Ledger Entries" page will be selected automatically on the "Clever Credit Interaction" card.
Note: this only works for 1 individual entry, it will not work if selecting multiple entries on the Ledger Entries and creating the Interaction.
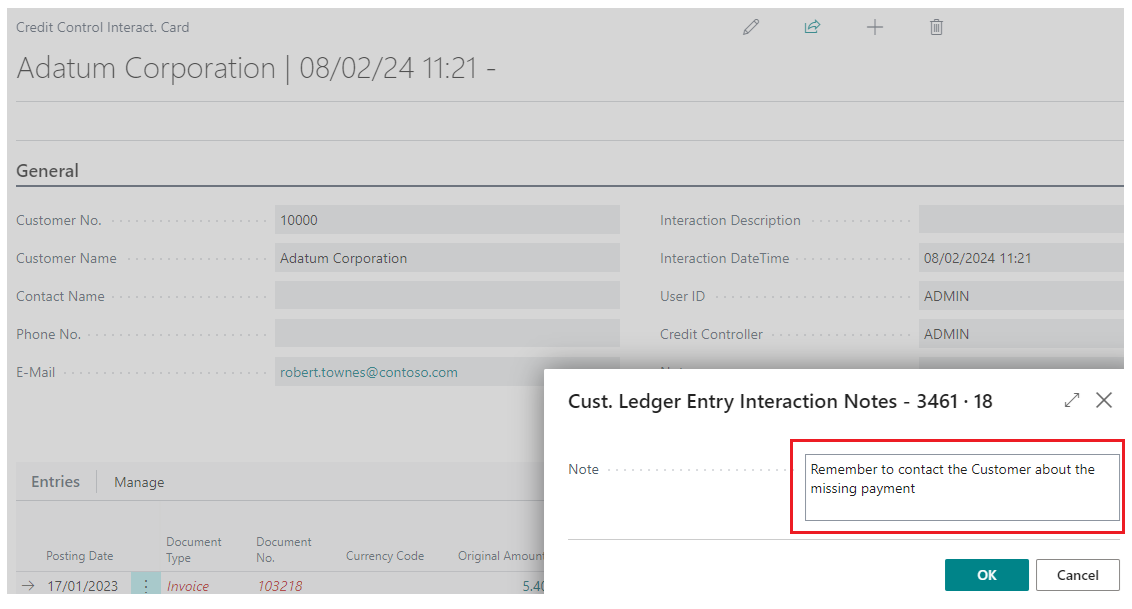
The purpose of using Interactions is to record what interactions you have had with customers related to credit control activities. When a Interaction is open, the Customer No. and Customer Name will populate automatically. Dependant on what you have setup in your "Clever Interaction Types", if you select Call or Statement in the ribbon, the Description field will populate with the Description from your "Interaction Types". Selecting Call will load up Teams to process the phone call. You can drilldown into the Description field to choose an option from your "Interaction Types" if needs be.
The Contact Name, Phone No. and E-Mail fields will auto-populate based on the Clever Contact details and Customer email address stored on the "Customer card". Interaction DateTime will populate when the Interaction is created. If you want to set a Next Interaction Date for a future interaction, you can populate this. The Salesperson Code will be auto-populated from the related Customer Card. The Credit Controller field will auto-populate based on the Credit Controller stored against the Customer but can be changed if necessary. The Notes field is a free text entry field which can be used to add additional information about the interaction.
Should the person you speak with during the Interaction not be the Contact that you normally speak with you have the ability to change the Contact information and additionally if you are speaking to somebody for the first time you can create a new Contact record from the Interaction menu. This will open the standard "Contact" screen and once you have setup the new Contact the system will also prompt whether you wish this Contact to become the primary Credit Control Contact held against the Customer record, ensuring you can update related information on the fly.
If during the Interaction with the Customer a payment is taken to clear outstanding monies owed by them, you have the ability to open the "Cash Receipt Journal" screen directly from the Interaction menu and record (and apply) their payment during the Interaction. This requires the 2 Cash Receipt fields to be populated in the "Credit Control Setup" screen within the General FastTab. Ensuring these are populating means that when you select Cash Receipt Journal in the ribbon. the selected entries from the interaction will now automatically be in the journal as well as applied for you automatically.

The bottom half of the screen is a snapshot of the Ledger Entries for the Customer. Here, you have the ability to Select what entries you are planning on raising in your Interaction by ticking the applicable lines. The Selected Entries Remaining Amount and Selected Entries Remaining Amount (LCY) fields are non-editable and will populate based on the Remaining Amount values selected in the Entries section.
Standard information is available here such as Posting Date, Document Type, Document No, Currency Code, Due Date and the monetary values (Original and Remaining). The whole purpose of this section is to see the exact data you are querying in full within a single screen. Also available is the External Document No., which particularly useful as Customers tend to use their own references making it easier to discuss any issues.
Additional fields have been added as part of Clever Credit to assist with the interaction process. For any entry on the Interaction, you can populate the Clever Credit Status Code field to show what action has been done or is required. Here you can see some examples of using them, for example if an Invoice has been queried, you can use the Queried Status code. If a Customer has promised to pay an invoice, you can use the Promised Status Code as well as populating the Promised Payment Date and Promised Payment Amount fields with the information they have provided. These fields are not only available here in the Interaction but also on the main "Customer Ledger Entries" page

When the Status Code Queried has been used, you can also use the Query Resolution Target Date and Query Resolution By fields to show when the entry is expected to be resolved by and by whom.
From the Entries section, choosing Update Selected Entries will allow one or more entries to be updated at once. This is useful if you want to populate multiple entries with the same information.
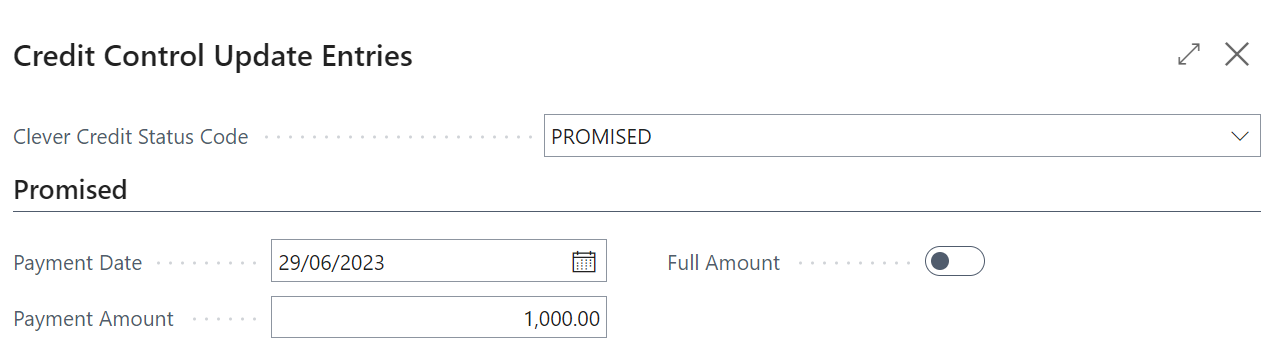
Choosing to Update Selected Entries will bring up the following dialog box.

Upon specifying the Status Code you want to use for the selected entries, the screen will show/hide other options dependant on the Status Code chosen. For ALL of the options, a Note text box is available. This allows the user to add a specific note to this entry that can be viewed from the Interaction at a later date.
For Promised payments, populate the Payment Date and either keep the Full Amount toggle as yes if the Customer is promising to pay the full amount for all entries or change it to No and enter the Payment Amount the customer has promised to pay.
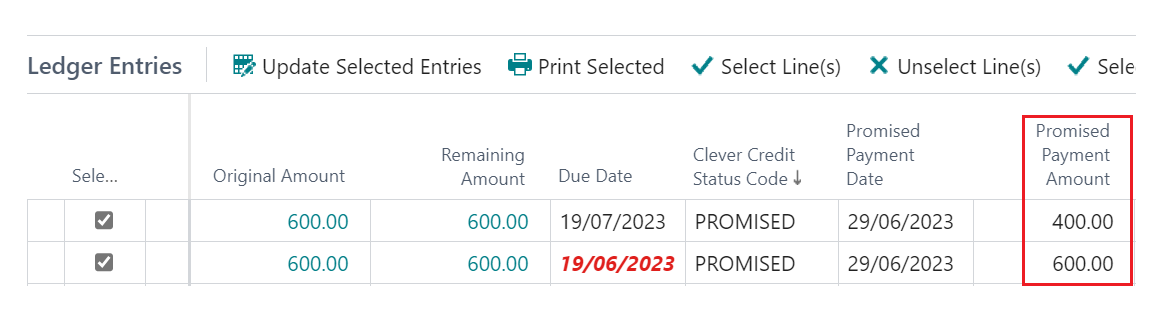
You can see here the Overdue invoice gets treated as priority with the amount of promised money available covering it in full whilst the remainder gets added to the other selected entry.
If the Queried Status code is chosen, populate the Resolution Target Date and Resolution By fields confirming the User actioning this.
Selecting any other Status Code will simply require the Clever Credit Status Code to be populated and once confirmed, will populate that Code for all selected entries.
To check if a Note has been applied to an entry, in the Entries ribbon, click on Show Note. This will open up a non-editable box showing the text box. If this is empty, no note was applied.

If you close the Interaction and then view this at a later date, the note becomes editable again.
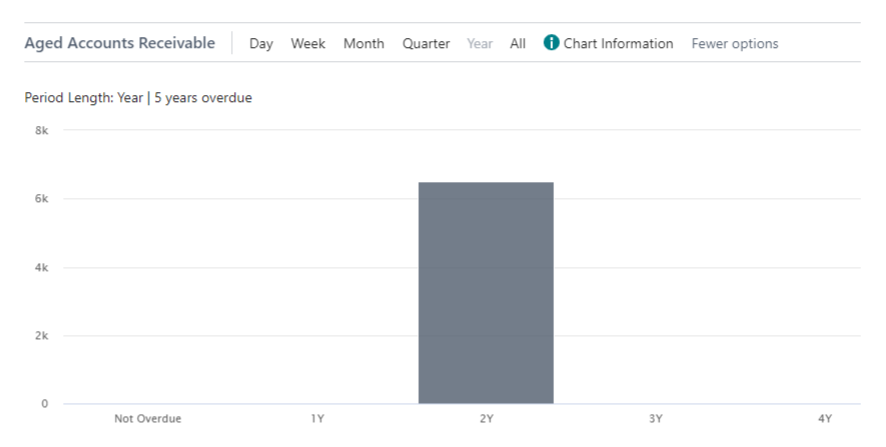
Aging Periods as well as an Aged Accounts Receivables Chart area are also available on the Credit Control Interactions as FastTabs to assist with the planning of what to chase as priority.
Once an Interaction is created, this can be accessed from the "Customer Card" via the Factbox. Having this information readily available means that should another Credit Controller need to interact with the Customer they can see the previous interactions and notes.
Saving the Interaction
When you close the Interaction screen the system will prompt you to confirm that you wish to close the page, which serves as a check to ensure that you have completed all of the information that is part of the Interaction. If you have opened and simply close the Interaction without inputting any details for the Interaction the system will (if you confirm to close the screen) ask you whether you wish to Save the Interaction. If you say Yes then you will have a new Interaction recorded against the Customer Account but with no details, where as choosing No ensures you don't end up with lots of interactions that have no use.

Saved interactions are also available to view directly from the "Customer Ledger Entry" screen. Open the page and scroll over to the No of Interactions column. This is a flowfield, allowing you to select the value and open the entries that are connected, so if you need to see what interactions exist for a specific Customer ledger entry, than this is the best way to find them.

Document Links
The Factbox within the Credit Control Interaction card can be utilised to store related documents against the Interaction entry. Simply dragging and dropping a file over the Document Links area will store the document according to your Document Links setup.
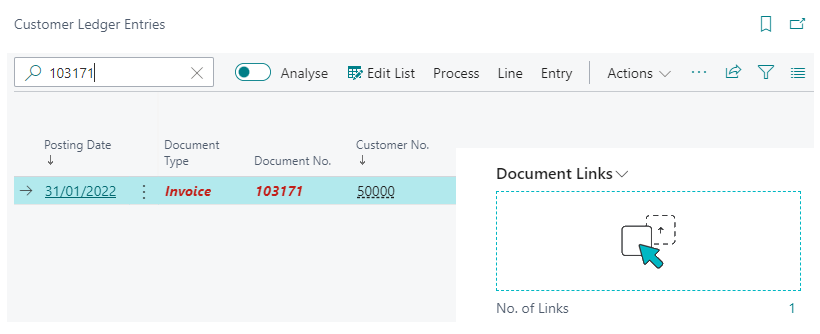
If you have the Copy from Interaction to Customer Ledger Entry marked as Yes on the "Credit Control Setup" page, then highlighting the Selected Entry you linked the note to from the Interaction in the "Customer Ledger Entry" screen will also show this document available.
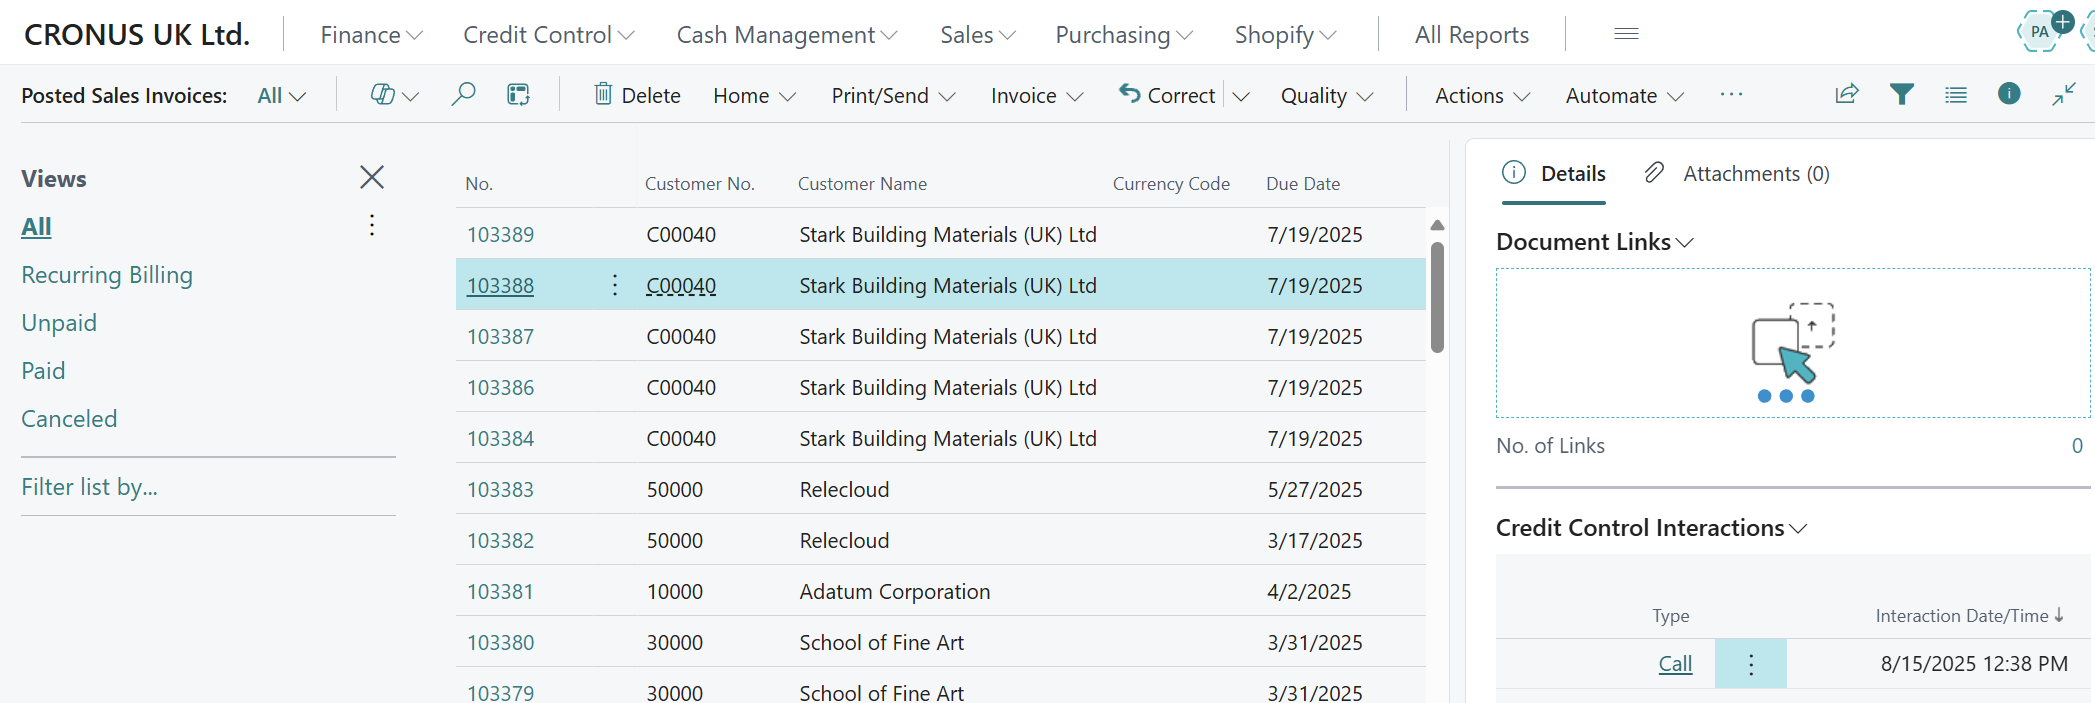
You'll be able to see linked Clever Credit Interactions via the Factbox from the Posted Sales Invoice list (and page) as well as the Customer Ledger Entry list. This gives you a quick view of what is linked to the entry.
Using Interactions with Document Delivery
If Document Delivery is installed, on the "Clever Credit Interaction" card, you will notice 2 additional options in the ribbon, Send Email and Queue Email. These work alongside the Document Delivery Doc Types specified on the Credit Control Setup page and will either send or queue the Invoice, Statement or Credit Memo as necessary.