Next, we need to setup the link to Clever Dynamics Azure based web service that enables the different agent integrations that are supported.
Search for "Integration Setup" and complete the fields as follows.
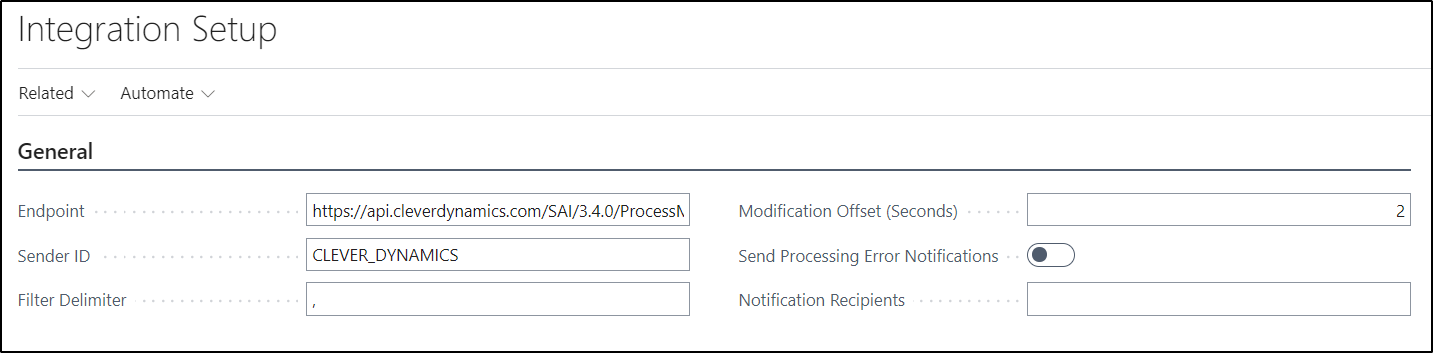
| Endpoint | This Field will be automatically completed with the relevant Endpoint based on the Version of Clever Shipping Agent Integration that you have deployed |
| Sender ID | This field must be set to CLEVER_DYNAMICS |
| File Delimiter | This field must be set to , (a comma value) |
| Modification Offset (Seconds) | This field should be set to 2 |
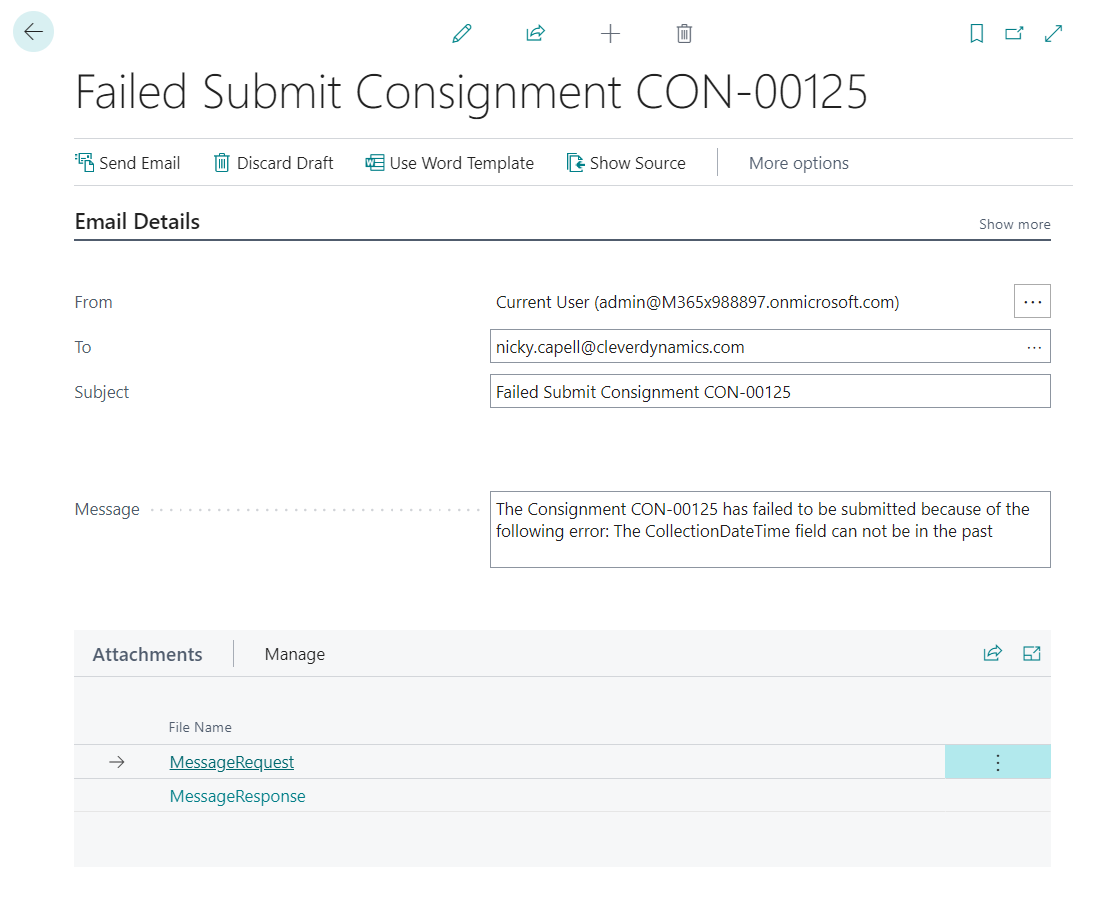
| Send Processing Error Notifications | If this Field is Enabled, then emails will be sent when Consignments cannot be submitted to the Email Address defined in the Notification Recipients Field. The emails are sent using SMTP. |
| Notification Recipients | In this Field, you can enter in the Email Address or Email Addresses that the notification emails should be sent too. Email Addresses should be divided by using the ; symbol |
Platforms & Platform Versions
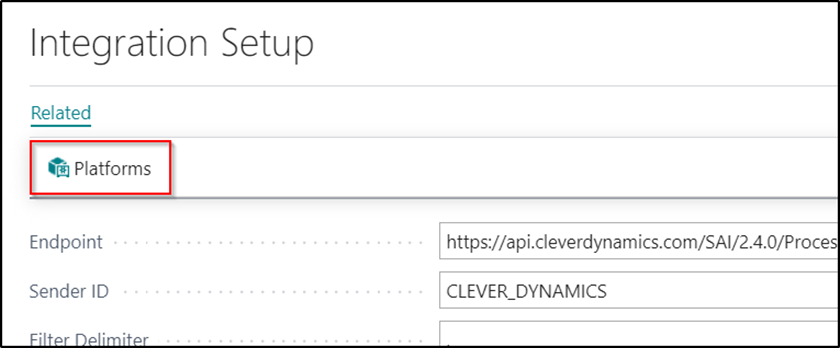
While still on the Integration Setup page select the Navigate, Platforms option from the action bar.
You should immediately see a page similar to the screenshot below. The records for the different shipping agents have been created automatically when the Integration Setup page was completed. Seeing these records means your Business Central instance is correctly communicating with the Azure Web Services published by Clever Dynamics.
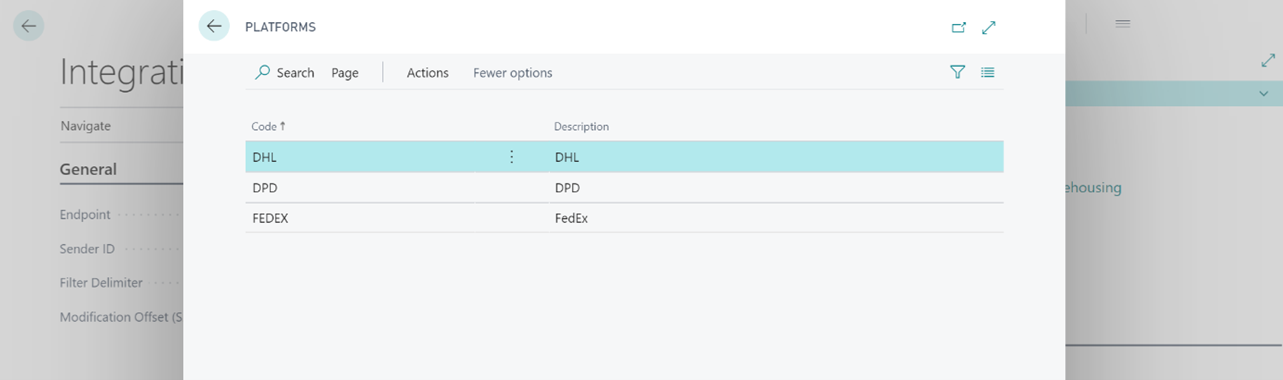
Although it's not critical, for each of the shipping agents listed you can select Actions, Versions from the action bar and see the API versions we support for each company.
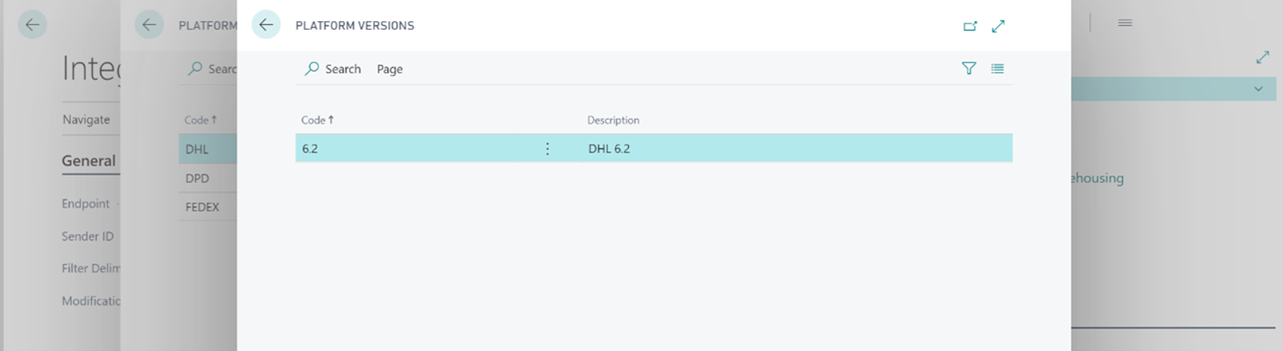
These versions will allow you to seamlessly ‘upgrade’ when the different shipping agents change the specification of the API the Clever Shipping Agent Integration communicates with. As those API’s change they should increment the version, Clever Dynamics will publish a version supporting their new version, this integration will pull down the option of that new version and then you can test and go with no downtime.