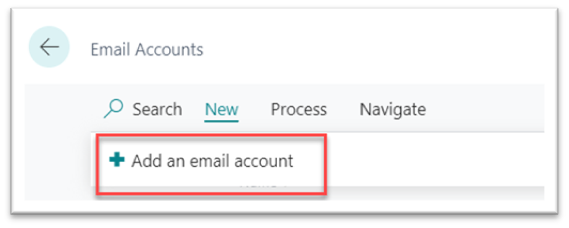
Press the New / Add an email account action.
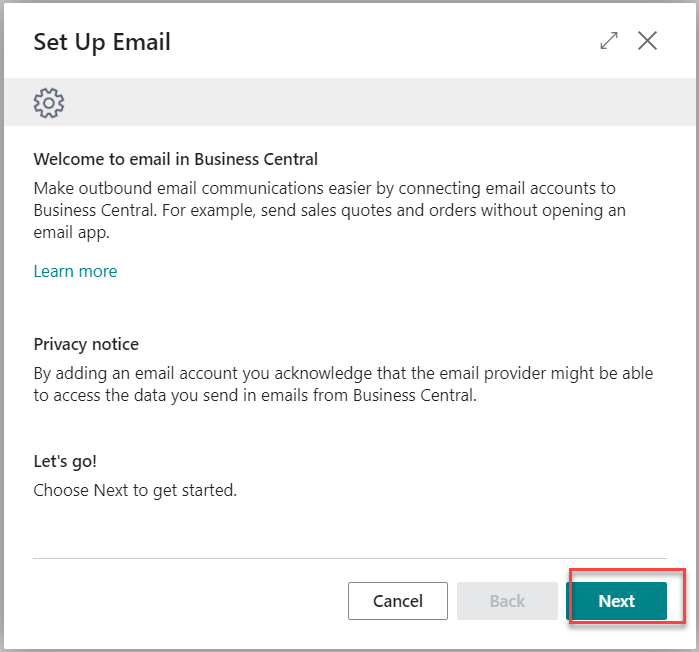
Select the Next button on the wizard page.
Select the appropriate Account Type line and press Next.

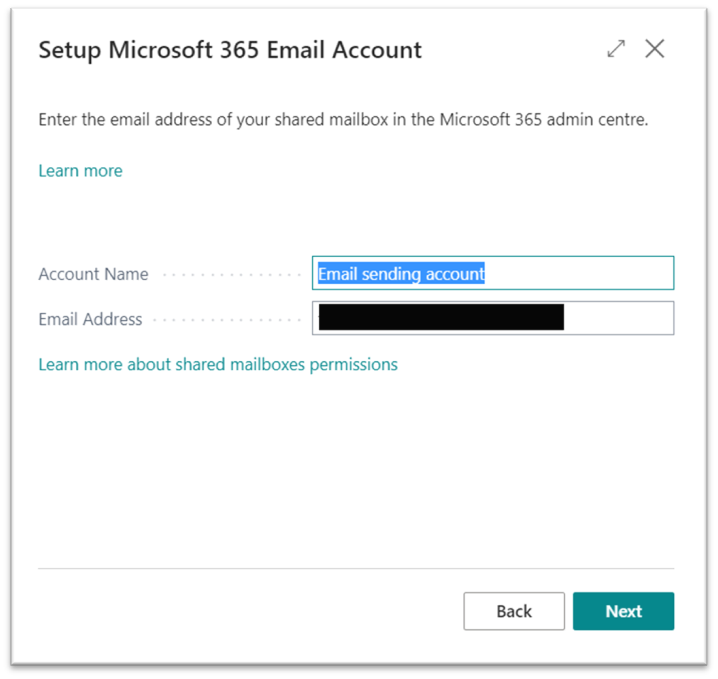
Set the Account Name and the Email Address and press Next.
You will need to input a generic email account (for example a no reply email account) that you have created in Office 365. This email will be used to send out the emails on behalf of a specific email account.
You can Set as default if you would like to use this email account as default. The Rate Limit per Minute field specifies the maximum number of emails per minute the account can send. A rate limit of 0 indicates no limit.
You can try to Send Test Email or Finish the process.

Open the Email Account if you would like to add Sender Name, Server Url, Server Port fields. Select the Authentication and set the User Name and Password. Set the Secure Connection if need.

If you have multiple Email Accounts the Default will be used for sending Document Delivery documents, but you can set different ones per Document Types.
This means on the Document Type, you can store a specific account whether that be a group account or a user’s account from where the emails will be sent from.
NB: If you are using Microsoft Dynamics 365 Business Central, you must fill in the Email Address regardless of whether you are using Send Email (Doc. Delivery) or Queue Email (Doc. Delivery) as the app no longer goes through Outlook.
You can assign Document Delivery scenario against the email account, by selecting Navigate / Email Scenarios from the "Email Accounts" list page.

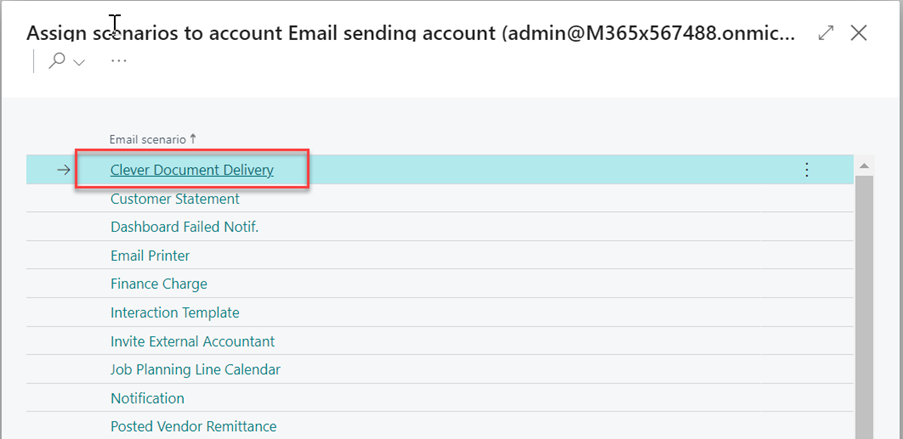
Press the Assign scenarios action:
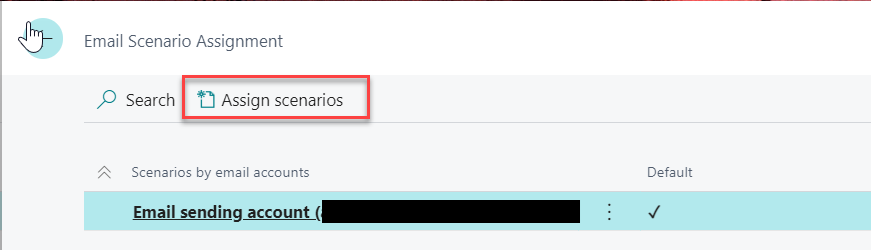
And select the Clever Document Delivery line.
The ranking will be the following:
- Email Account from Doc. Delivery Document Type.
- Assigned Email Account for the Clever Document Delivery scenario
- Default Email Account
Technical Setup
In order to send out your documents as another user you must manage those user permissions in Office 365 Exchange Online Admin Portal. You will need to set against each of the users you want emails sending out as with a Send As Permission.
This permission allows the delegated account to send messages as if they came directly from the mailbox or group (the Sender Name from the Email Account).

NB: This will need to be repeated against all users or group accounts you intend to send the documents out against.