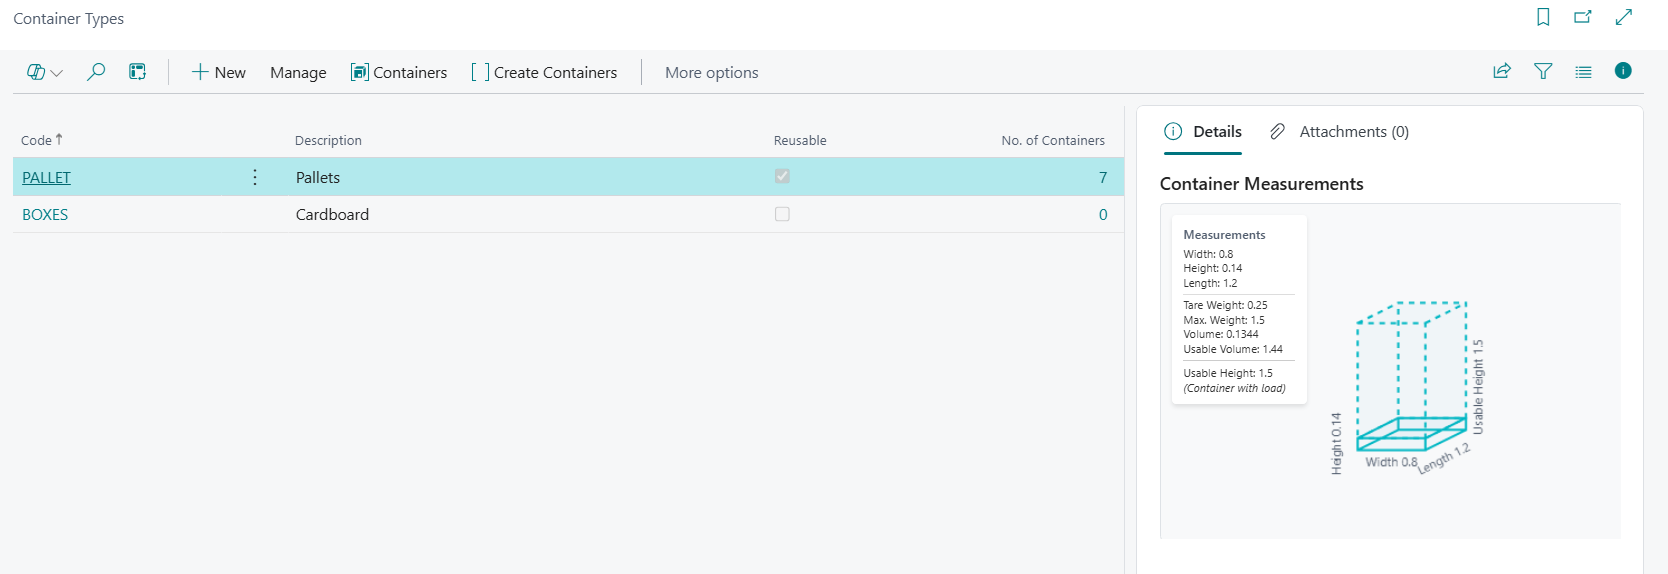
The Container Types window is used to define each type of container you will use within your warehouse to store or transport inventory. Common examples include pallets, boxes, crates, etc.
Menu Ribbon
| +New | Create a New Container Type |
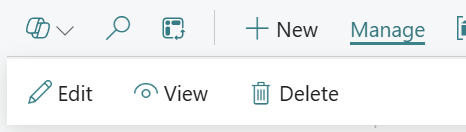
| Manage |
Sub menu for editing viewing and deleting containers.
|
| Containers | Shows the containers created for the selected container type |
| Create Containers | Creates one or more containers for the selected container type |
Fields Available in the Container Types Window
| Code | Enter in a relevant code for the Container Type. |
| Description | Enter in a description for the Container Type. |
| Reusable | Specifies whether the container is Reusable or not |
| No. of containers | Specifies the number of created containers |
Container Type
Clicking on a container will open up the container types screen, here we can enter the relevant information for the type of container you have created.
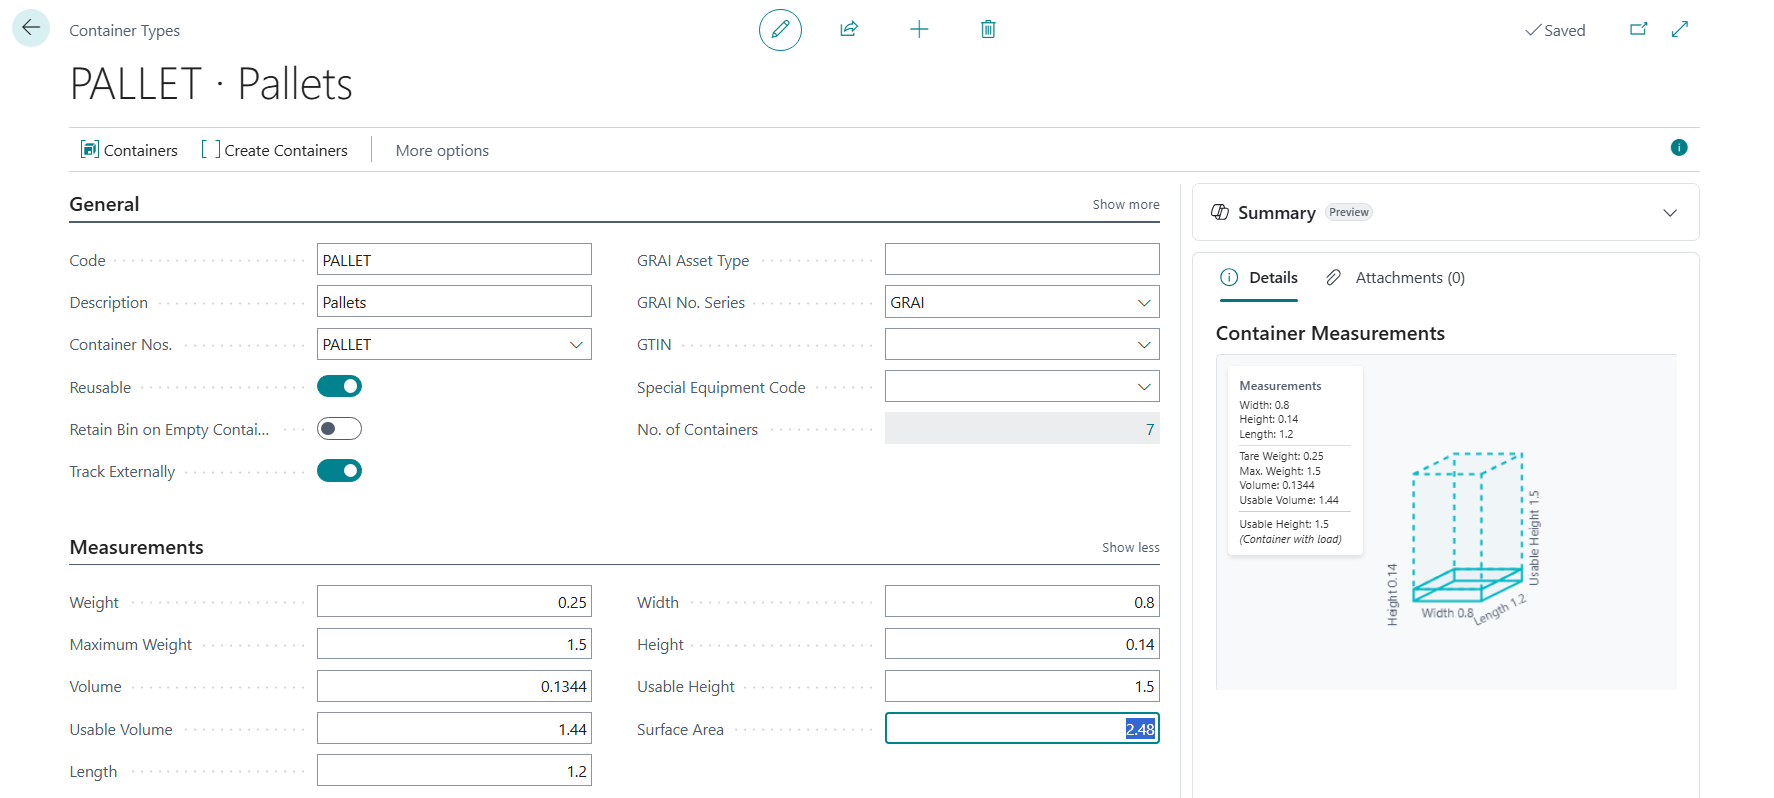
Menu Ribbon
| Containers | Opens up the list of created containers for this container type |
| Create Containers | Create one or more containers for this container type |
General FastTab
| Code | Specifies the number of the involved entry or record, according to the specified number series. |
| Description | Specifies the description of the container type. |
| Container No. | Specifies the number series to use for new containers for this container type. |
| Reusable | Specifies if the container type is reusable. Non-reusable containers will be removed once the last item is removed. |
| Retain Bin on Empty Container | Specifies if the bin should be retained when the container is empty. |
| Track Externally | Specifies if the container type is tracked externally. |
| Special Equipment Code | Specifies the equipment needed when working with this container type. |
| No. of Containers | Specifies the number of containers that exist for this container type. |
| GRAI Asset Type | Specifies the GRAI asset type for this container type. |
| GRAI No. Series | Specifies the number series used to generate the GRAI. |
| GTIN | Specifies the Global Trade Item Number (GTIN). |
| GS1 Packaging Type | Specifies the GS1 packaging type code. |
Measurements FastTab
| Weight | Specifies the weight of the container type (tare weight). |
| Maximum Weight | Specifies the maximum weight the container can hold. |
| Volume | Specifies the volume of the container. |
| Usable Volume | Specifies the usable volume inside the container. |
| Length | Specifies the length. |
| Width | Specifies the width. |
| Height | Specifies the height. |
| Usable Height | Specifies the usable height. |
| Surface Area | Specifies the surface area. |
Container Measurements
The Container Measurements section in the Details pane provides a visual representation of the container.
