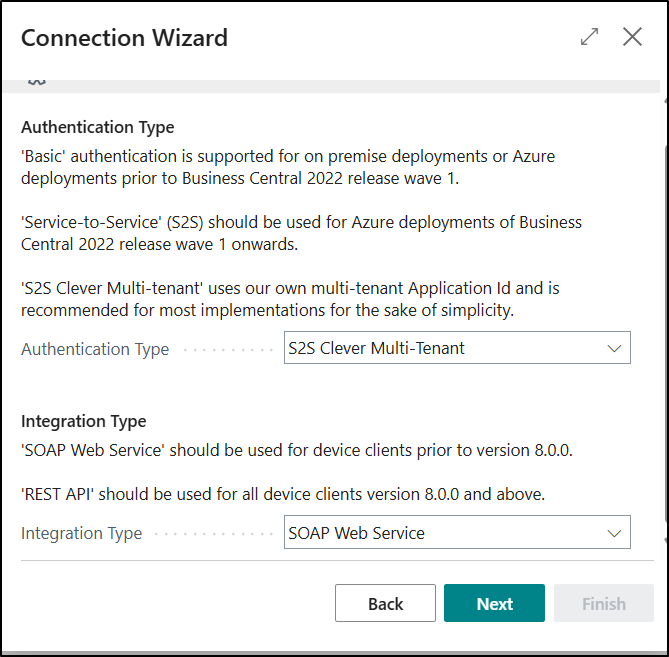
As part of the Setup process for Clever WMS Devices, you will need to run the Connection Wizard which will assist you with defining which both the Authentication Type and the Integration Type values for your Handheld Devices. The options available to select from are:
Authentication Type:
|
Basic |
Basic Authentication should only be selected for use in On-Premise Deployments or Azure Deployments prior to Business Central 2022 Release Wave 1. For any other types of Business Central SaaS Deployments, one of the Service-to-Service (S2S) options should be used as Basic Authentication is being deprecated by Microsoft in March 2022. |
|
S2S Clever Multi-Tenant
|
S2S Clever Multi-Tenant Authentication can be used for Azure Deployments of Business Central 2022 Release Wave 1 and onwards. It uses Clever Dynamics own Multi-Tenant Application ID and is recommended for the majority of implementations for the sake of simplicity. |
|
S2S Clever Single-Tenant
|
S2S Clever Single-Tenant Authentication can be used for Azure Deployments of Business Central 2022 Release Wave 1 and onwards. Please refer to the following link for more information on how to setup and use this Authentication Type: |
Integration Type:
|
SOAP Web Service |
If you are using a version of the Device Client prior to Version 8.0.0, then you will need to select this option. |
|
REST API |
If you are using a version of the Device Client from 8.0.0 and onwards, then you will need to select this option. |
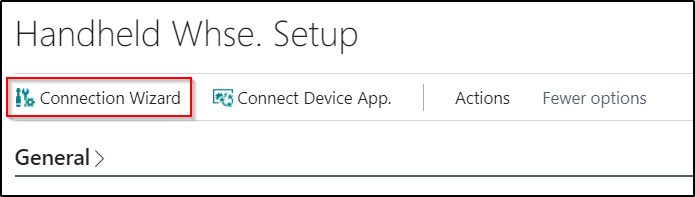
Click on the Connection Wizard Menu Option from the Ribbon on the Handheld Warehouse Setup Page and select the required Authentication Type and then follow each of the steps.
Once this process is complete, the information used in the registration process will be recorded here Registration Setting FastTab
Service-to-Service Authentication Types
You must have Administrative Privileges to complete this process as you will be asked to grant permission at the end on behalf of your Organisation.
Once you click on the Finish button on the Connection Wizard, the below Page will be displayed. This is where you will need to grant Full Access to Web Service API's and Sign in and Read User Profile to the App. More information on this can be viewed on the screenshot below:

Once you click on the Accept button, a confirmation message will appear confirming if consent has been granted successfully. For more information on the consent being granted, please refer to the following to Using Service to Service Authentication - Business Central | Microsoft Docs
You will be consenting to allow the API.ReadWrite.All Permission which access to Web Services in Business Central. You can check the permissions granted by looking in "Azure Active Directory Application", "Enterprise Applications" and Clever WMS Devices.
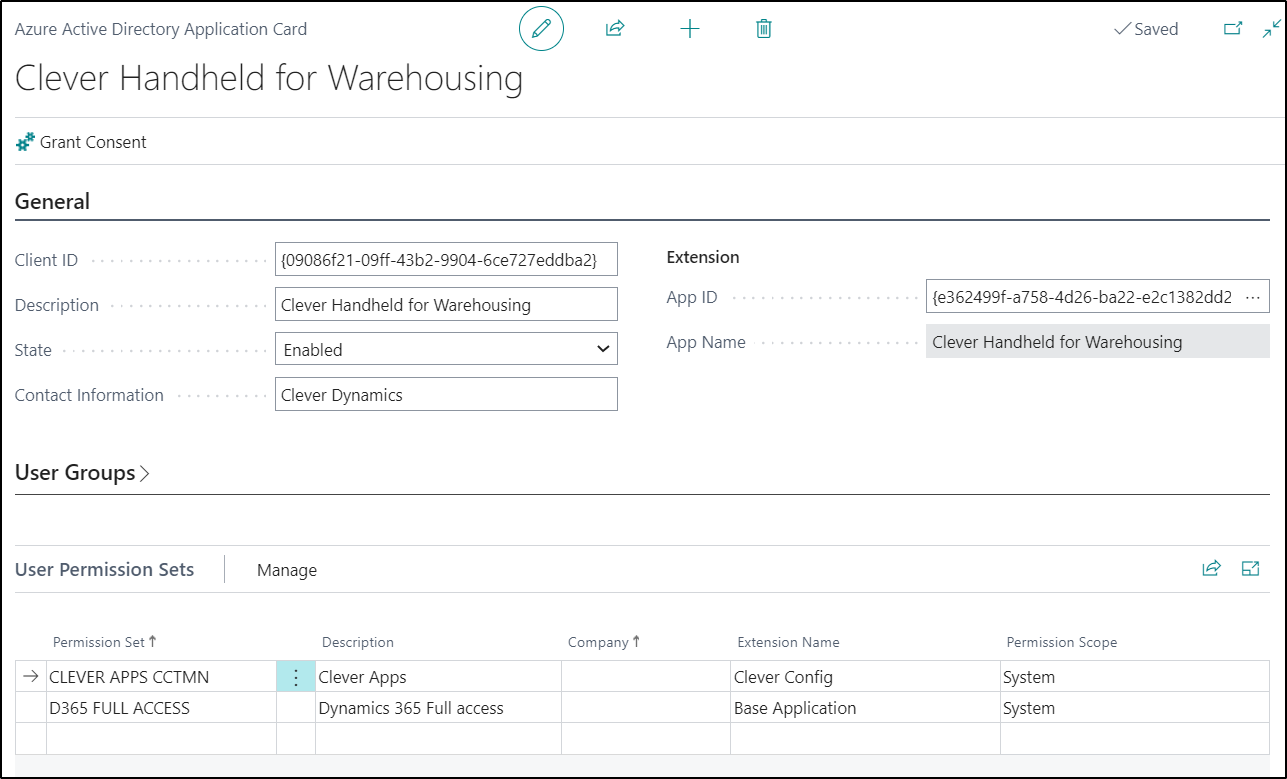
Azure Active Directory Application
New entries will have been created in the "Azure Active Directory Application" which are used to define the Permission Sets used for the Handheld Devices. These should be reviewed and amended where required.
Enterprise Applications
To check what you’ve given access to after the fact, you can check from the "Azure Active Directory Admin Centre". Under Enterprise Applications (On the left hand menu) you’ll find a list of applications and Clever Handheld will be one of them.

Click on Clever Handheld and then select Permissions. You can see that Clever Handheld has been granted API.ReadWrite.All.

This grants access to Business Central web services / API. Further permissions are handled by standard Business Central functionality as described in the "Azure Active Directory Application" section.
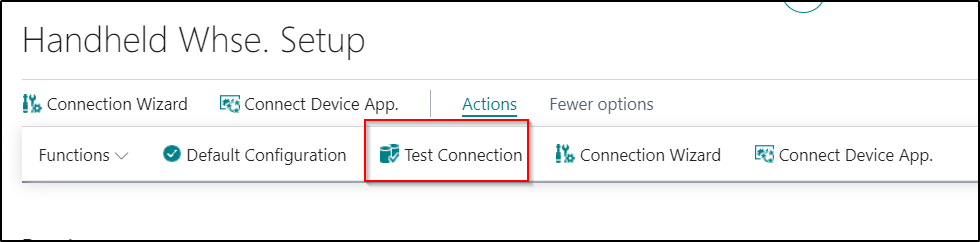
Basic Authentication Type
Once you have finished setting up the Basic Authentication Type setup, you can use the Test Connection Function to test the connection and make sure everything is working correctly.