As mentioned previously, you can setup Clever Credit using the Assisted Setup provided. The prompts for assisted setup will appear as soon as you sign back into Microsoft Dynamics 365 Business Central after installation. The prompts are identified as Notifications along the top of your Role centre.
By clicking on the link Open Setup on the notification, it will open the "Credit Control Setup" screen. Using the Assisted Setup provides you with a step by step guide of everything you need to setup to successfully run Clever Credit.
If you accidently close the notification without going through the setup you can also access this from the "Credit Control Setup" and click on Assisted Setup.
Once you have got past the welcome message, you will be presented with a series of setup prompts.
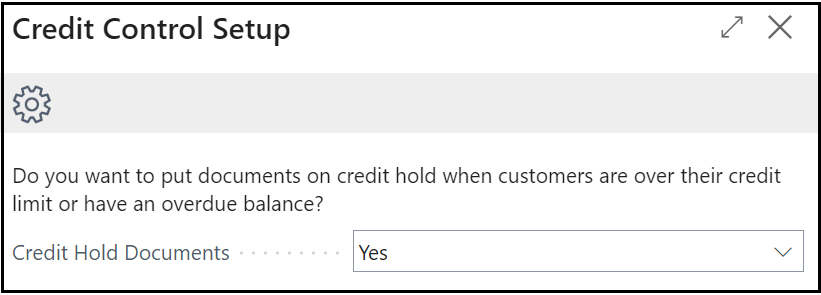
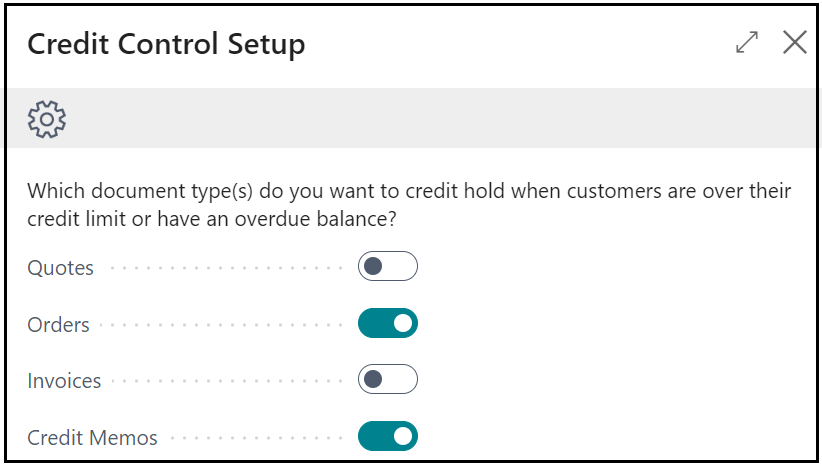
Selecting Yes for Credit Hold Documents means where a Customer has an overdue balance or is over their credit limit, their documents are put on hold. As this is a global setting, this option would default to ALL customers. If selecting Yes, the next prompt will be to confirm what documents the Credit Hold applies to. This includes all sales and service documents.
Following on from this, you are asked to populate the Default Credit Controller. This is the main user who can release documents from being Credit Held but individually on "Customer" cards, you can assign other users. You can either select an existing User from the dropdown or click on the dropdown, press the New Credit Controller button to create a new one. If you wish to use Assisted Setup to create a new Credit Controller, please follow the instructions here.
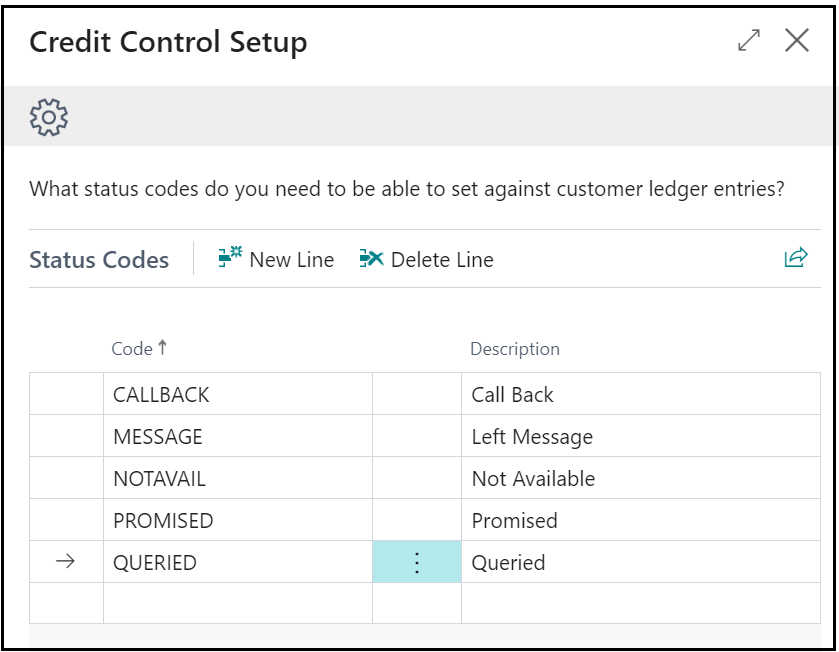
Once you confirm your credit controller, you can confirm what Status Codes you wish to use. Status Codes are unique codes that will be recorded against "Customer Ledger Entries" to identify where an action is either required or has been done. These are also visible and editable on "Credit Control Interactions" and " Credit Control To-Do's". Using the below test examples, you can customise these to make them specific to your business needs either here or in the "Clever Credit Status List" page. More information on Status codes can be found here.
Aging Bands then need to be confirmed or edited. Aging bands are covered in more detail here.
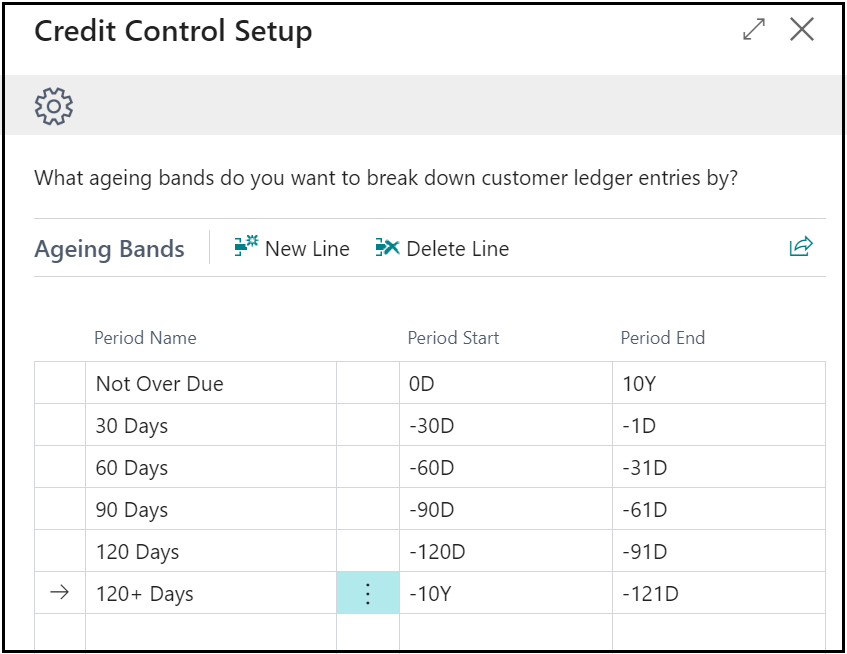
When the aging bands are added, press Finish and that's it, you're done with the Assisted Setup!