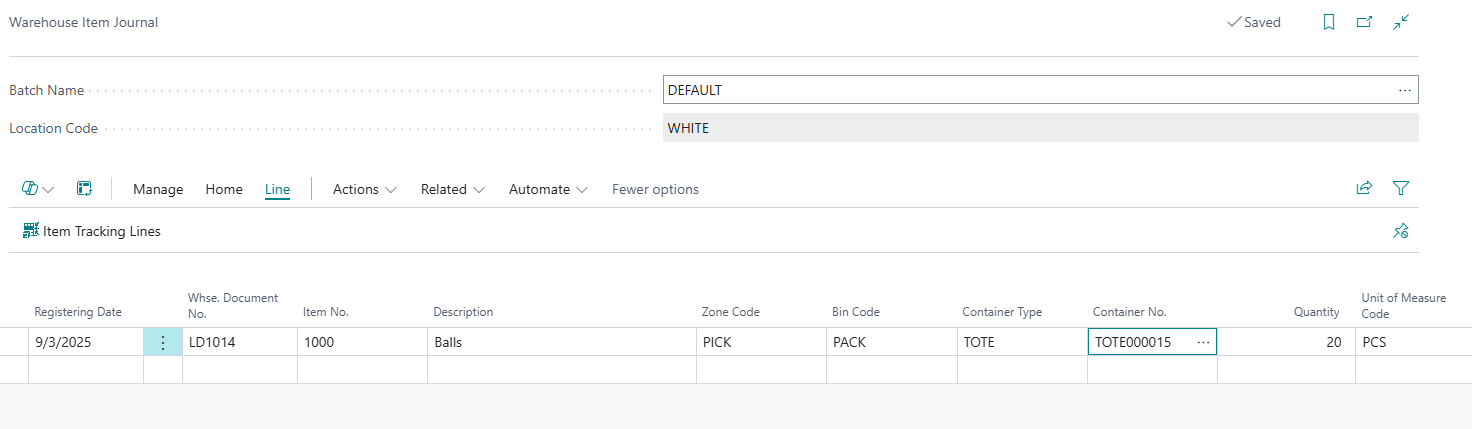
From Clever WMS Containers v2 onwards, the Container Journal is now considered a legacy tool, retained for specific correction and conversion scenarios only and only to be used after careful consideration. For all other container-related processes, use the standard item and warehouse journals, which now fully support container management.
Setup
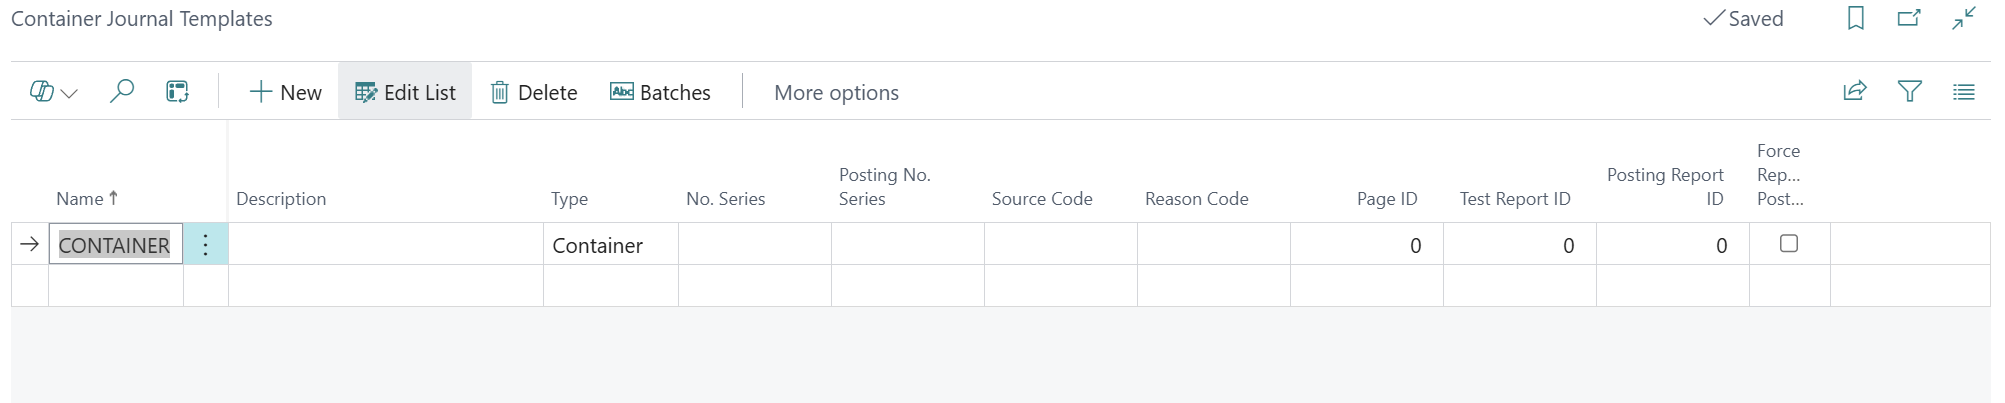
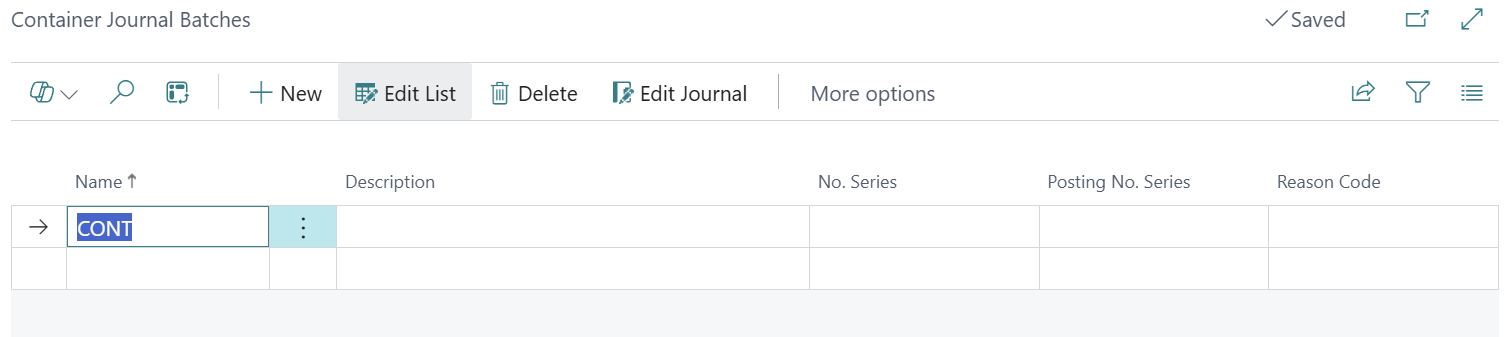
To use Container Journals, ensure that a Container Journal Template and one or more Container Journal Batches have been created.
Posting Behaviour
From Version 2.0.0 of Clever WMS Containers posting a Container Journal will create the following records within Business Central.
-
Warehouse Entries
-
Container Entries
-
Container Contents
For older versions of Clever WMS Containers the system did not create Warehouse Entries