To begin with you need to setup Clever PrintNode Integration. To do this use the search on your Role Centre to navigate to the correct page.
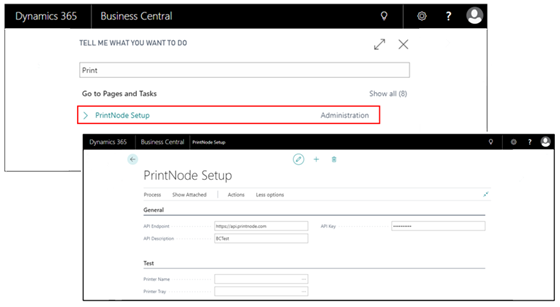
On opening the page, you will be presented with a series of setup fields. On the General FastTab, you will notice straight away that the API Endpoint has been populated, this is supposed to be setup already for you.
The API Key is something that you will need to populate, this will be given to you when you register with PrintNode Services. The API Description is simply some descriptive text relating to the setup.
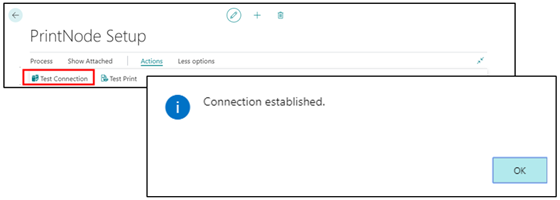
At this point you may choose to Test the connection, making sure that the API Key you populated is correct and that you can use the services provided. To do this select the button Test Connection on the Action tab. If successful, the following message will show.
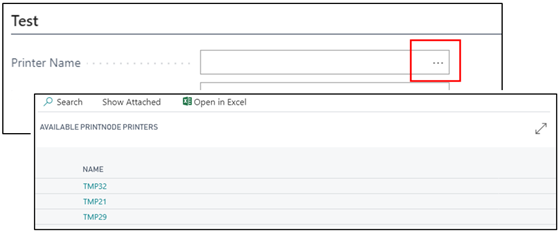
Once the General FastTab has been complete you can then move onto filling in the Test FastTab fields. Filling in the Printer Name and Printer Tray, allows you to then print a test page to those chosen credentials.
To fill in the Printer Name field you can either type in the printer name if you know it or use the assist (three little dots) next to the field. This will display a list of all the printers you have available to you that you can select from.
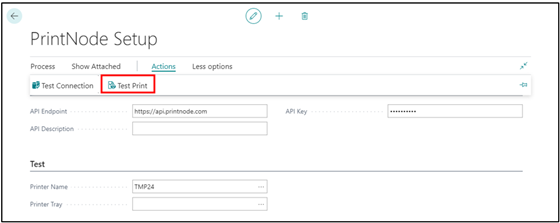
Note: There is no requirement for you to fill out the Test FastTab fields you can simply leave the fields blank.
By populating the fields, you can then run the Test Print action to make sure that the printer you want to send your documents to through using the app connects correctly to Business Central.
Once printing has been proven that each printer can print, you may need to define which printer is used for which shipping agent or by which user so refer to "Label Printer Selections" to set this up.