During production there may be times when you need to identify why a machine is not running and whether this is a planned or unplanned stop. To do this you create Stop Codes, which can found using the Search function on your Role Centre.
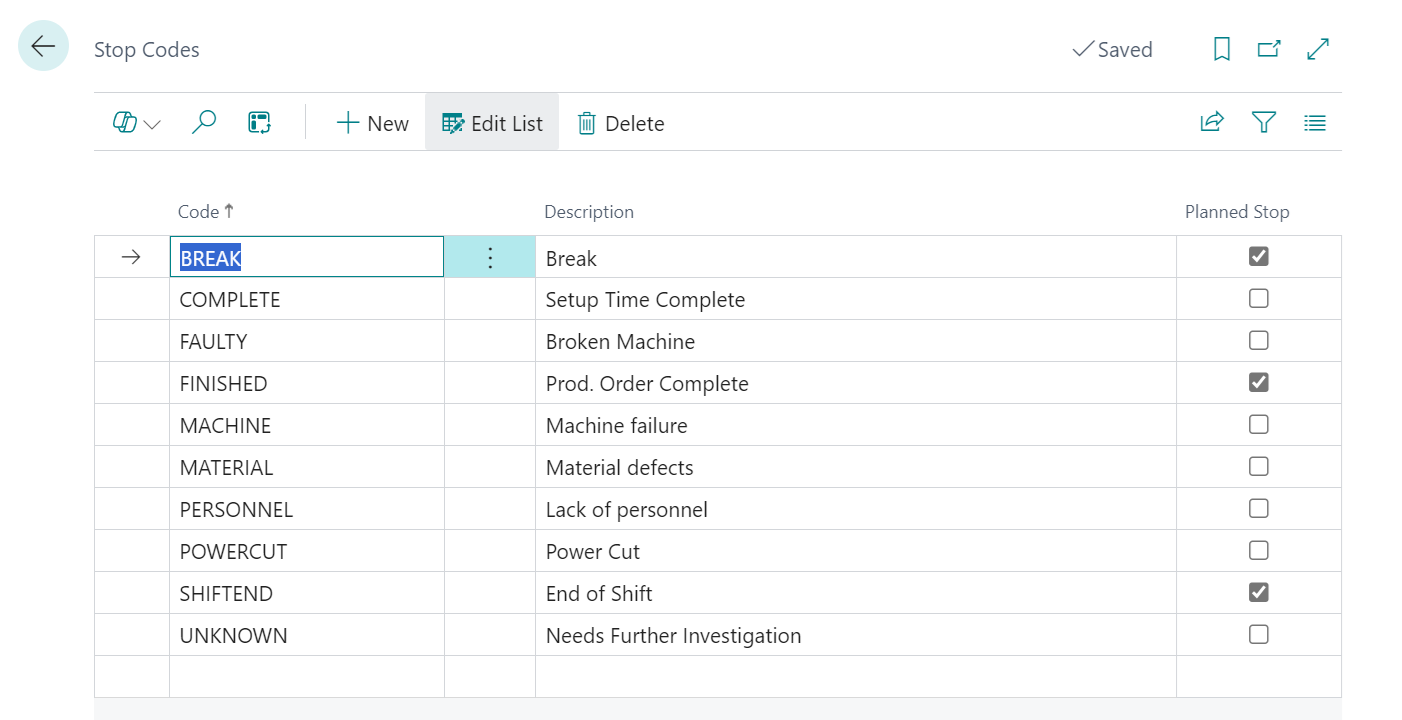
On the page there will be several Stop Codes already created as part of applying the Default Configuration.
Note: if you use have existing stop codes at the point of applying the Default Configuration, the system will simply add to your list of stop codes.
When creating new stop codes each must have a Code which is displayed on the Output screen, a Description and the Planned Stop should be set accordingly. A planned stop can be for example a lunch break or the end of an operator’s shift, where as an unplanned stop could be due to an operator error, machine failure or a power cut.
Stop Codes in Action
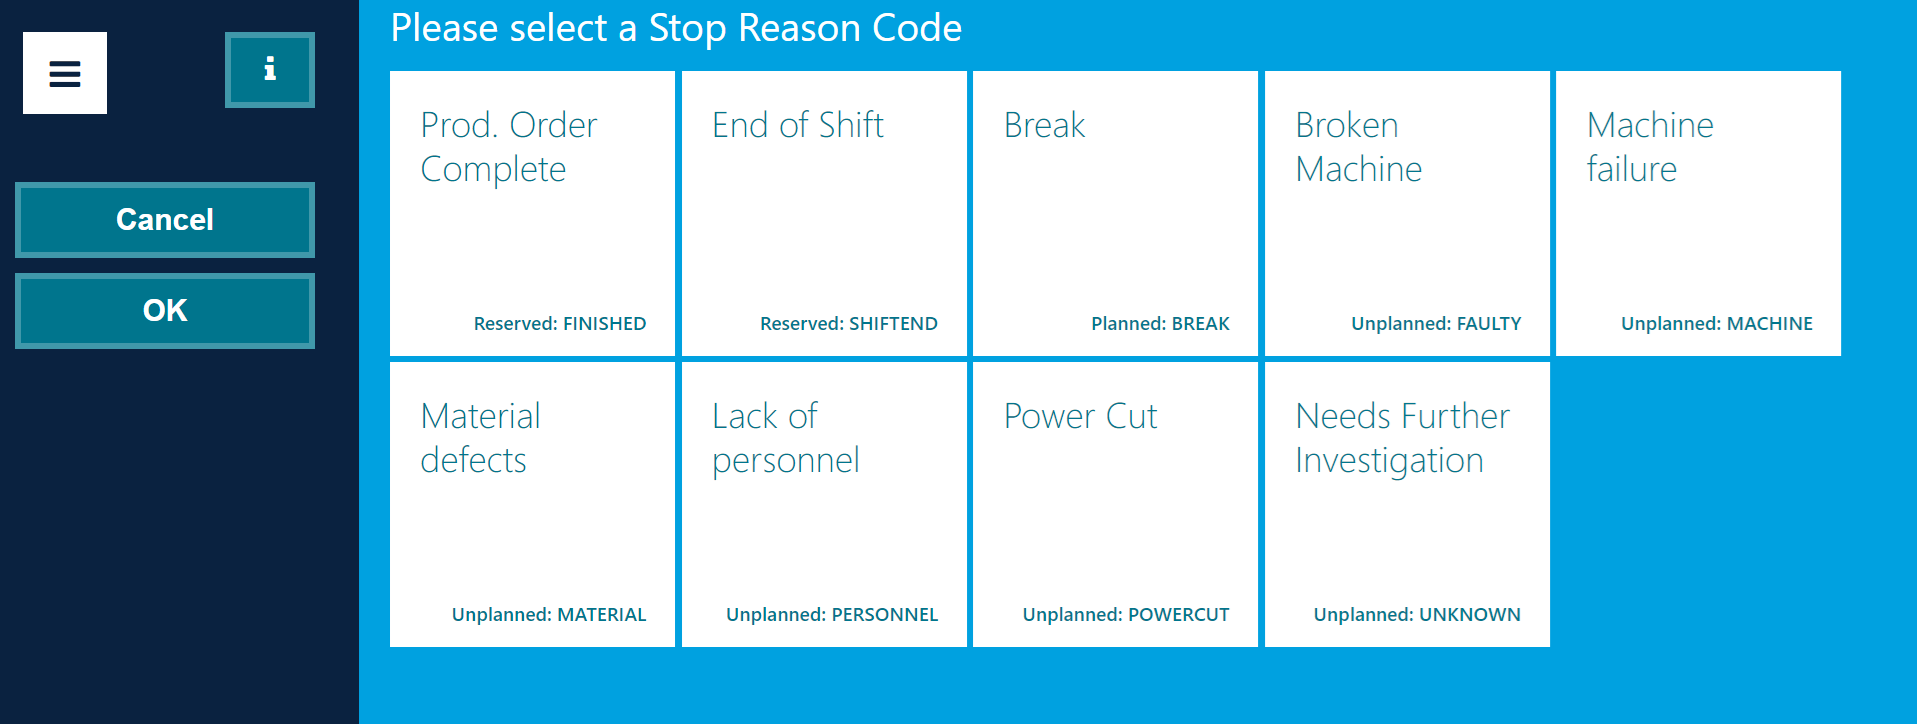
On the MES Device the Stop button is available from the Navigation Pane and is only shown when the production process has been started.

When the Stop button is pressed the MES will show the list of Stop Codes to the Operator to confirm the reason for stopping the current process. The Operator simply selects the reason for stopping production and presses the OK button, which will then stop the MES from capturing the time/cost of both the Machine Centre and the Operator(s).
Once stopped, if the Device Colour FastTab has been filled in within the MES Setup, the Output screen will change colour based on the nature of the Stop Code, e.g. Red for Unplanned, which will make it easy for somebody on the shop floor to identify the machine is not running.
In addition to the above the information on the MES will also change, including a Timer that shows the period of time that the production process has been Stopped.

The Device Stopping will create an entry within the MES Device Log. This will include the Production Order No. that the device was stopped on, the Operator No., Entry Type, Stop Status and Reason Code.

The device can be restarted from the Output screen once the issue has been resolved.