Just like the Assisted Setup for Clever Credit, the introduction of the New Credit Controller wizard makes it even easier to create users as Credit Controllers.
Using the Assisted Setup, Credit Controllers can be created, assigned to customers, and limits can be applied to them determining their authorisation values, all within one process. The New Credit Controller assisted setup can be accessed through the New Credit Controller action in the ribbon of the "Credit Control Setup" screen.
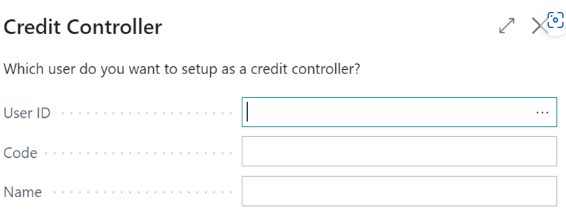
Select your User ID (either use the assist next to the field or type in the User ID based on Microsoft Dynamics 365 Business Central login). Create your Credit Controller with a Unique Code as well as populating the Name section to identify that Unique Code.
If the User Can Release field is set to No, the Credit Controller will not have authorisation to release documents for customers who have an overdue balance.
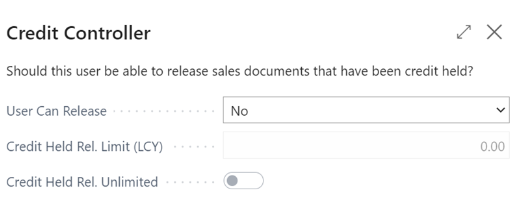
If Yes is selected, a limit can be entered in the Credit Held Rel. Limit (LCY) if you want to specify a max limit that User can release, or the Credit Held Rel. Unlimited can be marked as Yes, which means that the Credit Controller can release all held document types regardless of their value.
Once the above has been setup, the Credit Controller can then be assigned customers. To do this, enter the Customer Number within the No. column.
Alternatively, selecting the option Select Customers will open the Customer List which will give an overview of the Customer Name, Number, Contact and Balance Due. It is within this screen you could apply a filter to the screen to select multiple customers at the same time.
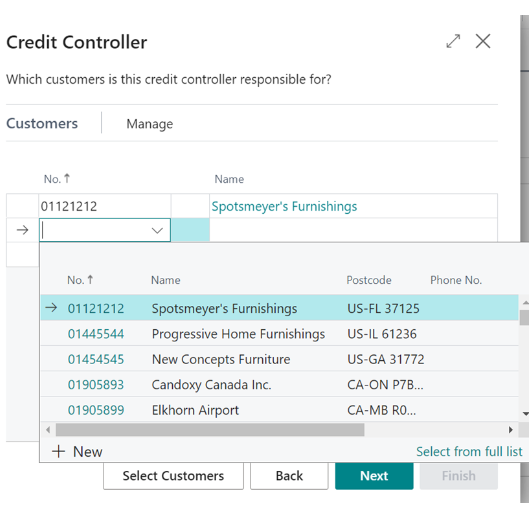
Click Next and Finish to complete the assisted setup.