Now that the setup has been completed you can start using Clever Landed Costs within your procurement process.
Simply enter the Item details on the "Purchase Order", as you would for any type of purchase and the applicable Landed Costs for the Item will be retrieved based on Item Landed Cost Assignment and Incoterm Allocation setup.
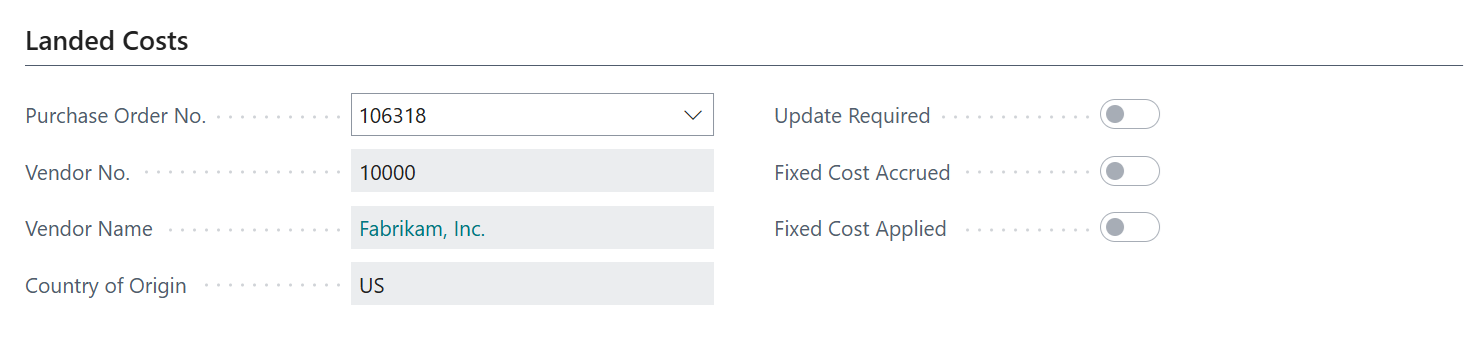
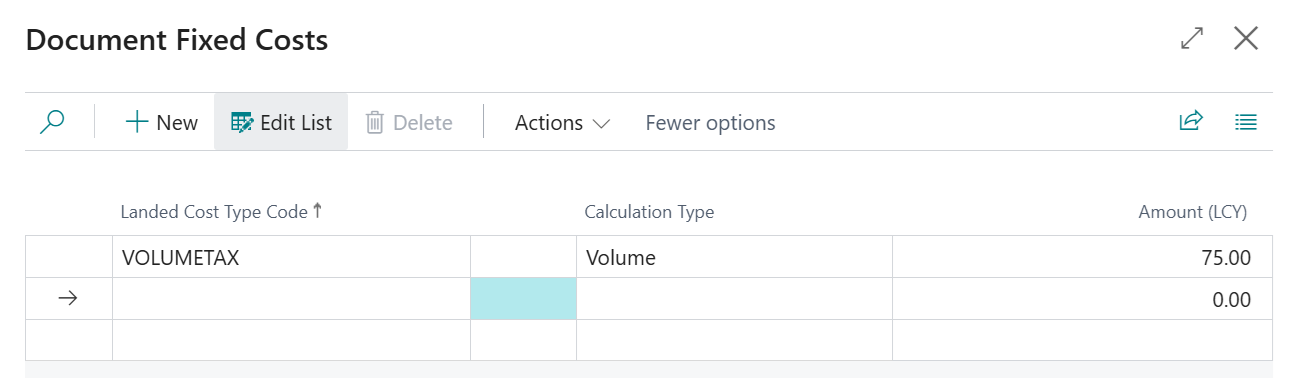
Additionally (from Version 5.0.0) if you setup any Fixed Cost for Purchase Orders then, depending on the Purchase Order attributes (e.g. Vendor No., Location Code) any relevant Fixed Costs will be retrieved. To view any Fixed Costs you can access them by selecting Fixed Costs from the Landed Costs menu option.

Fixed Costs can also be updated or removed manually from a Purchase Order as required. Furthermore, if Fixed Costs are likely to change after Release of the document (but before the document is completely handled at which point costs are posted) you can update them as required, if you have enabled the Fixed Cost Editable when Released attribute on the "Landed Cost Setup" screen.
In relation to Fixed Costs, the Exclude from Fixed Cost attribute which can be found on the Lines FastTab from Version 5.0.0, can be set for any Item on the Purchase Order that should not attract a share of the Fixed Costs. This is often relevant for importers when empty Container space is used to procure "filler" Items to utilise all available Container space, but where those Items should not attract a share of the fixed costs.
For individual Items on the Purchase Order you can see which items have landed costs assigned to them by viewing the "Document Landed Costs" screen. You can access this screen from the Line menu, by selecting the Document Landed Costs option, as shown below. The "Document Landed Costs" will be shown for the current Item Line.
From Version 5.0.0 of Clever Landed Costs you can also see the Landed Unit Cost (Base) (LCY) and the Total Landed Cost (LCY) for each Item line providing a quick overview of any associated Landed Costs.
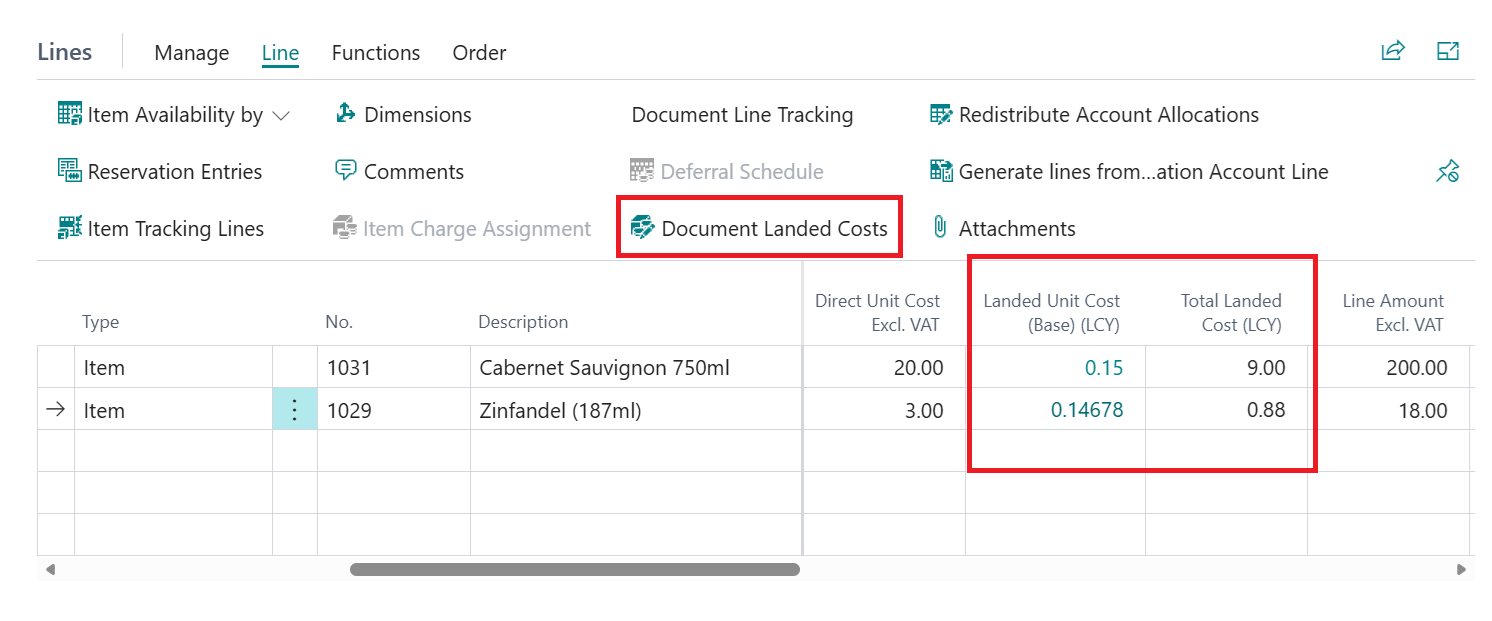
Within the "Document Landed Costs" screen you are able to update the costs, allowing you to add and remove costs for existing Landed Costs.
Landed Cost Containers
Within the Purchase Order it is possible to view and manually assign an Item to a pre-existing "Landed Cost Container" and the Create Container & Assign Lines functionality can be used to automatically create a new "Landed Cost Container" and assign Items on-the-fly. This functionality will use the "No. Series" assigned to Container Nos. on the "Landed Cost Setup" screen.
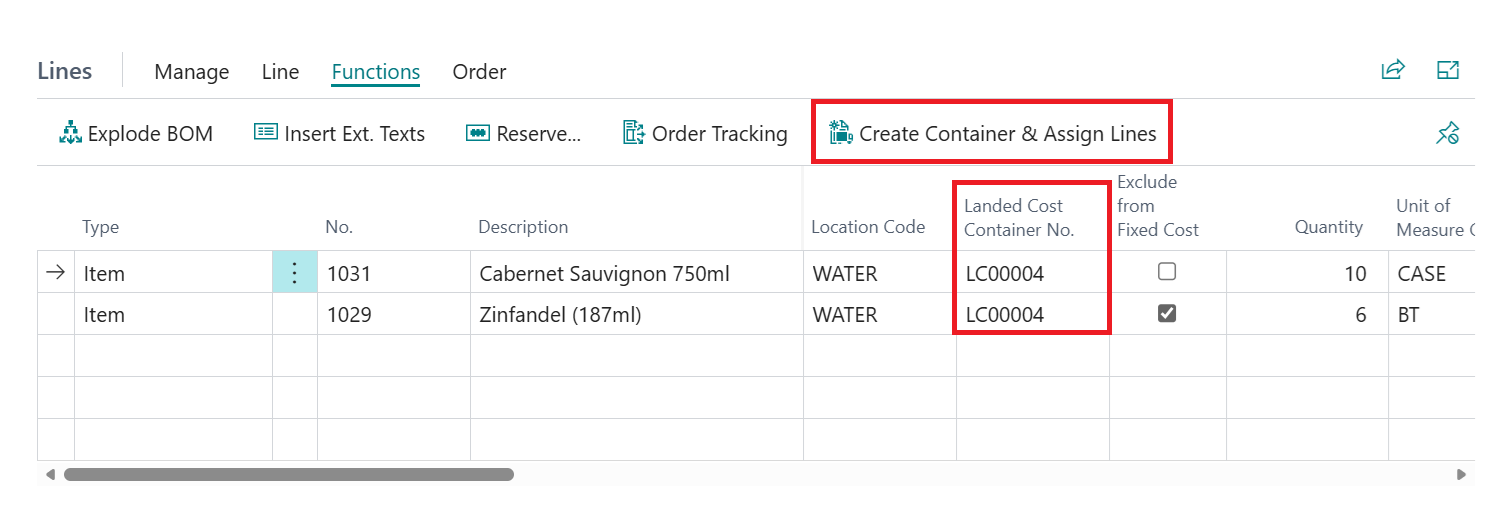
Note: trying to assign a Landed Cost Container No. against any line where the Type is not Item will result in an error.
Transfer Orders
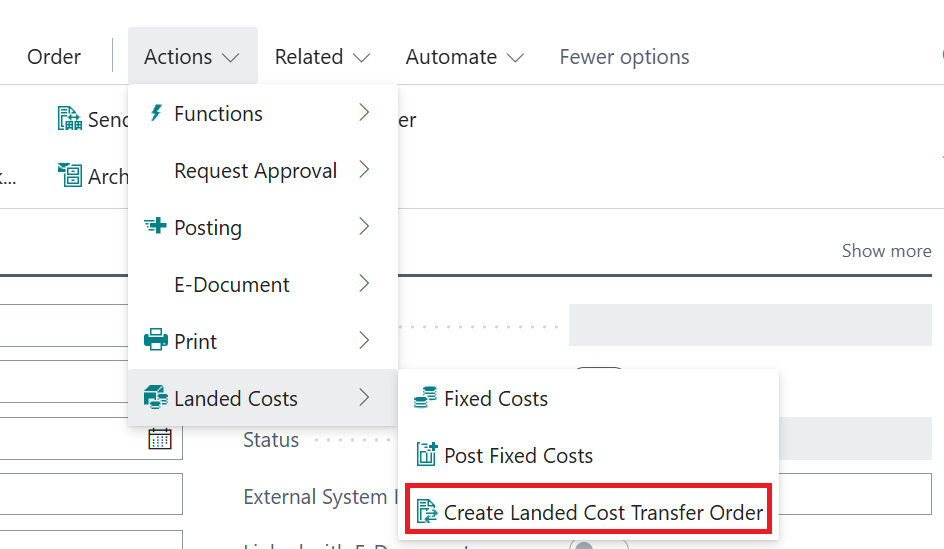
With the introduction of Transfer Order functionality in Version 5.0.0 of Clever Landed Costs it is possible to create (and therefore link) a transfer to the purchase. This not only means that for relevant Incoterms (where you need to Purchase and Transfer the goods) it is possible have the system populate a Transfer Order with the relevant information, it is also especially useful to be able to synchronise the Transfer Order with updates to cost, quantity and tracking information.
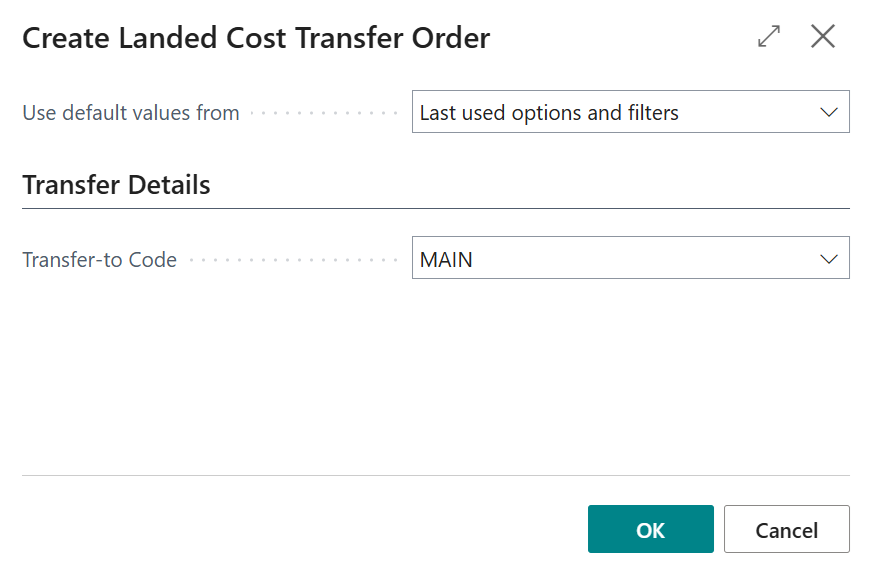
You will be prompted to confirm the Transfer-to Code to confirm which Location the Transfer Order will be received into and the system will then create a new Transfer Order with the relevant information.
In addition to the Item information the Shipment Method Code will be copied from the Purchase Order to the Transfer Order to ensure that the relevant Fixed Costs are populated onto the Transfer Order.
On the associated Transfer Order, the Purchase Order information is added to a new Landed Costs FastTab to allow you to identify the Purchase Order No. that is linked to the Transfer Order and for the system to be able to update the Transfer Order after the Purchase Order is received. More information on updating the Transfer Order can be found here.