You must setup the types of costs that you wish to capture in order to use the Clever Landed Cost solution. Use the search tool to find the "Landed Cost Types" screen and create a Landed Cost Type for each cost type that is relevant to the goods that your business purchases.
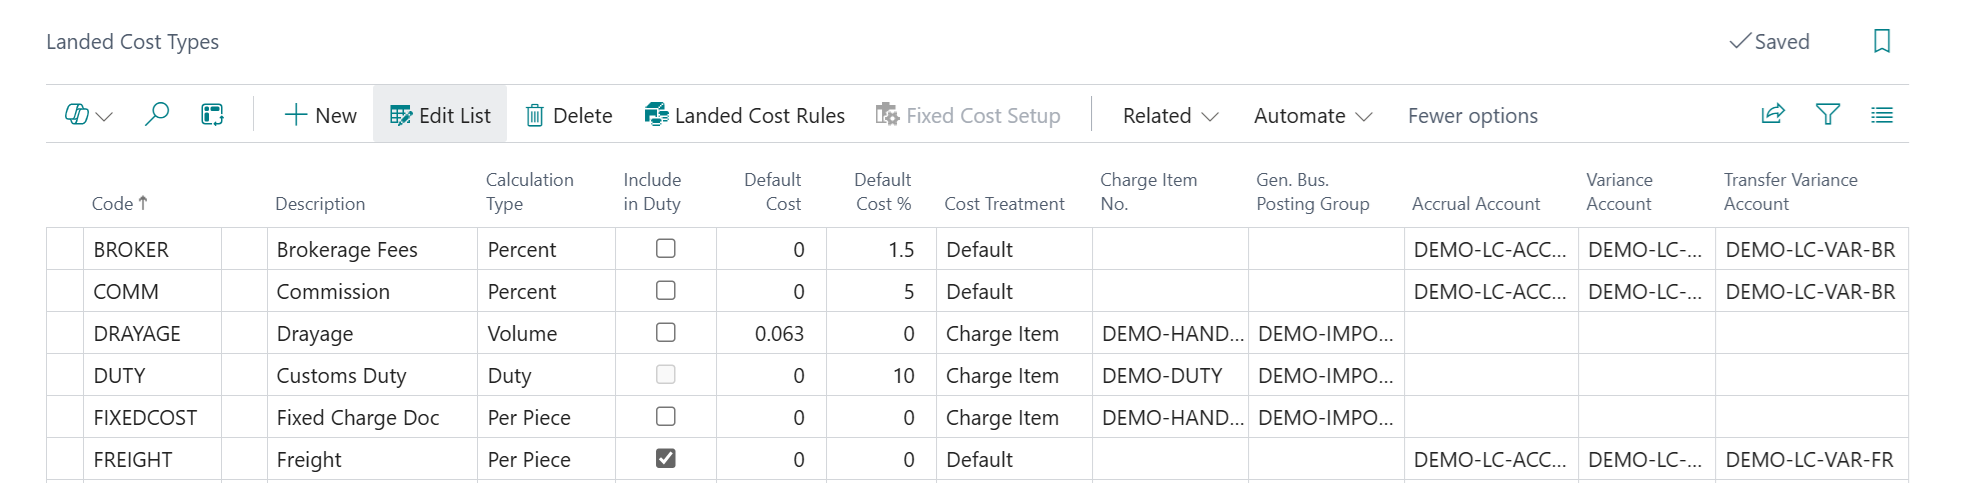
For each "Landed Cost Type" you will need to confirm the details that the system requires in order to be able to calculate and post Landed Costs through the system. The first field to populate is the Landed Cost Type Code which is simply a unique code to identify each landed cost you wish to use within your business and which you can then assign to relevant Items. The Description field is a way for you to identify each code you have created. It also helps in understanding what each code means. The next field along is the Calculation Type which defines how the expected cost is calculated for the Landed Cost. Clever Landed Cost provides the following Calculation Types which are detailed below.
| Calculation Type | Description |
| Duty | Costs will be calculated based on the Duty that is specified for an Item |
| Volume (M3) | Costs will be calculated based on the Cubage, as specified in the Item Unit of Measure |
| Weight (KG) | Costs will be calculated based on the Net Weight as specified in the Item Unit of Measure |
| Per Piece | Costs will be calculated based on the Purchase Order Line Quantity (Base Unit of Measure) |
| Percent | Costs will be calculated based on the Purchase Order Line Value |
Alongside assigning a unique Code and Description for each Landed Cost Type you can also select a Category Code for the Landed Cost Type. Landed Cost Categories can be setup to suit the business needs and can be used for reporting purposes. To setup Landed Cost Categories, see the Landed Cost Categories section.
NB: the Category Code attribute is not shown on the Landed Costs Type screen by default, so if you wish to use this functionality you will need to use the Business Central "Personalize" functionality to add the attribute to the Page.
For Landed Costs Types which you incur prior to receiving goods into the Country of Landing, it is normal that the Duty to be paid for the goods will also include such costs. Within Clever Landed Costs this is possible by setting Include in Duty against the required Cost Types. As an example, if Include in Duty is True for the Landed Cost Type of Freight, then the duty amount will be calculated as (Item Base Cost + Freight Cost) * Duty %.
Due to the above functionality, only one Landed Cost Type should be setup with a Calculation Type of Duty to allow the system to add costs to only the Duty Landed Cost Type.
You can also set default values for each Landed Cost Type, but this is not necessary. Depending on the Calculation Type there are different attributes used to store the Default Value, as detailed below. The value specified will be inherited by new Item Landed Costs for the Landed Cost Type.
| Default Value Field | Description |
| Default Cost | Used to set the Default Cost value when the Calculation Type is set to Weight (KG), Volume (M3) or Per Piece |
| Default Cost % | Used to set the Default Cost value when the Calculation Type is set to Percent |
When you update the Default Cost (or Default Cost %) you will be prompted to update the Default Cost for all Item Landed Costs of this type. Answer yes to recalculate the Default Cost on the relevant Item Landed Costs.

Introduced in Version 5.0.0 of Clever Landed Costs, the Cost Treatment allows you to decide whether you wish to use the Default or Charge Item method for posting costs against Inventory. Depending on the option you choose, the following information is required to be setup.
| Cost Treatment | Description |
| Default |
For each Landed Cost Type you will need to specify an Accrual Account, which will be the G/L Account into which the expected cost will be posted (for the relevant Landed Cost Type) by the system on receipt of the purchase order. Once the cost has been invoiced the expected cost is reversed and the actual costs are posted to the landed cost ledger entries. You should also have an Inventory Accrual Acc. (Interim) stated on your General Posting Setup for Items that will have landed costs as this is where the expected costs are posted on receipting the order. Also within the General Posting Setup screen, you should also set the Overhead Applied account to the same as the Inventory Accrual Acc (Interim). This will ensure the landed costs are posted correctly within the general ledger. For each Landed Cost Type you will need to specify a Variance Account which will be used to post any differences between the expected cost (recorded on receipt) and actual costs that are posted for Purchase Receipts when invoicing the Landed Cost. If you are using Landed Costs for Transfer Orders then the Transfer Variance Account should be specified and this is used for both expected and actual landed cost postings as Transfer Order postings (as per standard Business Central functionality) are always posted as Actual Costs for inventory costing purposes. Note: you can have a separate Accrual account per "Landed Cost Type" if you wish to ensure clarity in reporting. The financial postings that are created when using the Default Cost Treatment method are detailed here. |
| Charge Item |
For each Landed Cost Type you will must specify the Charge Item No. and Gen. Bus. Posting Group. The above combination will be used in line with standard Inventory posting principles to post to the correct accounts for expected and actual costs. The financial postings that are created when using the Charge Item Cost Treatment method are detailed here. |
Note: in order for the system to post through the expected costs correctly the fields Automatic Cost Posting and Expected Cost Posting must be enabled on your Inventory Setup page else you will not see any landed cost accrual postings.
Landed Cost Assignment
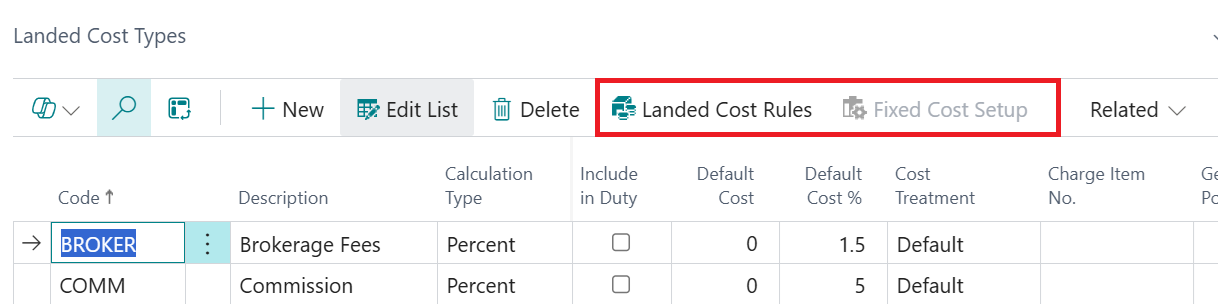
From the menu it is possible to view and setup new cost assignments for the Landed Cost Type. For Item related costs, select the Landed Cost Rules option and for Document/Container based costs the Fixed Cost Setup option should be used.
"Landed Cost Rules" are assigned to Items and will be calculated and assigned to each Item on a Purchase Order or Transfer Order based on the Calculation Type and Quantity and/or Cost of the Item.
Default "Fixed Cost Setup" can be assigned to a Document (Purchase/Transfer) or Landed Cost Container and are then apportioned across the received Items, with each receipted Item gaining a share of the cost based on the Calculation Type.
The Landed Cost Rules and Fixed Cost Setup for a Landed Cost Type cannot be used at the same time for the same type of cost, therefore if you have existing Landed Cost Rules in place a specific cost you will not be able to access the "Fixed Cost Setup" screen. Similarly if you have a cost type that Fixed Cost Setup in place, you cannot then assign "Landed Cost Rules" for the same cost type.
To find out how to setup "Landed Cost Rules" please read the Item Landed Cost Assignment section of the user guide.
To find out how to setup "Fixed Cost Setup" please read the Fixed Cost Assignment section of the user guide.
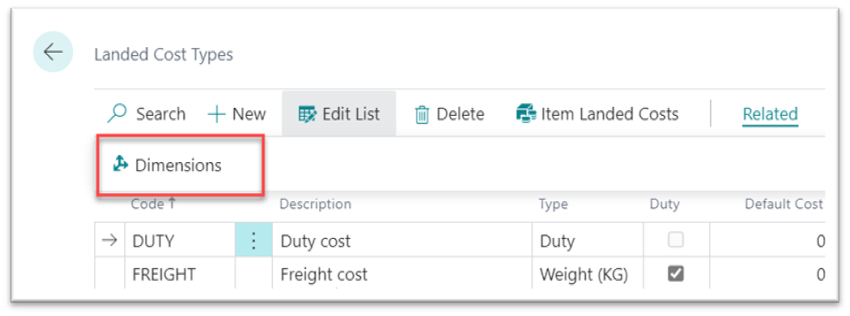
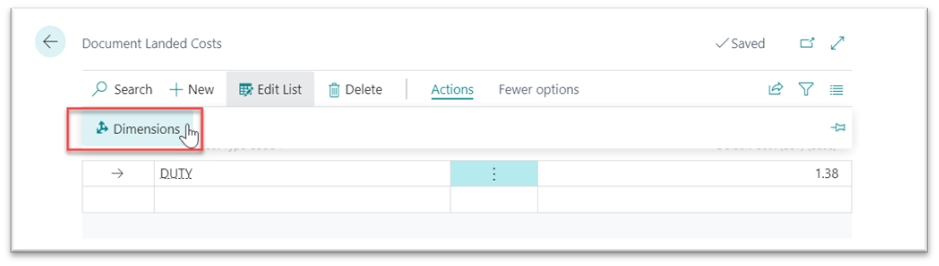
Dimensions
For a "Landed Cost Type" it is also possible to setup the Dimensions that you wish to capture during posting for financial reporting.
The dimensions will be copied into "Document Landed Cost" entries on a "Purchase Order" along with any other dimension inherited from the purchase line.
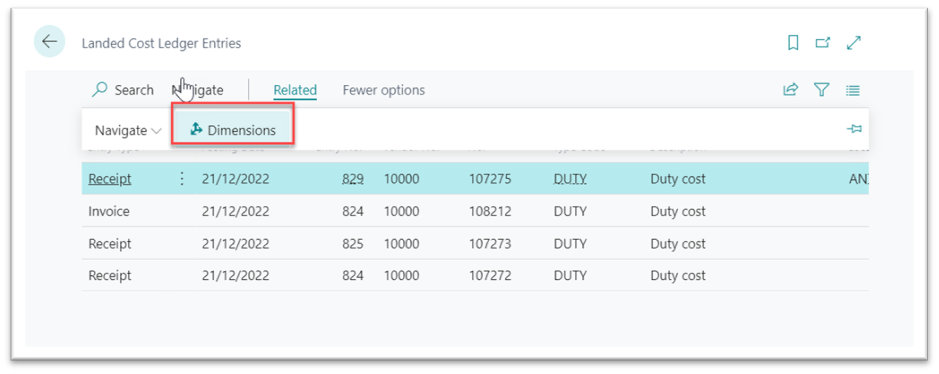
During the receipt posting, the "Landed Cost Ledger Entries" are created with the dimension value from the "Document Landed Cost" and the accruals are then posted with the dimensions specified.
On the "Purchase Invoice", the dimensions are added to the purchase line when validating Landed Cost Type Code. Ledger Entries are posted off the back the cost assignment with the dimension from the purchase line and variance postings will be posted with the dimensions from the purchase line.
Dimension values can be viewed on the "Landed Cost Ledger Entries" screen.
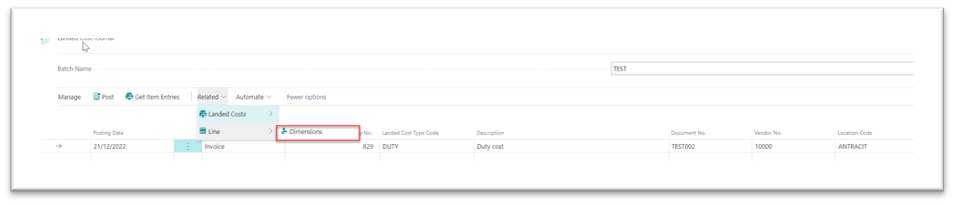
Within the "Landed Cost Journal" we can also view the related Dimensions.