Setting up the Mandatory Ship-To code could not be easier.
Opening the "Customer card" you want to set this up for, you will need to first ensure you have Ship-To Addresses stored. This is because you can't enforce a Customer to have an alternative shipping address to the main stored Customer Address if you have none to begin with.
In the ribbon of the "Customer card", open the Customer option and select Ship-To Addresses. This will open a list similar to the below, either showing a blank screen if none exist or showing you the ones you have previously created.
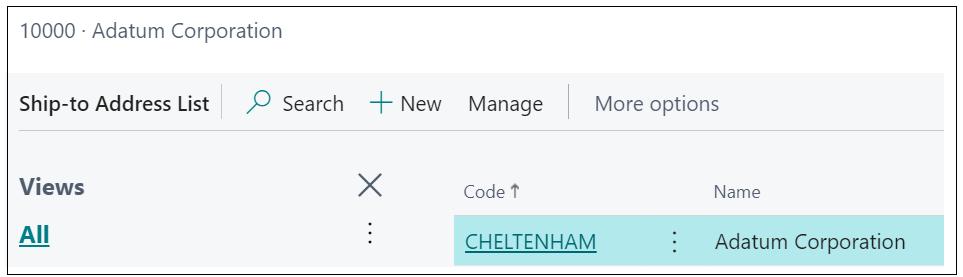
If you have none here, in the +New button, create a new Ship-To code and record the full address. This will be the address you want the goods to be delivered to for this Customer. Once this is complete and saved, your new address will be shown in the list as per above.
From the "Customer Card", now scroll down to the Shipping FastTab. Here, you'll notice a new field for Mandatory Ship-To. This will be defaulted to 'No' on installation of Clever Trade Plus which means this customer will not error if a Ship-To code has not been selected on 'Release' of the "Sales Order".
Where you do wish to have this error, reminding the User that the 'Alternative Shipping Address' needs to be selected, change the Mandatory Ship-To to 'Yes'. As soon as this is 'Yes', you can use this functionality on a "Sales Order".
Note: If you do not have any Ship-To Addresses stored for the Customer and you try and change the Mandatory Ship-To to 'Yes' without creating one first, it will error as per the below example.

Due to this, should you have this set to 'Yes' but then you try and delete your last Ship-To Addresses code from the list in the Customer Ribbon, you will also get an error. This is because your Customer cannot be set to have this as Mandatory where no Ship-To-Addresses exist. If you truly wish to delete all your Ship-To Addresses, you will need to change Mandatory Ship-To to 'No' before doing this action.
