In order to use Item Status Approvals, a few things need to be setup in Business Central.
Item Statuses
Firstly, you'll need to confirm what "Item Statuses" you want to use in Business Central. In the search bar, find the "Item Statuses" page and click into it which will open up a page such as below.
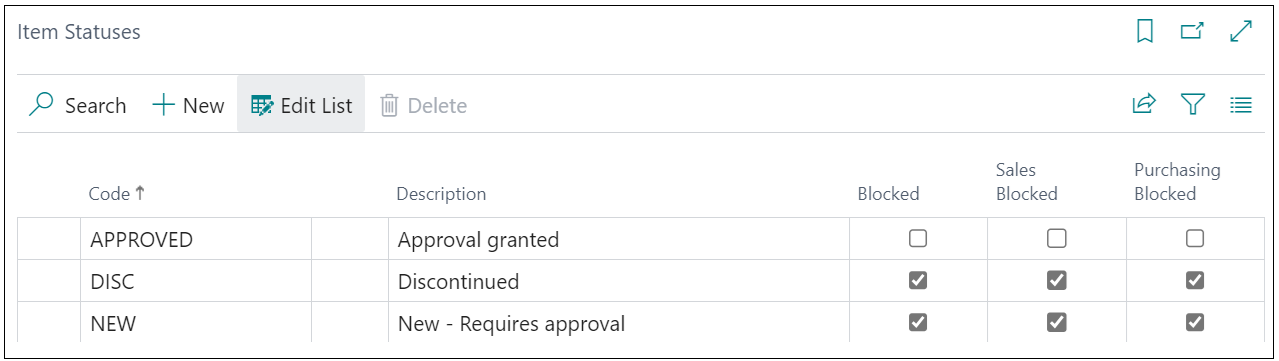
Here, you can add (+New) or Edit the Item Statuses within the list. Create a Code for the Item Statuses you want to use within Business Central. In my example I have 3 options as I will want to set all new Items up as 'New', which once approved can be changed to 'Approved', but I will also want one stored for any items that get 'Discontinued'.
Once you have populated the Description for the Code, you can see you can set these Statuses to either be Blocked, Sales Blocked or Purchasing Blocked. These flags, when the Status is used on the Item, will update these 3 flags on the "Item Card" automatically so be sure to store these correctly. The tick is added when that Item Status Code is used on the card, so using my examples, any 'New' items will be blocked for all but once 'Approved', they will unblock.
When these "Item Statuses" have been set, search for "Inventory Setup" and in the General FastTab, there is a new field called Default Item Status.
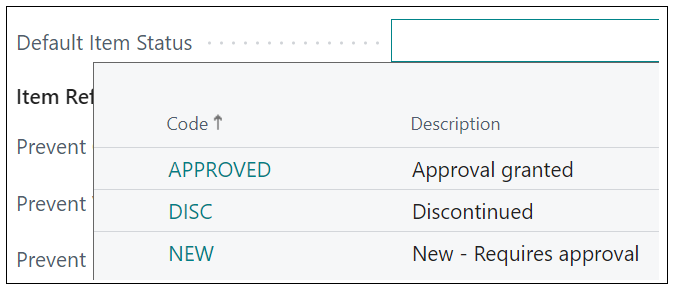
Clicking on the dropdown in this field will display all of the Codes from the "Item Statuses" list to choose from. Select here the Item Status you want to be assigned to all New items on creation.
Using Workflows to handle approvals
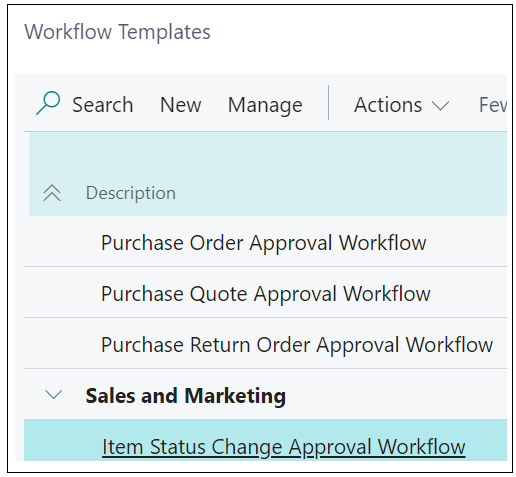
When Clever Trade Plus gets installed, so does a new "Workflow Template". The 'Item Status Change Approval Workflow' will be added into Business Central, requiring a User to enable this prior to the Item Status setup being complete. Note: you only need to enable this if you want to use the workflow. If not enabled, you can still change the Item Statuses and the relevant Blocked/Sales Blocked/Purchase Blocked tabs, this will just allow any User to make those changes.
Clicking into this workflow, whilst most of the setup is already included (i..e 'send approval request for the record and create a notification'), you may wish to go through the options to make other changes such as who will be responsible to approve this change.
The Approver Type can be accessed by opening the "Workflow" and clicking into the highlighted line below.
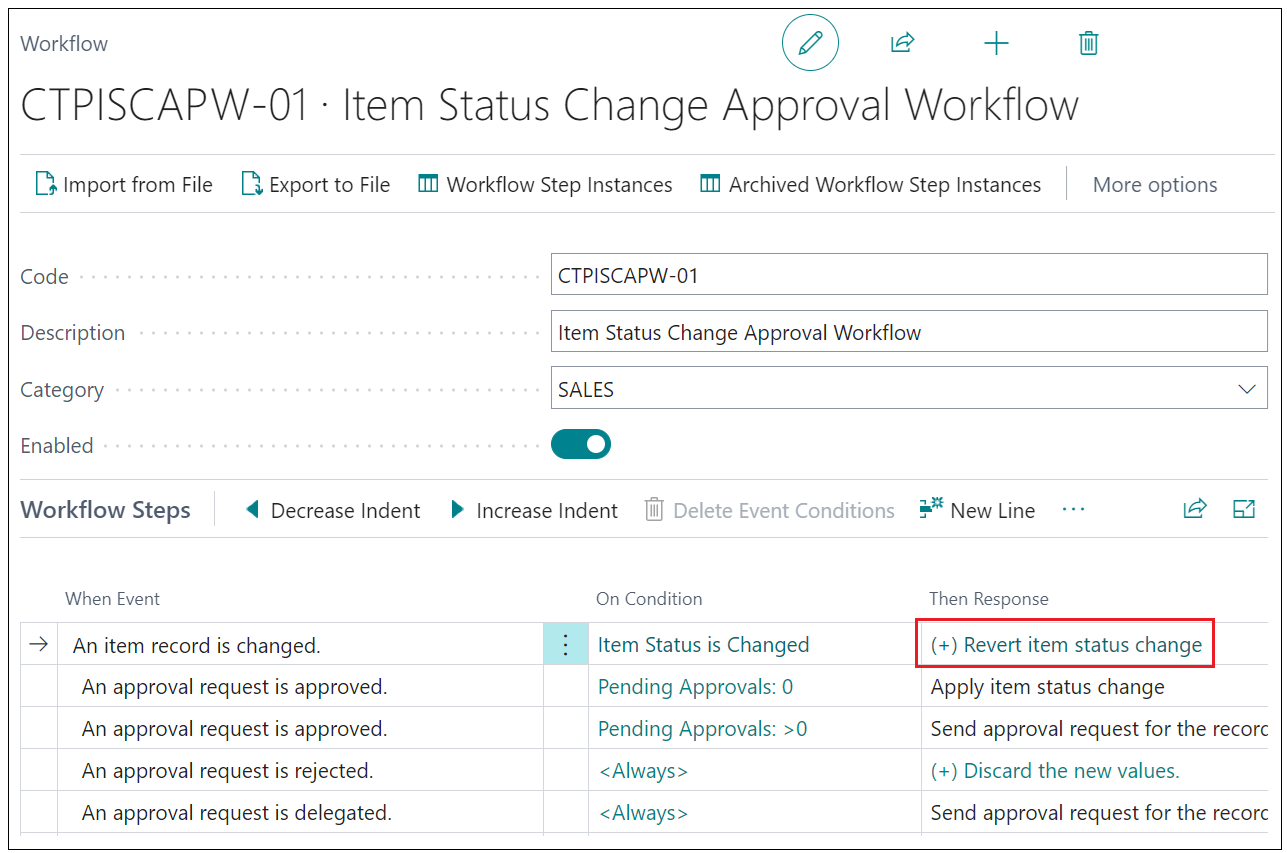
Select the 2nd line in the "Workflow Responses".

This will then show some options for how to change the Approver Type. Within this dropdown, you can choose which approver option you would like to use. In this example, I have used 'Workflow User groups' (and set these up in their own table) but you could select one of the other options if you wish.
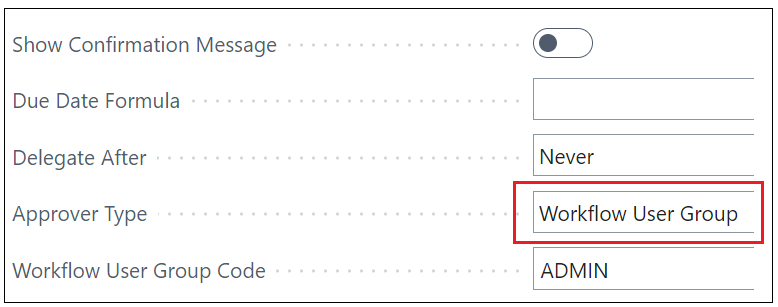
If using Workflow User Groups, then ensure the Workflow User Group Code is added. You can then close this page and change the status of the Workflow to Enabled.
Assisted Setup
If you require further guidance when completing the setup for this, you can use Assisted Setup to complete this action. This process not only guides you through the setup actions required but also provides more instruction on how/why these are required. This is really beneficial for Users that may need more help when setting up features within Clever Trade Plus.
To access this, you can search for Assisted Setup in the search bar which will open up a page like the below image. Choosing the Set Up Clever Trade Plus will run through all the setup for most of the features within this app, which you can skip or complete as you go. This is also really helpful should you want to complete the setup for a number of apps at once.
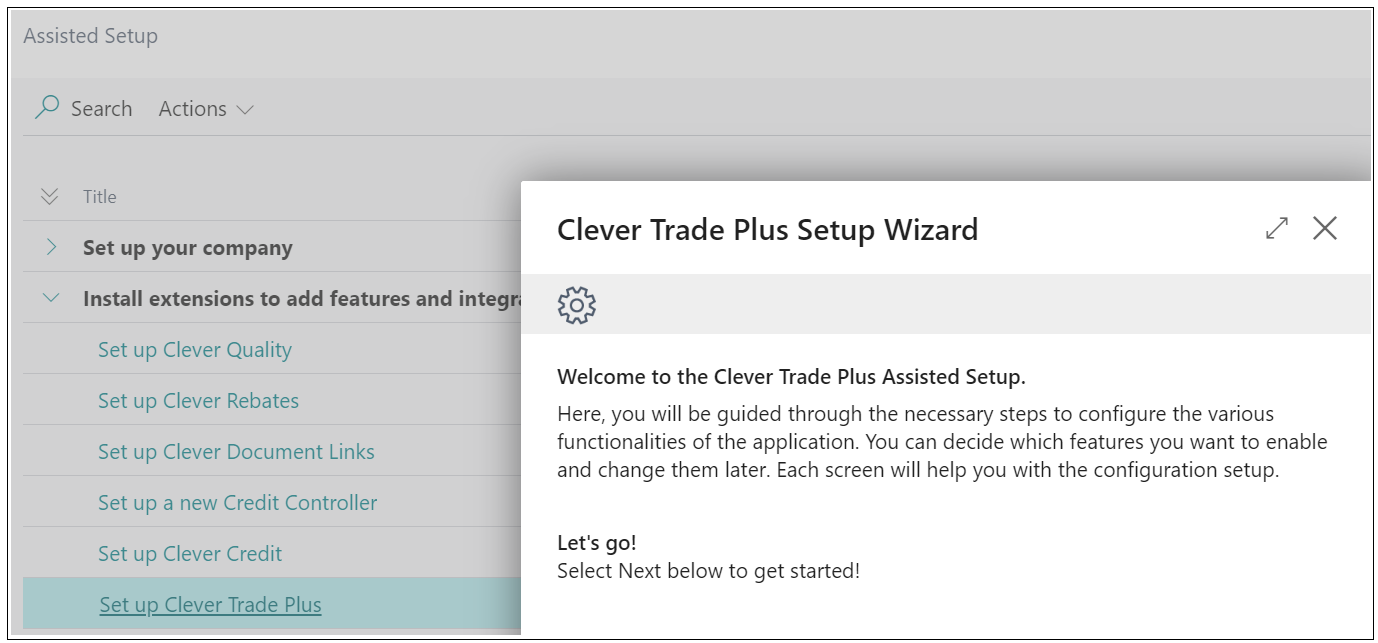
Note - the Assisted Setup will simply assist you in creating the Item Statuses and defaulting both new and existing items (Existing items is only a feature included in the Assisted Setup wizard but is useful should you want to mass change all current Items in Business Central before creating the workflow). You cannot currently Enable or change the workflow via the wizard so the above steps are required manually).