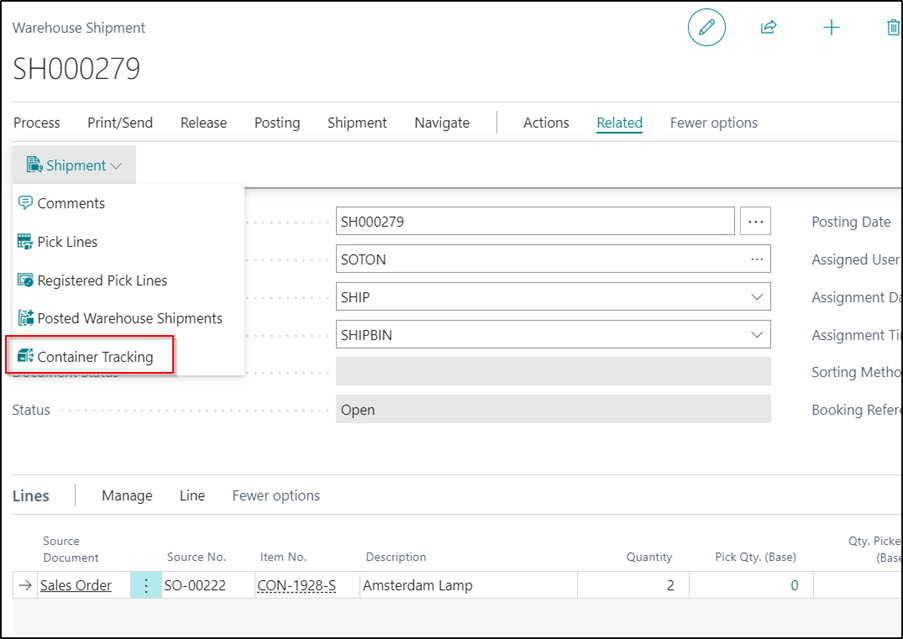
A new menu option called Container Tracking has been added to the Ribbon on Warehouse Shipments to allow you to define the Container that the items will be shipped out to your customers in.
The Container detail used for items being shipped from the Warehouse can either be added to the Warehouse Shipment document after Picking or they can just be entered onto the Warehouse Pick document directly and the detail will then be copied back to the Warehouse Shipment.
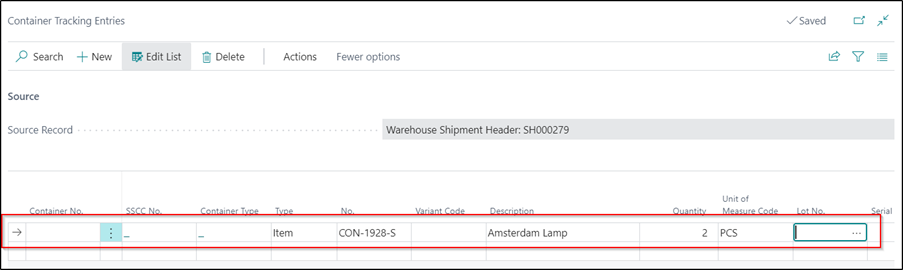
When you select this option, the Container Tracking Entries Page will then be displayed. To complete the Container Tracking detail, you will need to use the Functions which are available under the Actions menu of the Ribbon.
![]()
The first step would be to click on the Suggest Lines menu option. This will bring in all the outstanding lines from the Warehouse Shipment document.
If required, you will then have the option of being able to select the Split Line Function to split the quantity of an item out over more than one line so that they can be placed into different Containers, with two options as shown below.
If you select Split Line then the system will simply use the current line and split it into a new one, but if you use the Multiple Split then you will be shown an Options screen whereby you are able to confirm the total number of Containers you want to create (including the currently selected line) and the system will create multiple Container Tracking Entries and will set the Quantity on all Lines to 1, after which you can then update as/if required.
![]()
The next step would be to assign the lines to the Container that you would like to use to ship the items out to the customer in. This should be completed by selecting one of the options located under the Container menu option. The options work as follows:
|
Assign to Container
|
The options to select are: Assign Container – You can use this option to assign the items into an existing Container which has not yet been assigned to another Location and Bin combination. Assign New Container – You can use this option to assign the item to a brand-new Container. Once selected, you will be presented with the list of Container Types and you will need to select the required one. Assign New Default Container – You can use this option to assign the item to a brand-new Container in the same way as the previous option. However, with this option, the Container Type will be automatically selected for you based on the Default Container Type you defined in the Container Setup area. Assign New Default Container Per Line - If you select this option, and have multiple lines selected, the system will automatically create a new Container for each one. |

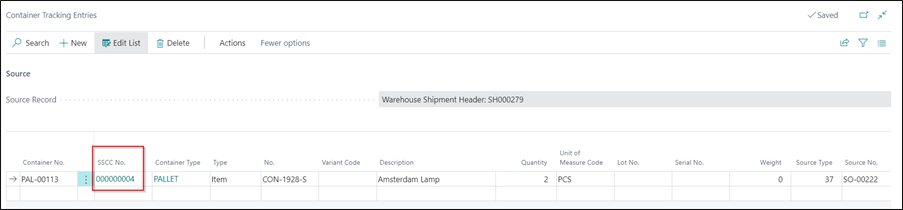
The last step is optional to complete and would be to assign the Container an SSCC Number if required. The SSCC Number functionality has been described previously in this documentation.
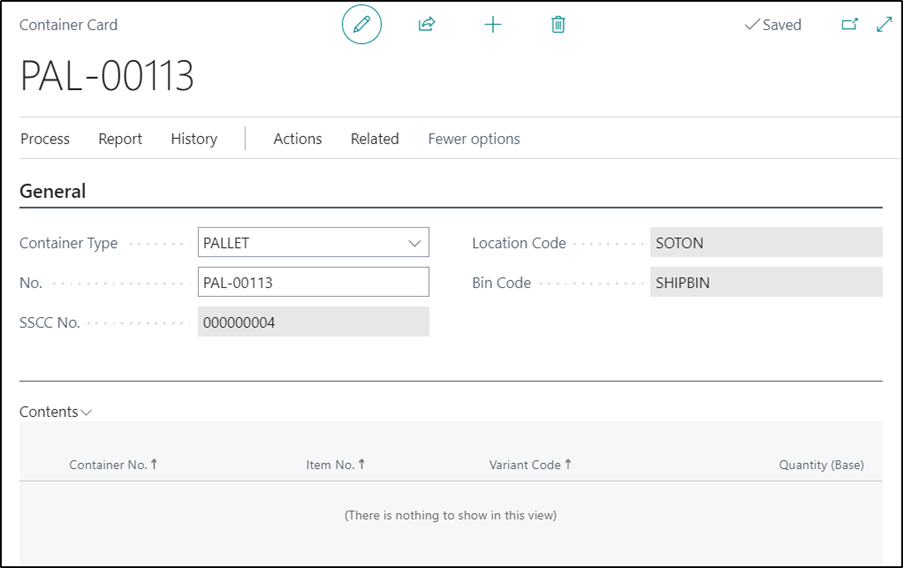
You can then carry on and process the Warehouse Shipment as you normally would. Once the Warehouse Shipment is posted, the Container Card will be automatically updated to reflect which items are now stored within it as well as the Location and Bin information. Container Entries will also have been created.

In addition, the Container Tracking details defined will also be recorded against the Posted Warehouse Shipment and the related Warehouse Entries that are created.
