"Quality Orders" can be generated created by utilising the "Quality Test Automations" to confirm at what point an order is generated, based on the Transaction Type that has been processed.
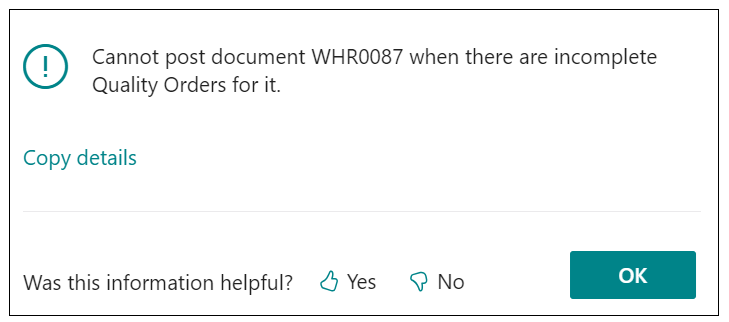
If creating from a "Warehouse receipt" or "Warehouse Shipment", the "Quality Order" has to be posted prior to these documents being completed. If I try and post the document without first completing the "Quality Order", I will get an error similar to the below.
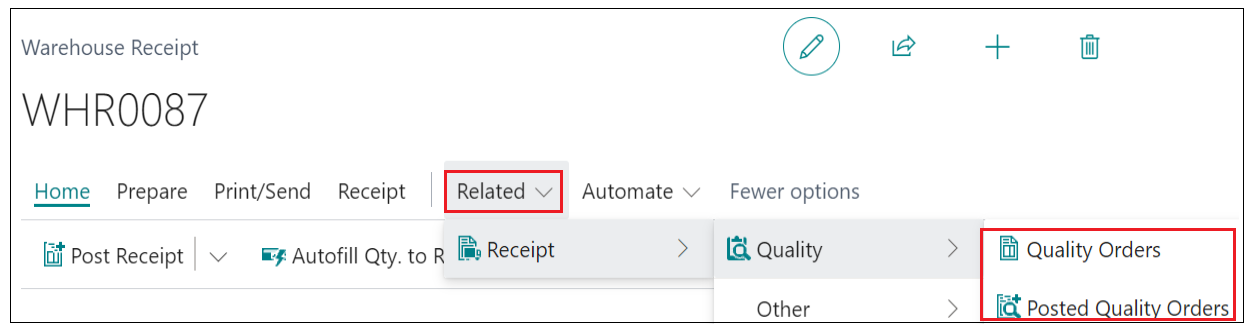
To check if the Document has a "Quality Order" against it, from the ribbon, click into Related, then Receipt/Shipment, then Quality. This will then give you the option to go to the "Quality Order" that has been created. Selecting Posted Quality Orders will show you the list for Posted orders associated against this Warehouse document.
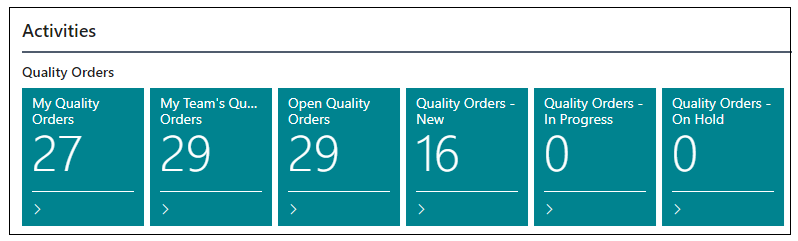
If raising "Quality Orders" from any other Transaction Type, the new "Quality Orders" will be automatically generated and will be available from the "Role Center", initially both in the Open Quality Orders and Quality Orders New tiles.
Using Job Queues to create Quality Orders
Firstly, ensure you have a "Quality Automation Rule" where the Transaction Type is 'Timed (Job Queue)' which is Active.
Much of the fields within the "Quality Automation Rule Card" is unusable for Timed "Quality Orders" so no filters can be applied, no sample qtys can be specified and no occurrences can be set. The Job Queue will simply create a "Quality Order" for the specified Quality Test No.
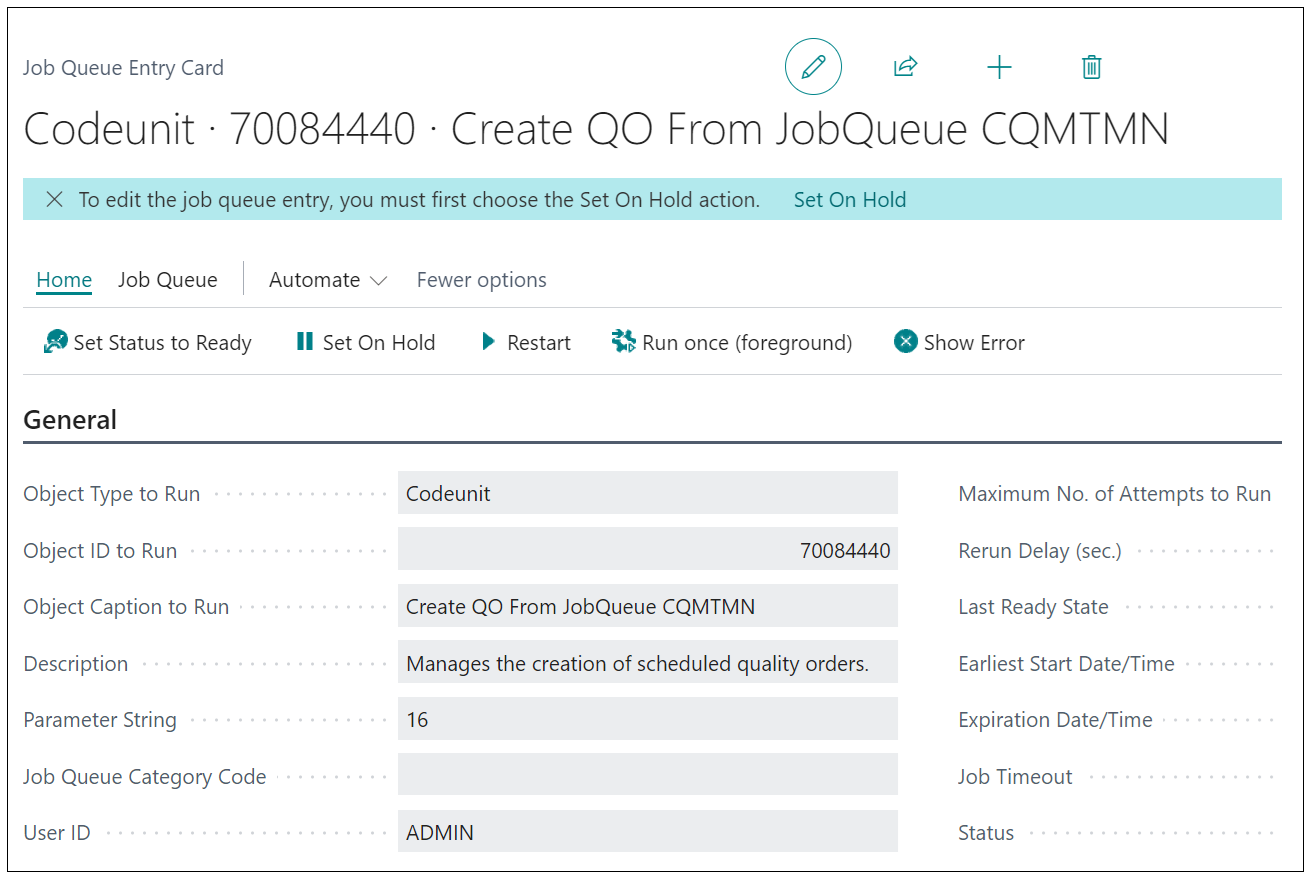
From the "Quality Automation Rule Card", you can select the Job Queue Entry option in the ribbon to create the Job Queue card for you.

Opening this will then take you straight to a "Job Queue Entry Card" for 'Codeunit' '70084440'.'. This will populate the Description for you. Add in any additional scheduling (recurrence) and Set Status to Ready. When this has ran, you will get a blank "Quality Order" created which will only display the basic information such as No, Time, Date, Quality Test No, Team and Status, along with a Sample Qty of '1'. A User is then required to populate the results.