Whether it is from within a record, i.e. a Sales Order or selecting a record(s) from a list page, if you select a record of one type and choose the Send Email (Doc. Delivery) option, Microsoft Dynamics 365 Business Central will send out the document to the pre-configured email address held on the Customer Card (or within "Custom Values").

Where selecting multiple entries and clicking on 'Send Email (Doc. Delivery)', you are presented with the "Document Type Summary" screen. This lists the documents that will be sent. To hide this summary screen remove the tickbox from the Show Doc. Type Summary field on the "Document Delivery Setup" page.
From here, you can define batch behaviour. These will default to the setup you did on the "Document Delivery Setup" page. The Batch Send Behaviour option can be changed from the dropdown to confirm whether the documents are to be processed as Multiple Attachments (which will add every attachment as an individual document to the email) or Single Attachments (which will group all of the attachments together and send them as 1 file).

The option to Preview Before Sending can be set at Document type level or at record level. It allows you to view how the email body will look and what will be attached based on the setup of the document type and the records you have selected prior to it sending. More information regarding AssureSign can be found here.
If we are using the batch sending from a list page on the Document Types Documents section the list shows the grouping of the entries. Firstly group based on Document Type Code (if there is Doc. Type Assignment the system use that filter, otherwise the default Document Type) then the Group by Field No. fields from the Document Type.
Once the above has been chosen you can then look to review the other details on the page:
-
Document Types confirms the type of document being sent (i.e. Sales Order or Posted Sales Invoice)
-
Documents lists the documents with document numbers that will be sent.
-
Details gives you the details that will be used in the email, for the company and the recipient email address. If you need to amend or add to the email address, then click in the field to make changes or additions.
In the ribbon of the Document Summary page is the option to Change Document Type. In the image above, you'll see its using Document Type Code "PSI", however if you want to change which Document Code to use on the fly, you can do this here.
Selecting this option will open up a new screen showing you which Document Type Codes you can choose from. Note, you'll be limited based on the Primary Table No Filter so for example, you can't change from sending a Posted Sales Invoice document to a Customer Statement document. Selecting a new code in the list will allow you to use this new Doc Type Code for these documents only. Next time, they'll continue to use the one it defaults to based on your original setup.

When you are happy with the settings and document type used, click the Send action in the Ribbon.

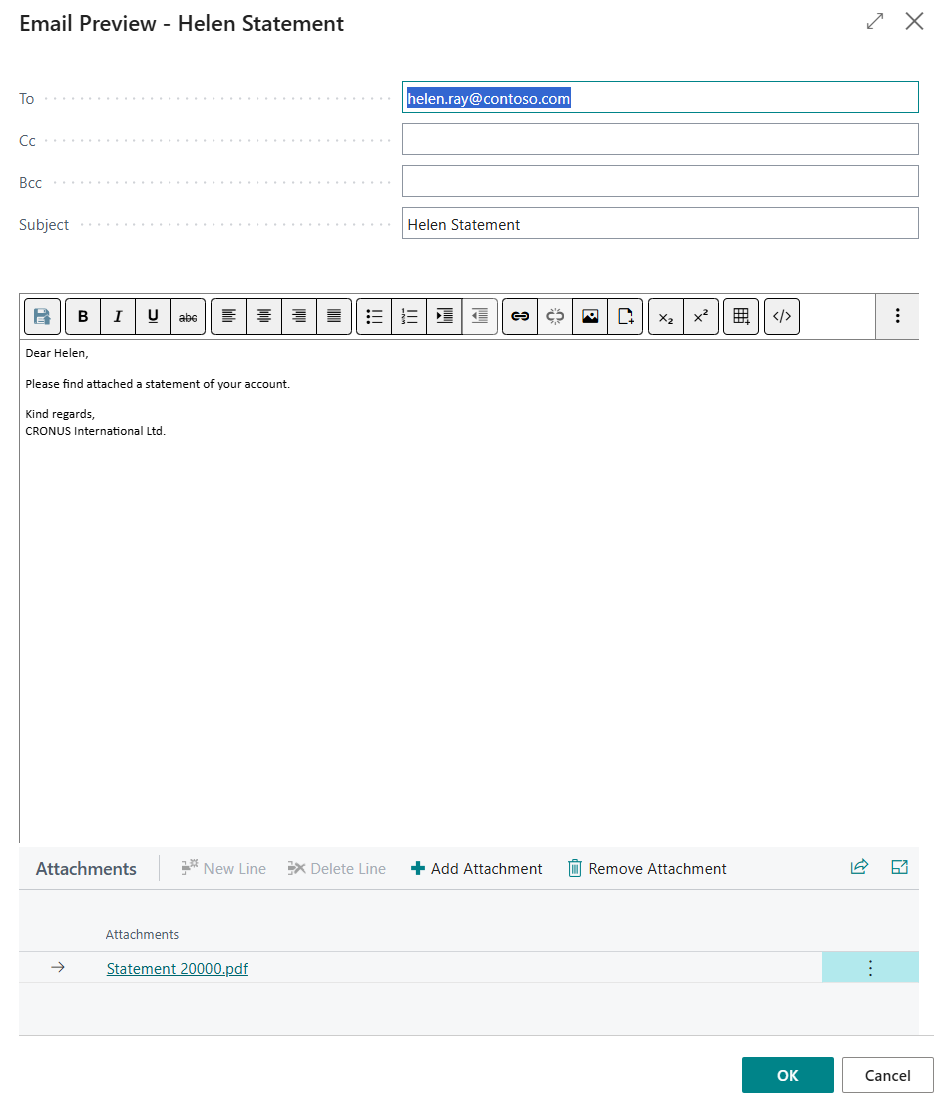
If you had Preview Before Sending switched off, then the email(s) will be sent with no further action required. If the preview was turned on, you will be presented with the screenshot below.

Adding Ad-Hoc Email Attachments
Within the "Email Preview" page, you are able to add ad-hoc attachments to the email by using the Add Attachment and Remove Attachment Actions.

Note: there is a system limitation of 3MB for the attachments.