With Clever Promotions installed, you will notice several new options in the ribbon when the User is on a "Sales Order".
Firstly, within Functions, there are 'Apply Promotion' and 'Unapply Promotion'.
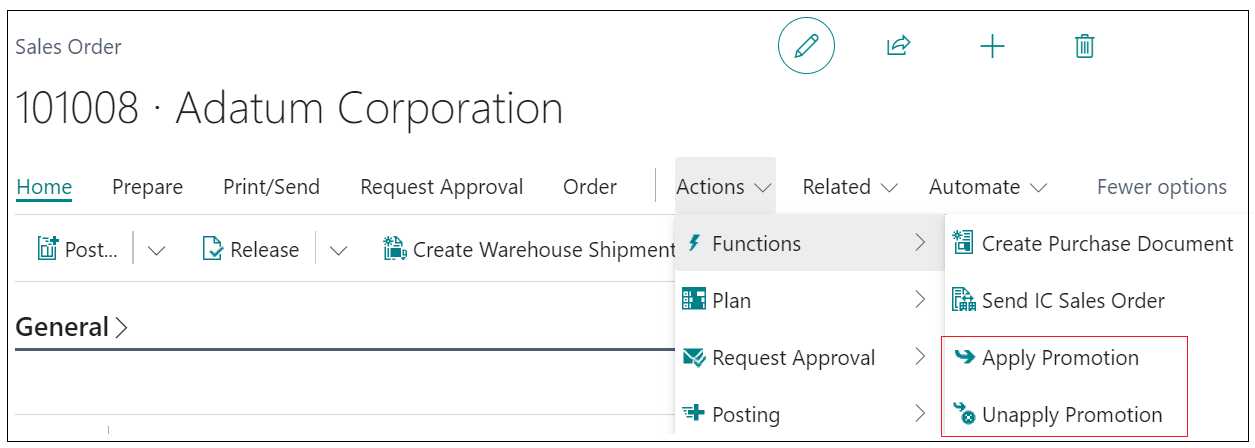
These are to be used once all the Promotion setup is done and you have Enabled your Promotions.
Once your Customer and Sales Lines are populated, when clicking on Apply Promotion, the action will trigger Dynamics 365 Business Central to check through the enabled promotions to see which ones are a fit for the Qualifying Criteria from your sales document. It will also take into account if you have allowed discounts to be combined (either at Document or Line level) and which Promotion sits as priority in the Promotions List.
If you have Prompt for Confirmation ticked on the "Promotion card", when you select Apply Promotion, you will get a screen that looks like this appear, showing you what promotions you have available. The Promotion that appears higher on the Promotions List page will be ticked by default but as long as you allow combined discounts, you can select more than one enabled promotion.
Where there are no applicable Promotions, a nothing to apply error message will occur. Where one can be applied, a message such as the below will pop up, advising how any sales lines were updated across the number of promotions.

If you wish to remove the Promotion, simply select the 'Unapply Promotion' option in the ribbon which will remove off the applied promotion from the sales lines.
Where a Promotion has been applied but the sales line is changed, a message similar to the below will appear advising that the best solution is to Unapply the promotion first, make the change to the sales lines and then re-apply the promotion again.

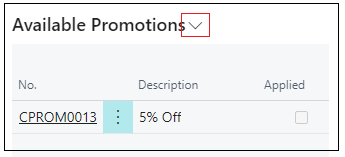
Promotions can also be applied via the FactBox by selecting the Dropdown Arrow next to the header as per the below image and choosing the option 'Apply'