You have 3 options when creating Document Outputs for Sales and Purchase rebates.
-
Create them all manually, per rebate card. This does not require a "job queue entry card". Where the Auto Post Output Document toggle on the "Rebate Setup" page is 'Yes', the output document will automatically generate and post. Where the Auto Post Output Document is 'No', the output document will be created and remain open for the User to post manually.
-
Use the Search Bar (Tell Me) to look for "Create Sales/Purchase Rebate Output Documents" using the filters on the "Request Page" to determine what gets created, meaning you can create (and post if switched on) multiple output documents for more than one rebate at a time. Choosing "Ok" will run the creation of the output document immediately or you can schedule this, which is detailed in Point 3 below.
-
Use the Schedule option from Point 2 above to setup a Job Queue where you can specify the recurrence of the output documents being created. Where the Auto post Output document toggle on the "Rebate Setup" page is 'No', the Job Queue will create the Credits/invoices but not post them. A User will need to check these and post them manually. Where the Auto Post Output Document is 'Yes', the Job Queue will Create & Post the document outputs for the rebate entries specified on the "Request Page". If the Notification Recipient on the "Rebate Setup" is also populated, an email will be sent to that User advising of any failed documents that did not post. These emails can differ for Sales/Purchase provided they are stated on the setup page accordingly. Any documents that fail to post will need to be reviewed and posted manually.
Document Outputs creation with no recurrence
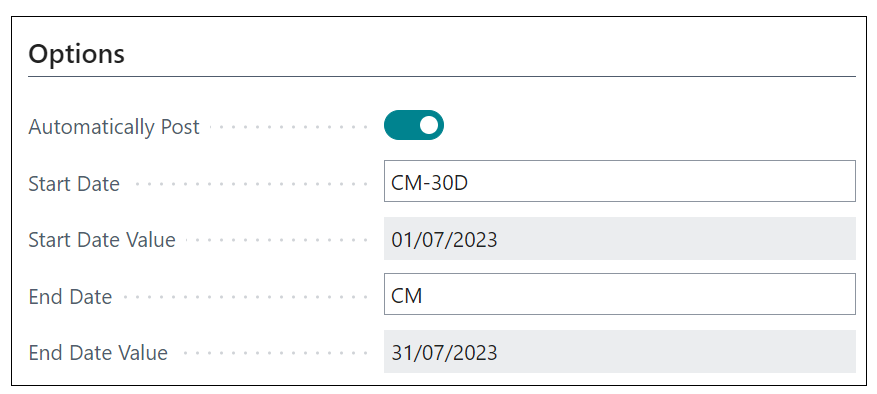
In the Search bar, type "Create Sales Rebate Output Documents" or "Create Purchase Rebate Output Documents" depending on which one you need. A "Request Page" will appear requiring Start and End dates. These are based on the Posting dates of the rebate entries you want to create the output documents for. When using the Start and End dates, these require Formula time units such as D, WD, W, M, Q etc. It will not accept specific dates i.e. '01/07/2022'. This is so that it can handle recurrent postings if required. From the picture below, there are Start Date Value and End Date Value fields which will auto-populate with the calculated date once the formula is entered to ensure the correct date range is added.
Please note that Batch Posting (creation of multiple document outputs and automatic posting of these) is NOT possible where the Rebate Type on the card is set to "Stepped". This is due to it not calculating the tiered values against the rebate entries correctly so currently, batch creation and posting of the document outputs is only possible for Rebates that are FIXED (in Value or Percentage).
There is also the ability to filter on other values such as Customer No/Vendor No and headers that are contained within the Rebate Header such as No, Rebate Type etc. Once you press OK on the "Request page", Business Central will Create (and Post if this is switched on) your output documents.
If the Auto Post Output Document toggle is changed to 'Yes', this will override the "Rebate Setup" page which will remain the default value for future postings but allow this batch to Post.
Utilising Notifications for failed document output postings - Email Setup
If you want to ensure that a notification gets emailed to a User if a Sales/Purchase document fails to post, open up "Rebate Setup" and populate the Sales/Purchase Notification Recipients field. You can define different ones for Sales and Purchase email notifications. The Auto Post Output Document also needs to be switched 'On' for this to work.
Then, searching "Email Accounts" in Business Central will display any users and emails that have already been created. Creating a 'NEW' one here will allow the SMTP setup to be populated which is critical for ensuring the email notification can be sent.
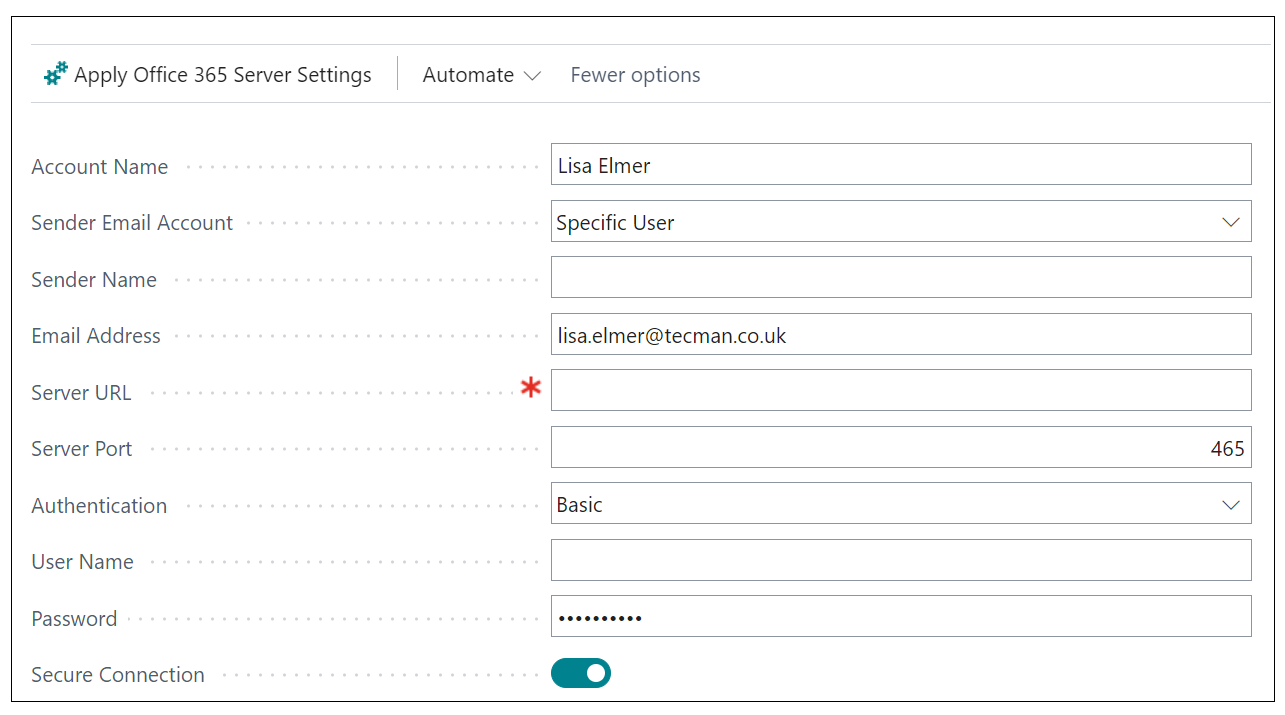
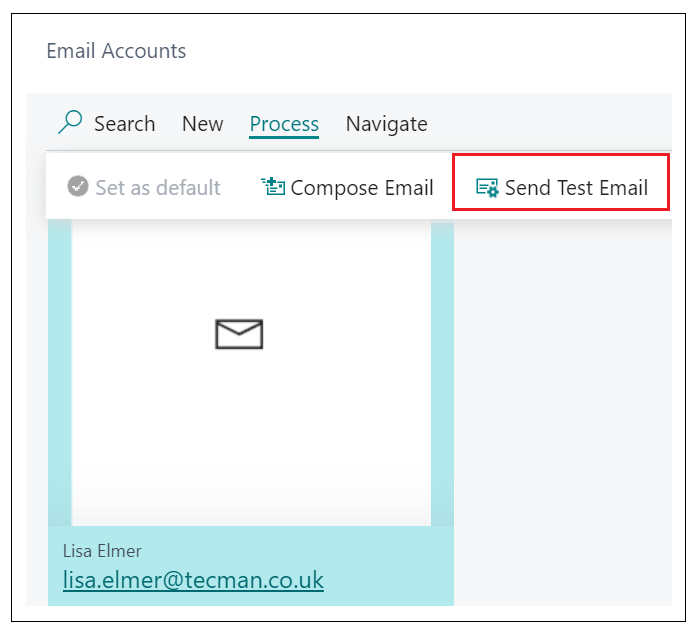
Populating all of the fields with the correct Server URL, Server Port, User Name and Password will then ensure all the data is stored. If you go back to the "Email Accounts" page and highlight the account, clicking into Process and 'Send Test Email' will allow you to either send a test email to the one specified in the setup or send to an alternative email address to test the connection.
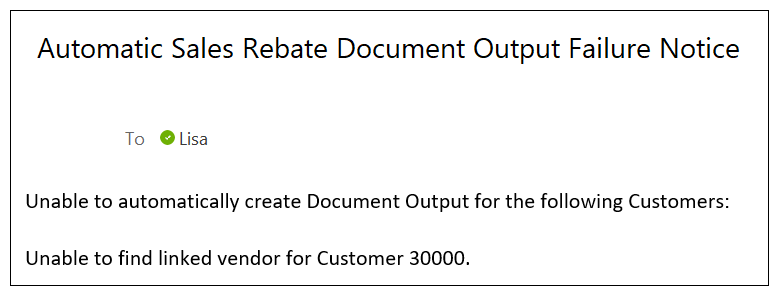
Once this is done, the batch of output documents can be created and will post automatically. Should any document fail to post, an email will be sent to the specified User email address detailing the 'Document No'. This will require the User to address the issue on the document and post it manually. Similarly, where a Customer has no linked Vendor and you attempt to document output a 'Purchase Invoice', you'll receive an email notification like the below. Rectify this by linking the Customer to a Vendor account.
Using Job Queues for recurrent document outputs
Searching "Job Queue Entries", create a 'NEW' job queue card.
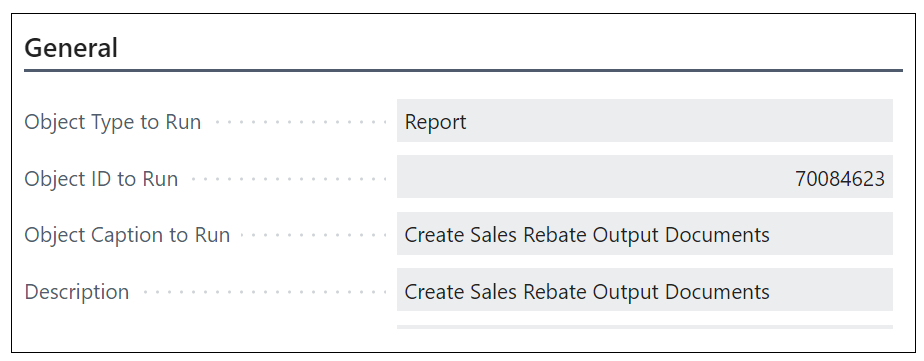
General FastTab
Object Type to Run needs to remain as 'Report' with an Object ID to Run as '70084623' for Sales output documents or '70084624' for Purchase output documents.
Maximum No of Attempts to Run can be populated in the event the job queue fails. Specifying a number here will then re-run this job queue the stated amount of times in conjunction with the Rerun (Delay) field which asks you to populate after how many seconds the re-run will attempt to process. Leaving both of these blank will then only process the Job Queue based on the recurrence as stated further down on the page.
The Earliest Start Date/Time and the Expiration Date/Time fields can also be used to further specify when this job queue is active as of and when it should stop running.
Report Parameters FastTab
Marking the Option Button on the Report Request Page Options field will then open up the request page for this job queue. Here you can select the Automatically Post if this is currently unticked and identify more filters to define exactly what rebates you want Business Central to automatically create (or create and post). This is the same "request page" as the one above so Formula Start and End dates must be defined in order for the document outputs process to run. Filter by any additional Customer or Rebate Header data and press OK on the "request page" to confirm your filters.
Recurrence FastTab
The days of the week can be ticked if this job queue is to process on specific days. Ticking this will allow for further fields to be edited including Starting Time, Ending Time and No of minutes between Runs.
The Next Run Date Formula field can be utilised if it is to be ran at other times, i..e a specific month, quarter etc.
Finally, once all of these fields are populated, clicking into the ribbon into Process and 'Set Status to ready' will then turn on this job queue which will process either immediately if no recurrence has been set or the Earliest Start Date/Time is blank or will sit as Ready and process on that date/time.