Document Styles (introduced in Version 3.0) allow you to setup multiple Document Types for the same Business Central Document which can then be assigned to different Customer/Vendors or selected on the Document itself.
This is useful if, for instance, you have several trading brands within the same Company in Business Central and you want to send out documents to Customers and/or Vendors using different layouts, e.g. to have a different company brand logo on a Sales Invoice.
With Document Delivery you are able to control what Style of document you send by setting up filter criteria that is identified on any of the supported Document Delivery documents, such as a Sales Order.
Note: if you do not require any different styles then the use of this functionality is entirely optional and no setup is required.
Setup a Document Style
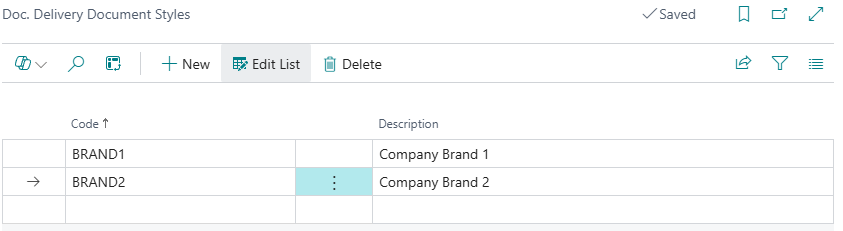
To create a Document Style simply open the "Doc. Delivery Document Styles" screen and input enter a Code and Description to uniquely identify the Style.
With Document Styles in place you then need then need to associate Style to a Document Type and identify the rules for when the Style will be used on Documents sent through Document Delivery.
Assign Document Style to Document Type
The Style Code is a new field that is added to the "Document Type Card" screen within Business Central and is used to link the Document Type to a specific Style. To identify the Style Code that applies to a Document Type you can simply select the relevant Style Code from the General FastTab of the "Document Type Card", as shown in the example below.
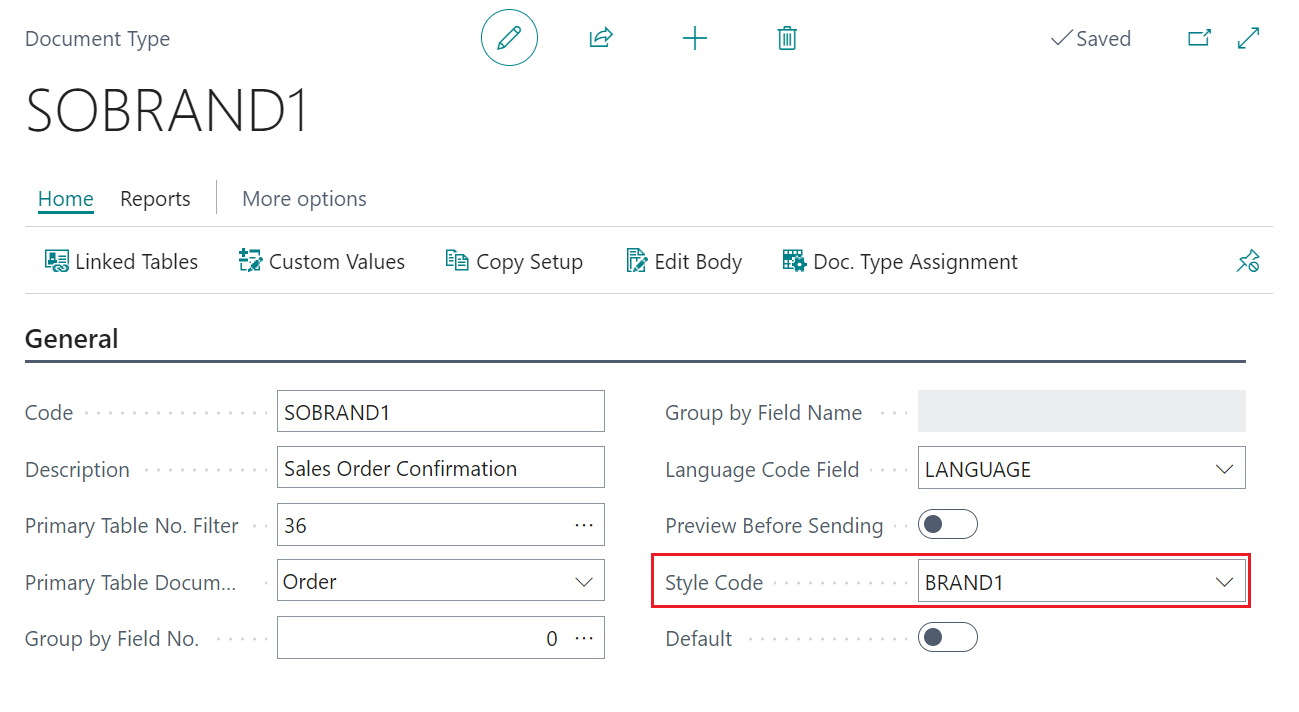
Also on the Document Type screen is another field (shown below the Style Code in the screenshot above) called Default which is used by the system to identify the Document Type that will be used when sending via Document Delivery in the case that a specific Style is not applicable for the document or where the Document Style functionality is not in use.
Note: when Document Delivery is installed for the first time and the Default Configuration is applied, all of the standard templates will have the Default attribute set on them. Only one Document Type (for combination of Primary Table No. Filter and Primary Table Document Type) can be active as the Default at any one point in time and therefore to change the default you must first unselect the existing Default and then select the desired Document Type record.
When creating a new Document Type for a new Style, it is recommend that the Copy Setup feature is used to copy the basic information from an existing Document Type.
It should be noted that to be able to send the same document style through the Sales or Purchase process (e.g. from Sales Order through to Sales Invoice) you will need to ensure that you setup a Document Type for all stages using the same Style Code. When a Document is posted the system will filter the Document Type records for the Posted Document Source Table (e.g. Posted Sales Shipment), where the Style Code matches and the identified "Document Type" will then be used by Document Delivery.
Setting Filters for Style Code
The concept introduced into the Document Delivery solution, by way of the Style Code is to be able to produce different Document Outputs for the same Business Central Document (e.g. Sales Order) based on the data that is contained within the Document, for example a Document Type could be selected based on a specific Dimension Value or Customer No.
To setup rules (the filters to apply against the Source Document) a new option is available from the Document Type record, called Doc. Type Assignment, as shown below.
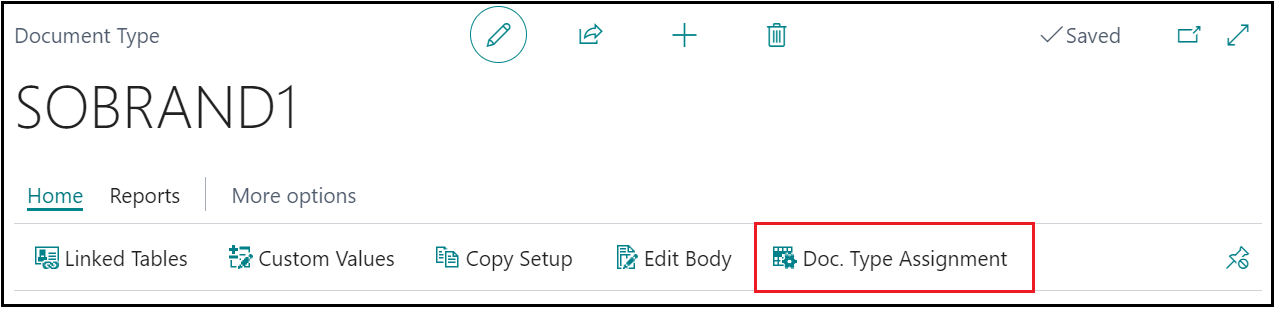
When the Doc. Type Assignment option is selected the following screen will be shown and from this screen you will setup the filters that to be used by Business Central to select the most relevant Document Style, which will then be populated automatically onto the Document, such as a Sales Order.
All fields that are available on the Primary Table No. of the Document Type are available to specify using the Field No. and you can then enter a filter expression (in exactly the same as you would apply standard Business Central filters) within the Filter Text column.

Example, In the case of the above screenshot, this is setup so that the Document Type will be used (and therefore the linked Style) when a Document is created and the Shortcut Dimension 1 Code for the Document is BRAND1.
In the video below, you can see a demonstration of how the Style Code and Assignments are used and how this new process changes the behaviour of using multiple document types for the same Document. This also impacts how Posted ones are used which is also demonstrated.