The Container Consolidation Function provides the ability to be able to merge together the entire contents of one Container into another one via your Device. In addition to merging two Containers together, you can also use the Function to move the entire contents of one Container into a new Container if required.
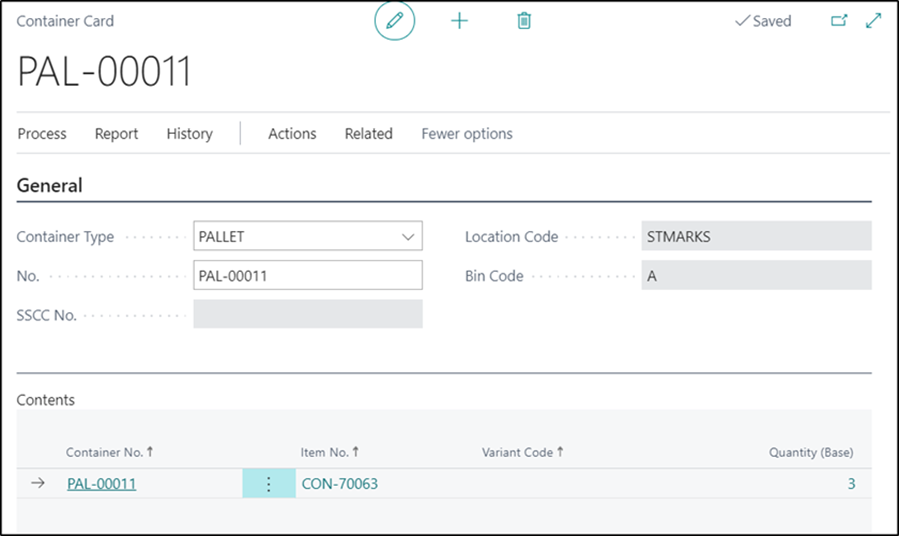
In this example, we will merge container numbers PAL-00008 and PAL-00011 together.
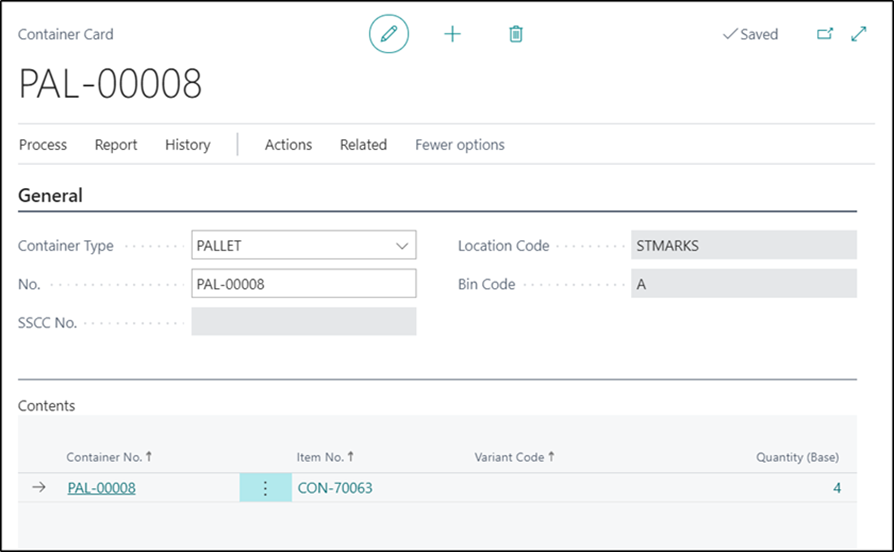
When you select the Container Consolidation Tile Device, you will firstly need to enter the Container No of the Container you want to move the contents from.

On the next Page, you will see a list of all the different Container Types you have created. You should select the type you want to use.
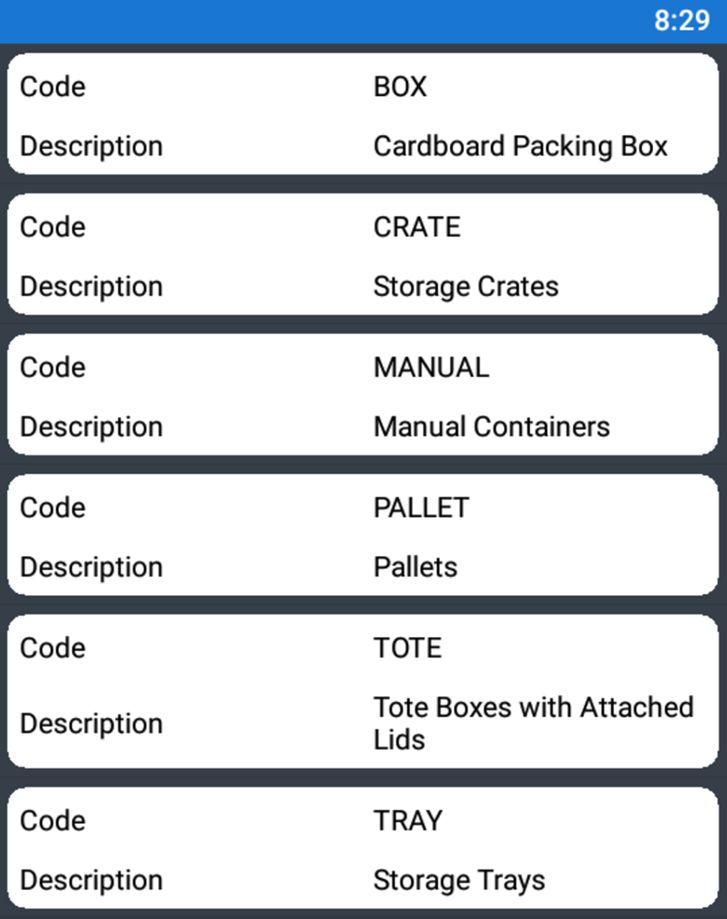
Note – The Container Type selected here will only be used if you are moving the Container contents into a new Container. If you are moving the Container contents into an existing Container, then this selection will be ignored as the existing Container will already have a type defined.
On the next Page, in the To Container No. Field, you will need to select the Container that you want to put the items into. The Field will automatically default to (AUTO ASSIGN) which means that a new Container will be created with the Container Type you selected on the previous Page.
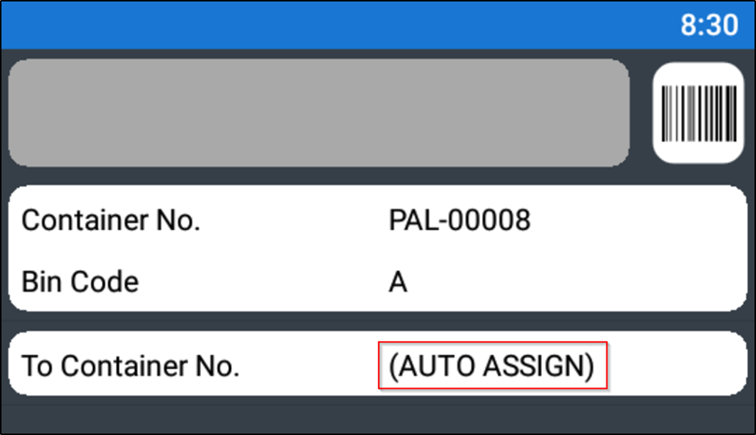
If you would like to move the contents of the selected Container into an existing Container, then you can click on the To Container No. Field and change it. If you do that, then the below message will appear:
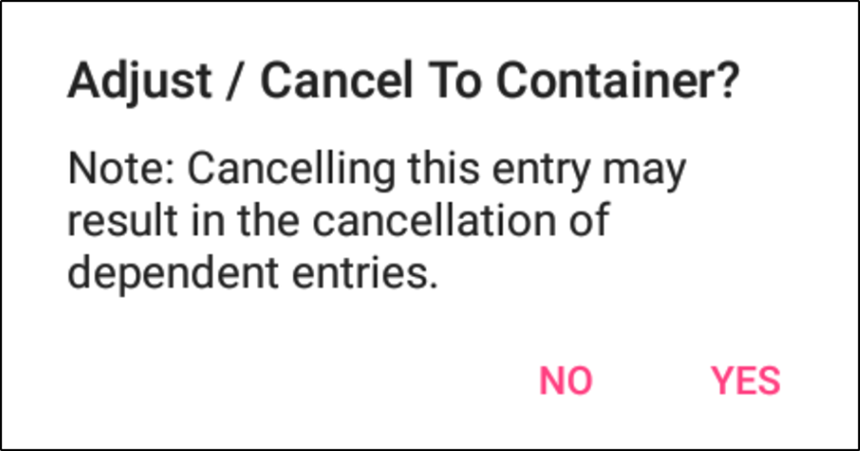
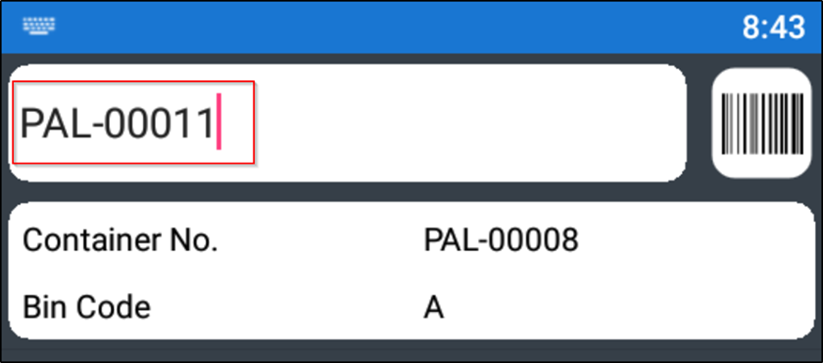
If you click on the Yes button, then the below Page will appear allowing you to enter in the required Container No.
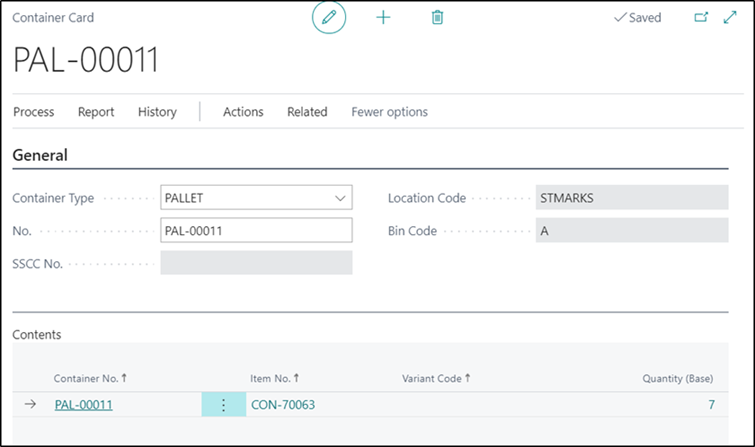
The Container Movement can then be posted. Once completed, the Container and associated Container Entries will be automatically updated within Business Central.

Note – The Container No Field is also recorded against Warehouse Entries when they are created but the value will not be updated when using the Container Consolidation Function.