The Shipment Function should be used in order to process Warehouse Shipments documents on a Device. The same transactions will be created in Business Central when processing on a Device that would also be created if Users processed the Warehouse Shipment in Business Central. For example, Posted Warehouse Shipments and Posted Sales Shipments etc. In addition, the same information will also be updated on any related documents i.e. the Qty. Shipped Field on the Sales Order line etc.
After the Shipment Tile has been selected, the Device will prompt the User to enter in the Warehouse Shipment No. that you want to process.
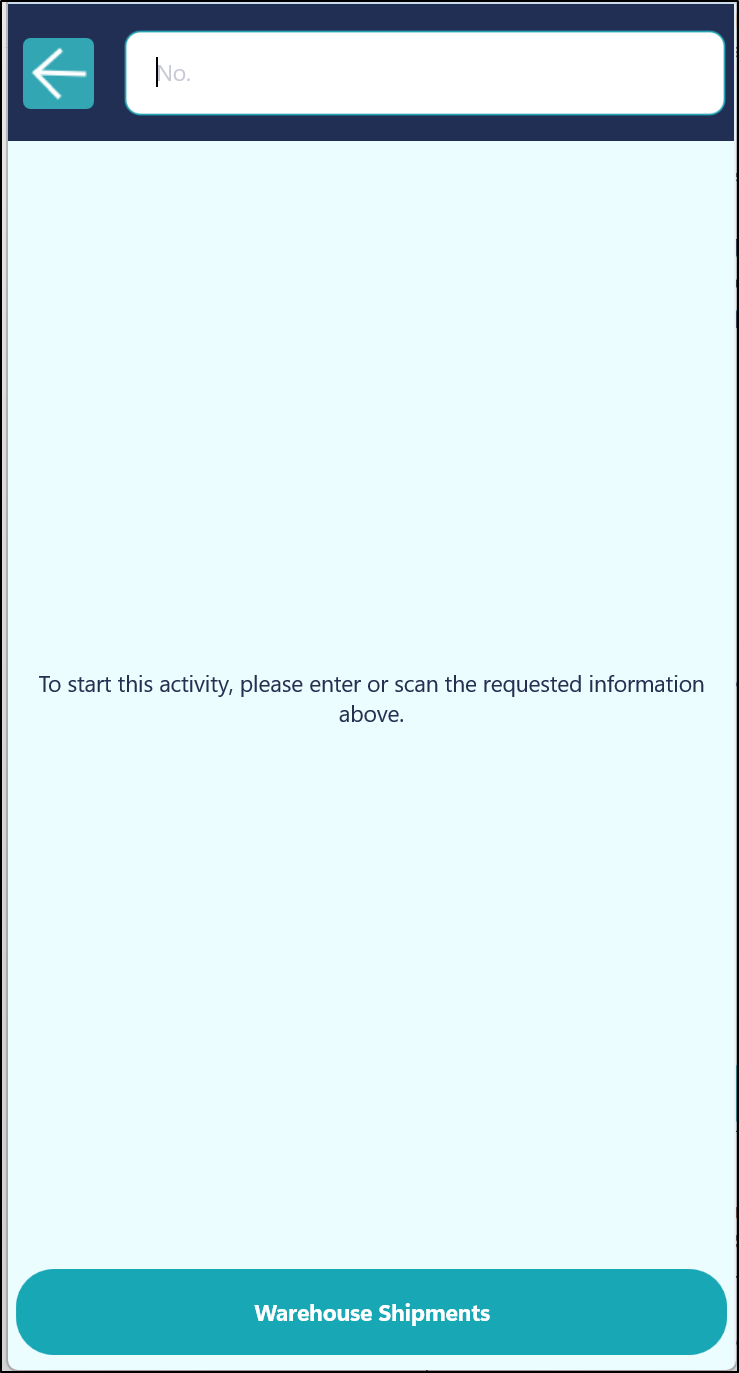
Alternatively, the user can also click on the Warehouse Shipments button at the bottom of the screen in order to display a list of all the Warehouse Shipments. They can then either use the Search Function to search for a specific Shipment or they can scroll through the list and select the relevant one.

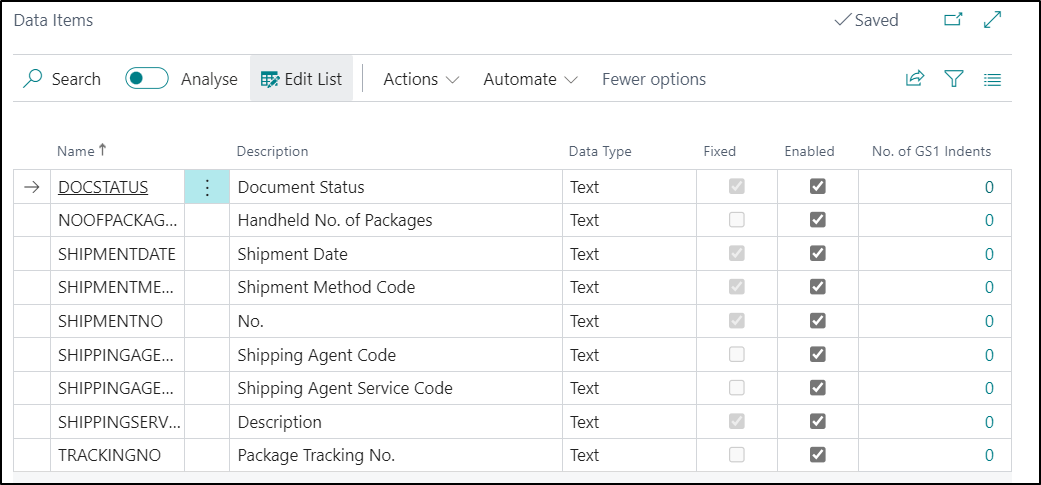
Once a Warehouse Shipment has been selected, the other information that the Device prompts for is dependant on what has Data Items you have Enabled against the Shipment Function.
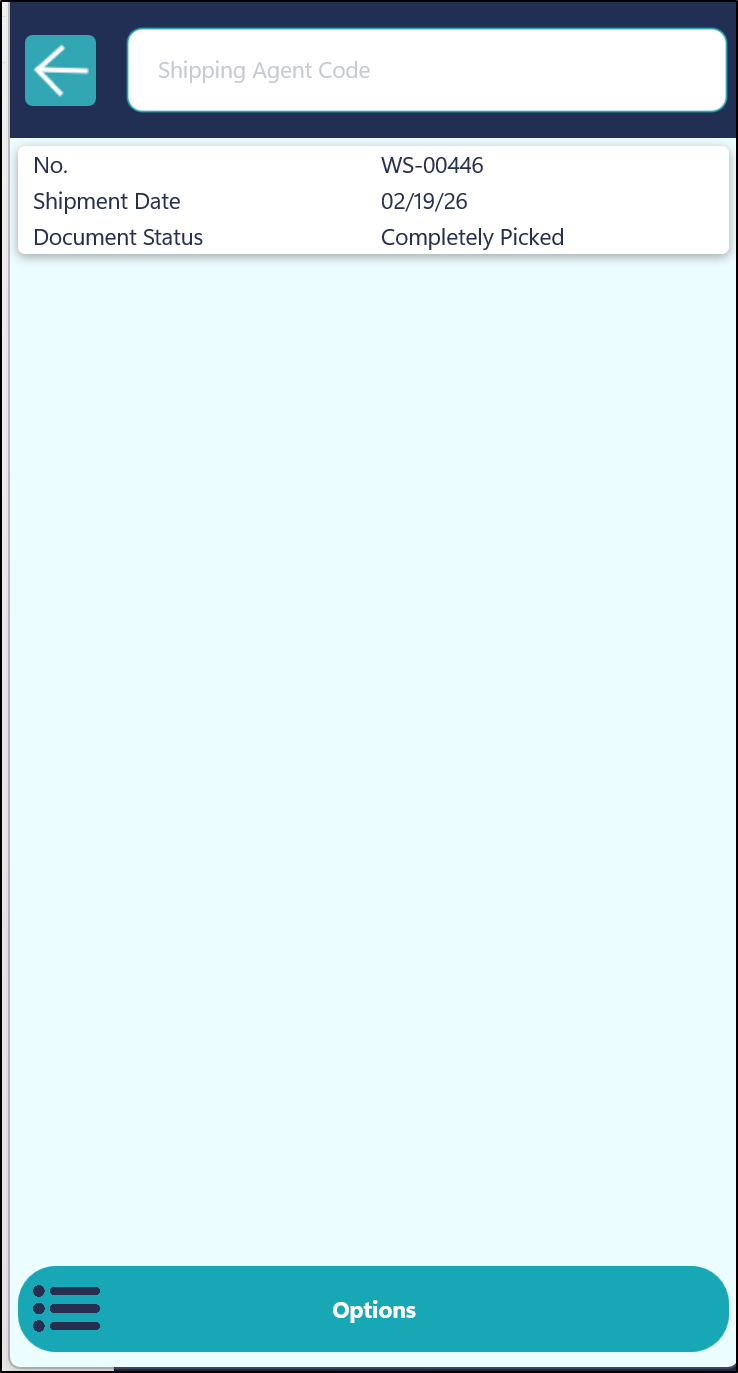
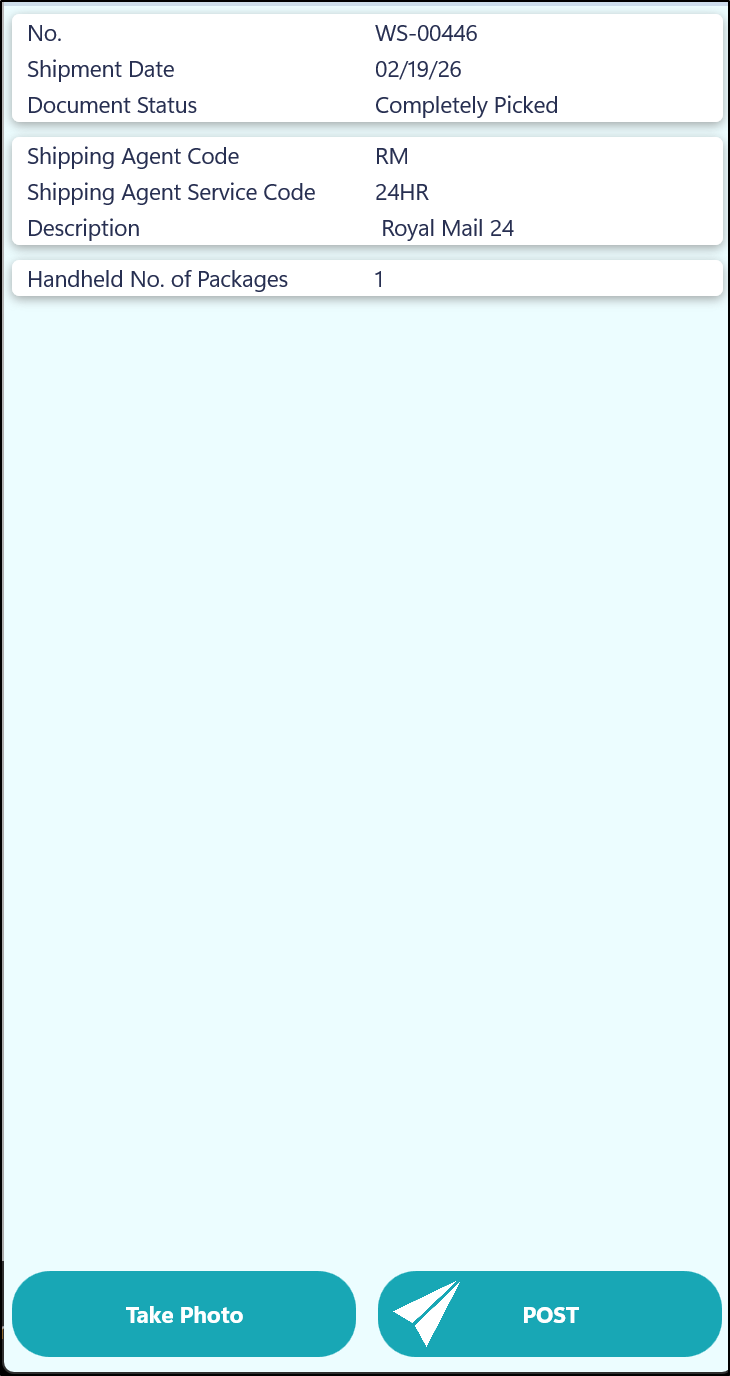
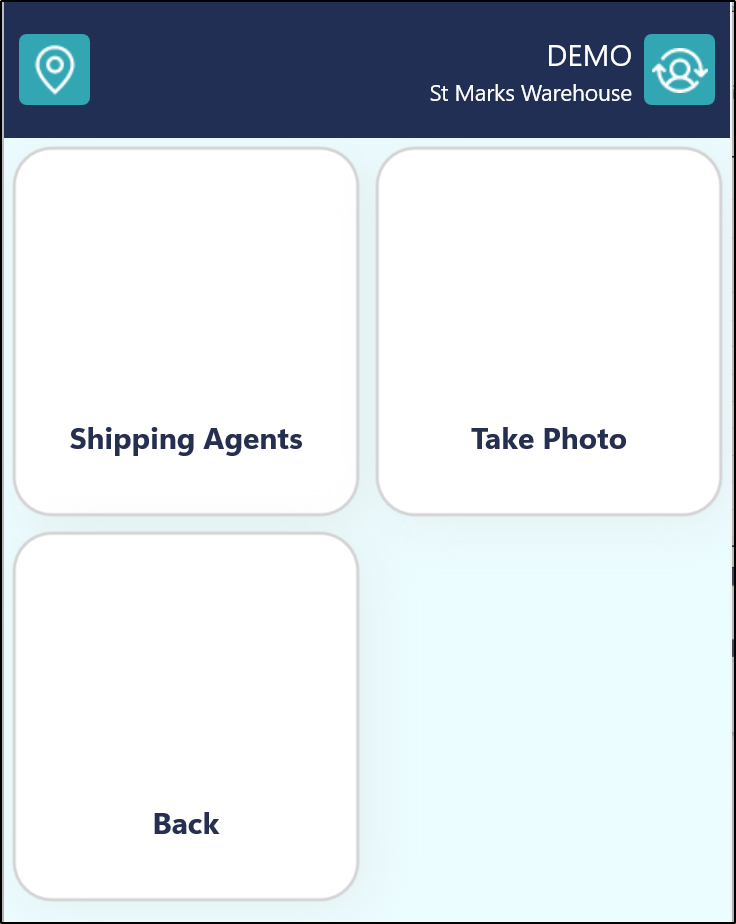
The Options button can be selected if required. This will allow the user to be able to select from the list of Shipping Agents that have been setup in Business Central or allow the User to take a Photo. This could be useful if you need to take a picture of the items prior to being shipped to prove that there is no damage to them and that they have actually been sent etc.
NOTE - If a photo has been taken, then it will be stored against the Posted Warehouse Shipment in Business Central.
Once all the information has been entered, the user can Post the Warehouse Shipment. This will then create a Posted Warehouse Shipment document in Business Central.