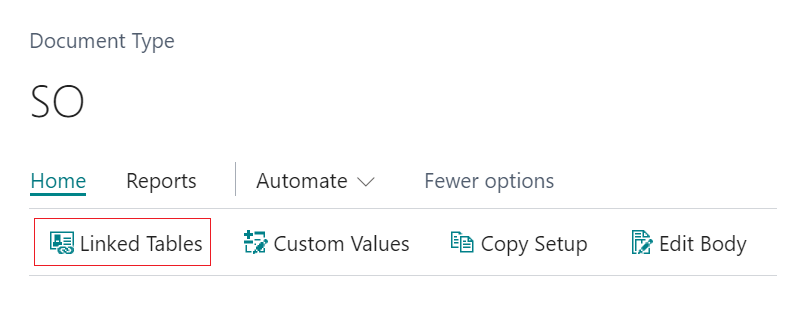
In the ribbon of the "Document Type" card is the button for Linked Tables.
The "Linked Tables" page is used to link tables together. The purpose of this is to allow access to data that isn’t available from the Document Type’s primary table.
For example, a Document Type of “Sales Invoice” would use the Sales Invoice Header table to get invoice numbers; however, the Sell-to Customer’s email address needs to be retrieved from the Customer table as it is not stored on the primary table Sales Invoice Header.
To resolve this the tables are linked using the "Linked Tables" page. This means from the Sales Invoice Header table the Invoice number is related to the Sell-to Customer No. which in turn matches up to the Customer No. on the Customer table, which shows the email address.
From the Document Type page, select a document type and click Linked Tables. This will open a page like this:
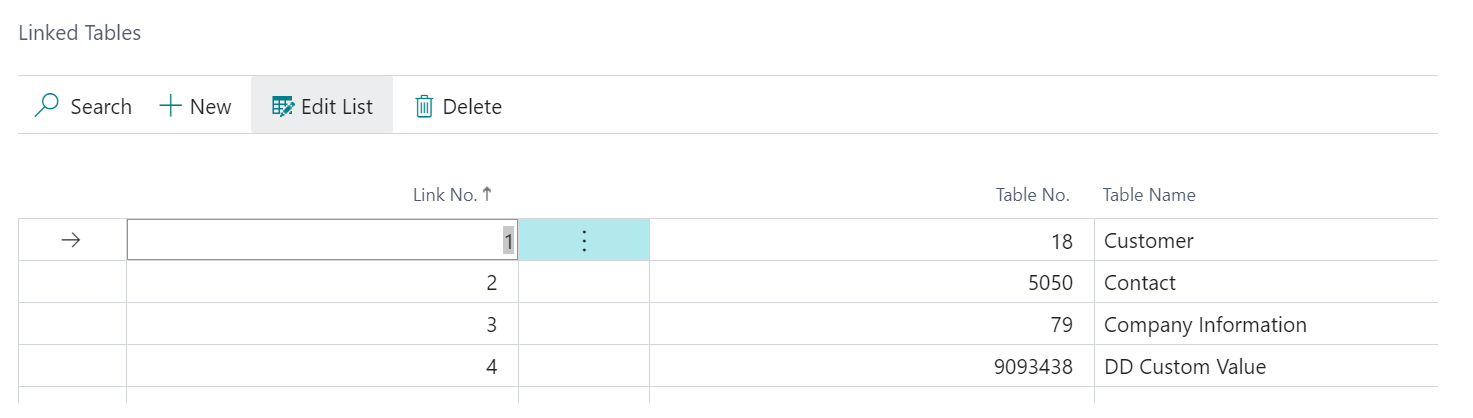
The upper portion of the page is used to add tables that need to be linked to the "Document Type’s" primary table.
To add a new linked table simply click on the button labelled New. Fill in the field Link No., the link number must be a number from 1 to 10. Up to ten tables can be linked to the document type. Then populate the field Table No. that you want to link the document type with. This will automatically populate with the Table Name when a Table No. is chosen.
The lower portion of the page is used to configure the Links FastTab within each table that has been chosen. Select a link number in the upper portion and then change the settings in the lower portion. Effectively the lower portion is itself divided into two parts - the fields chosen from the linked table and the fields that are being linked to on the primary table.

The first field that shows is the Field No. These are the field numbers from the table that you are linking to the primary table. The Field Name will automatically populate with the Field Name when a Field No. is chosen.
The next field along is the Type field. This can be a Field or a Filter. Choose Field if linking to a field on the primary table. Choose Filter if using a filter field within your primary table or another linked table against the linked table above.
Note: if you are using type Filter then make sure to fill in the Filter field on the FastTab, which specifies a filtered value for the chosen field.
The Link -To field allows you to choose your Link-To type from Primary Table, Linked Table or Document Field. If you choose the option Linked table then you must populate the Link- To No. field. Dropping down on this field will give you a list of the linked tables you have selected on the upper portion of the page. Next fill in the Link-To Field No. use the assist (the three little dots on the field) to choose which field from your Link-To Type to use. Populating this field will automatically populate the Link-To Field Name based on what you have chosen.
Multi-level attachments with Document Links
In some instances, you may want to send attachments from other sources in Business Central too, such as Posted Sales invoices when the Issued Reminder is sent which you can do using just Document Delivery.
However if you have Document Links installed, you can take that one step further by using an attachment from 1 source document and sending it when another source document is sent, such as emailing a Posted Sales Invoice along with an attachment from an Item card (where the item features in the invoice).
To do this, you'll firstly need to have a Attachment Code defined along with Attributes stored against it and Linked Documents ticked in the "Doc Type Attachment Card". All this setup can be found here. Ensure that the Multilevel Attachment toggle is changed to 'Yes' within the File Generation FastTab.
Once this is done, you'll need to go to Linked Tables within the ribbon of the "Document Type".

Using the example of wanting to attach Item attachments from a Posted Sales Invoice, you'll need to add 2 new Link No's (sequentially), one for the 'Sales Invoice Line' table (ticking this as Multilevel) and one for the 'Item' table itself.
Select the Link No for the 'Sales Invoice Line', updating the Links section at the bottom of the screen to detail the below information.

Then repeat the step, this time selecting the 'Item' line in the Linked Table and updating the Links fields as below.

Finally, go back to the "Document type" card, select the Attachment line and click into Doc Type Attachment Card to update the attachment settings. Now you have the Linked Tables setup, you need to change the Document Source to 'Linked Table' and select the Document Source No to show your Item Linked table entry.

This now means when I store a file against my Item card (as long as it uses the same Attribute Codes and Attribute Values as defined within the Attachment Code), when I email my Posted Sales Invoice, any Item Attachments will also be sent at the same time, without the need for my to re-attach the file anywhere.
