Clever Printer Selections provides a unified approach to printing which can be used by the entire suite of Clever Apps.
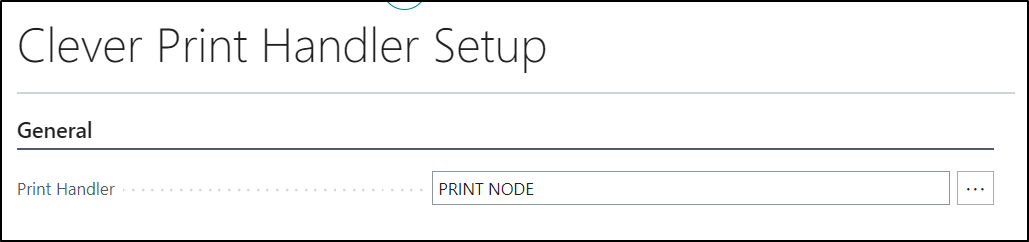
To setup the print handler that you will be using, from the "Clever Printer Selections" screen, select the Print Handler Setup option from the menu ribbon.

From here, you should select the relevant Print Handler. If using the Clever PrintNode application then this should be set to Print Node.
Back on the main "Clever Printer Selections" screen you can then setup entries in the to cater for your printing requirements.
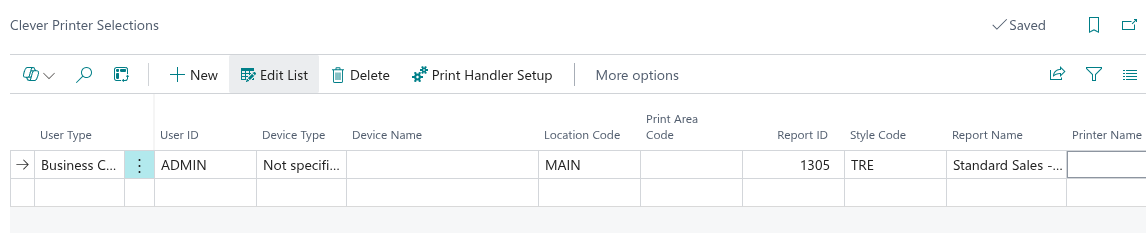
The attributes available on the "Clever Printer Selections" screen are detailed below and provide you with the capability to control which printers are used for each type of user across the entire range of Clever Dynamics applications.
| User Type |
In this attribute, you can select either of the following options
|
| User ID |
If the entry you are creating relates to a particular User then you can select the the relevant one here. Alternatively this attribute can be left blank |
| Device Type |
If the entry you are creating relates to a particular Clever WMS Devices Device, then you can select the Clever WMS Device Option here. Alternatively this attribute can be left as Not Specified |
| Device Name |
If you selected Clever WMS Device as the Device Type then you can select the relevant Device here |
| Location Code |
If the entry you are creating relates to a specific Location, then you can select the relevant one here. Alternatively this attribute can be left blank |
| Shipment Bin |
If you are using Clever WMS Containers you can use this attribute to create an entry for a specific Shipment Bin. Alternatively this attribute can be left blank |
| Shipping Agent Code |
If you are using Clever Shipping Agent Integration then you can use this attribute to create an entry for a specific Shipping Agent. Otherwise this attribute can be left blank |
| Print Area Code |
If you are using Clever WMS Devices then you can choose to create an entry for a specific "Print Area". Alternatively this attribute can be left blank. Please refer to the Location Card Setup documentation for more information |
| Report ID |
If you want to create an entry for printing a specific Report then you can populate this attribute, alternatively it can be left blank |
| Report Name |
If you have populated the Report ID attribute then this attribute will be automatically populated with the name of the selected report |
| Printer Name |
In this Field, you should select the relevant printer for the entry. |
| Printer Tray |
If you would like to print to a specific tray for the printer specified in the Printer Name, then you can select it here. Alternatively this attribute can be left blank |
| Style Code |
If you are also using the Clever Document Delivery Application, then the Style Code Field will also be available. If you would like documents produced by this printer selection entry to use a specific Document Style, then you can select the relevant one here. Alternatively this field can be left blank. Note: For more information on Document Delivery style code click here |