To allow better visibility and more efficient updates to Item Attributes, the "Item Attribute Overview" screen is now available within Business Central.
The key features of the "Item Attribute Overview" screen are as follows.
- View and Filter Item Attributes alongside the Items to which they relate and update Attribute Values for Items
- Export and Import Item Attribute Values
- Bulk Update Item Attribute Values across Items
Note: this is NOT a way to create new Item Attributes in Business Central. You will still need to create these as normal. However, to better manage the Values used, import or change Values or simply view the data assigned to items, no further setup is required.
To open the "Item Attribute Overview" screen simply perform a search from the Business Central search feature and open the screen which should look similar to the example below.
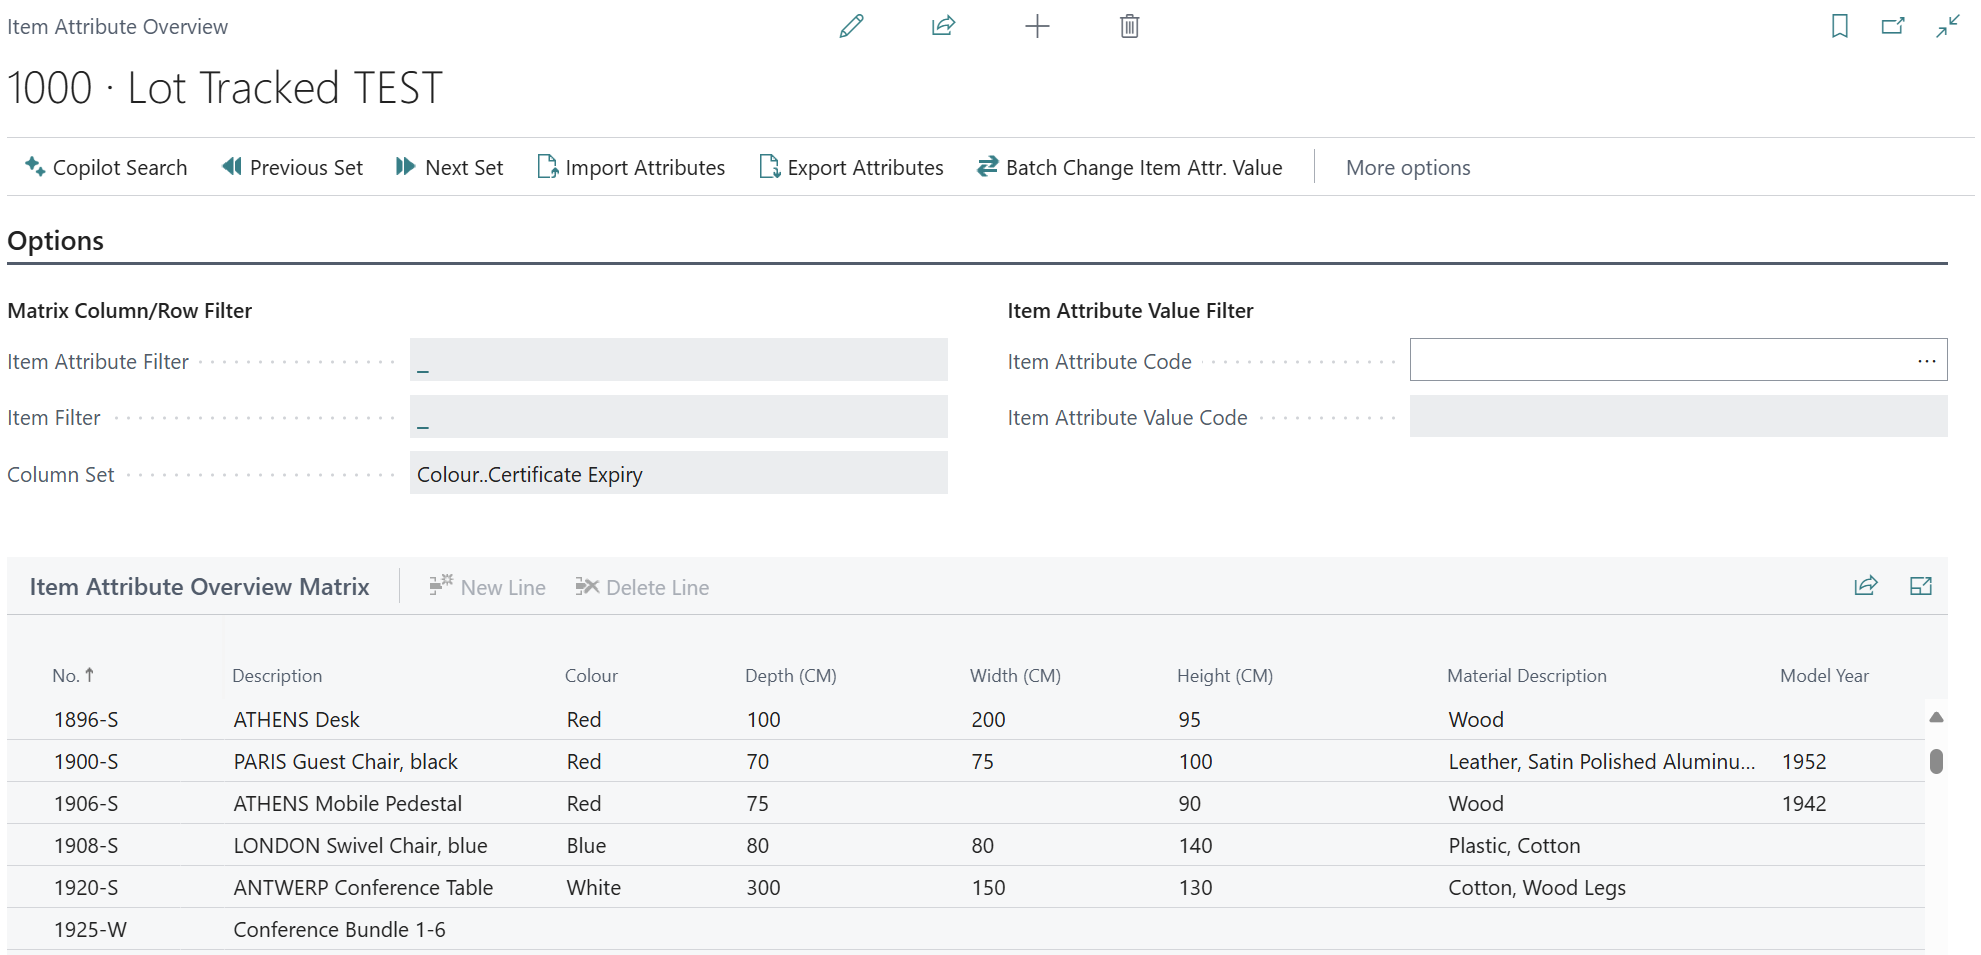
The following features are available from the menu ribbon.
-
The Copilot Search allows users to filter Items by Attribute using natural language and is detailed in more depth here
-
The Previous Set and Next Set fields are used when the number of columns in the Overview Lines section exceeds 32 columns. Using Previous or Next you can select the next batch of Item Attribute columns
-
Import Attributes and Export Attributes allows you to import/export a file for quick upload/export of data, for which more information can be found here
-
Batch Change Item Attr. Values will allow the user to change a large set of Item Attribute Values quickly and efficiently and is detailed below
Editing Entries in the Overview screen
Within the "Item Attribute Overview" you can simply input or lookup Item Attribute Values in the corresponding Cell in the Matrix (where the Item and Attribute Name intersect) and the system will be automatically updated to store the new value.
If you enter a Value that is not currently in use (for any Item Attribute not setup as an Option list) then the system will also create the relevant Item Attribute Value record behind the scenes and associate it to the relevant Item for you, saving the time that would otherwise incurred.
Filtering
Within the "Item Attribute Overview" there are 3 ways of filtering or selecting the data you want to view.
Firstly, you can reduce the number of columns for Attributes visible within the page. This effectively allows you to select the Item Attributes you ONLY want to view and temporarily hide the rest. This can be helpful not only when you're viewing the data but when the data is exported, will reduce the amount of data the export file displays.
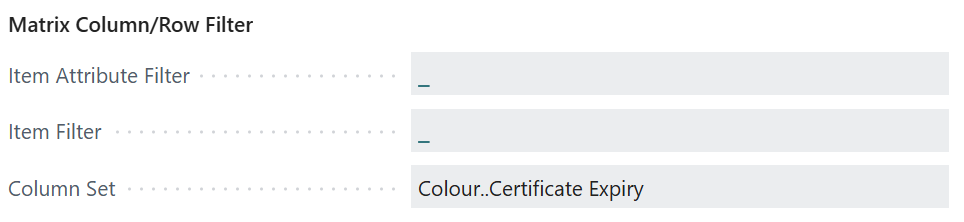
By default, the "Item Attribute Overview" page shows all Item Attributes as an individual column. This is shown within the Column Set field as above. You can select the columns you want to remain visible by clicking into the Item Attribute Filter field and using the filters to determine the columns you want to be displayed. You can do this by using the Name or ID of the column in the filters and multi-options can be chosen.
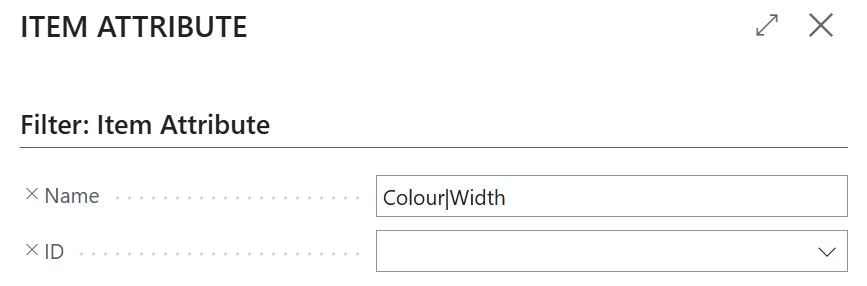
This will then hide all other columns so that only those chosen will be displayed, even for items where there is no Value defined for the Item Attribute.
Alternatively, you may wish to filter against the Item Attribute Values to only display Items for the chosen Values.
To do so, you can use the Item Attribute Code field to determine the Attribute to filter by and then confirming which Items you want to filter on by Attribute Value in the Item Attribute Value Code field.
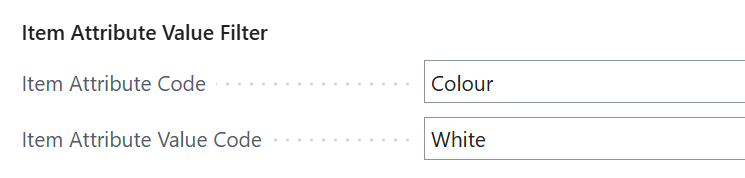
This will then only show items that have the specified Attribute Code and Value.
If you wish to type in natural language instructions to filter on data, you can use the Co-pilot feature detailed in the next article.
Batch Updates to Item Attribute Values
There may be times that you wish to update the Item Attribute Value for Items on a large scale and replace an existing value with another existing one.
With standard Business Central, should the update apply to a range of different Items then you will need to update each one of them manually. With the "Item Attributes Overview" you can either update all of the relevant Items within the Matrix or you could use the the Batch Change Item Attr. Value option.
To use the batch update process, simply select the menu option in the ribbon and confirm (on the screen that appears as shown below) the Item Attribute Name, From Item Attribute Value Name (the old value you want to change from) and To Item Attribute Value Name (the value you are replacing the old one with) before pressing OK to confirm. Note that you can schedule these for a later date too using Job Queues if required.
