The "Clever Labelling Setup" screen is a central hub from which you can manage the configuration of the Clever Labelling solution.
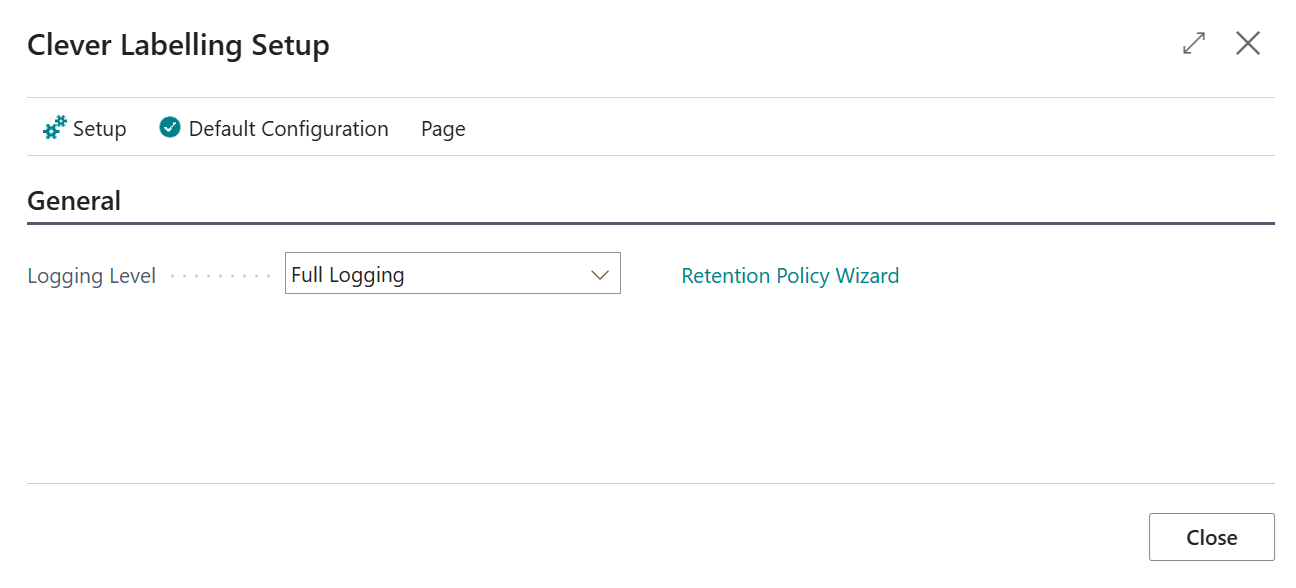
From the "Clever Labelling Setup" screen you can use the Setup menu to access all configuration options available for Clever Labelling and apply the Default Setup, if not already done so after initial installation. From the Setup menu the following options are available, all of which are detailed in the following sections of the User Guide.

Setting up the Clever Labelling Log
From the "Clever Labelling Setup" screen you are able to setup Logging, which will record each print transaction that has been triggered using Clever Labelling.
The default behaviour is that no logging is activated, identified by the Logging Level attribute being set to None.
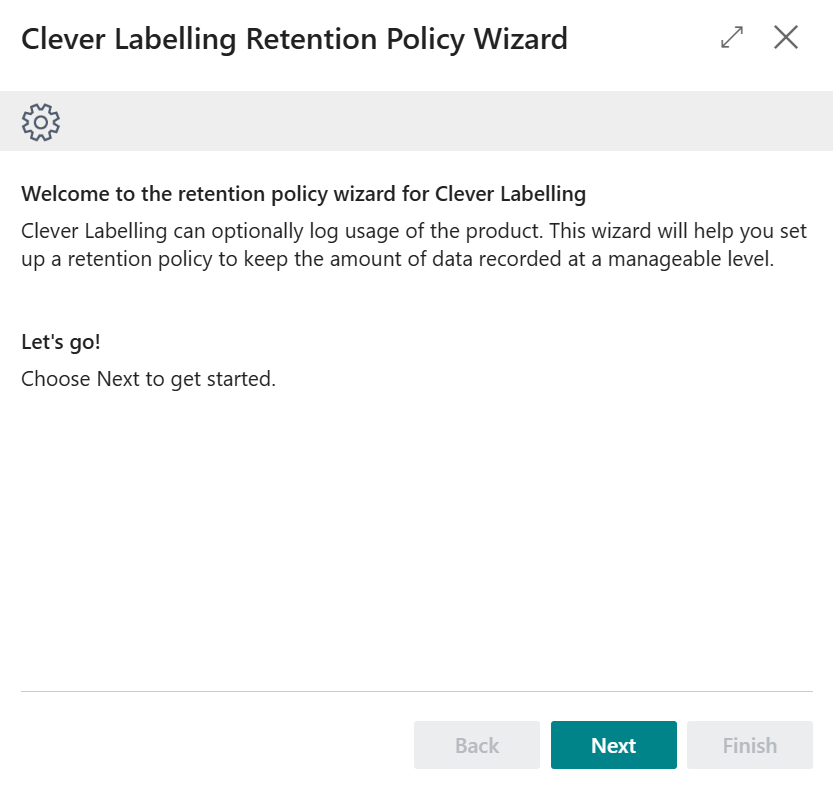
To activate logging, simply run the Clever Labelling Retention Policy Wizard option which will trigger the following screen to be shown.
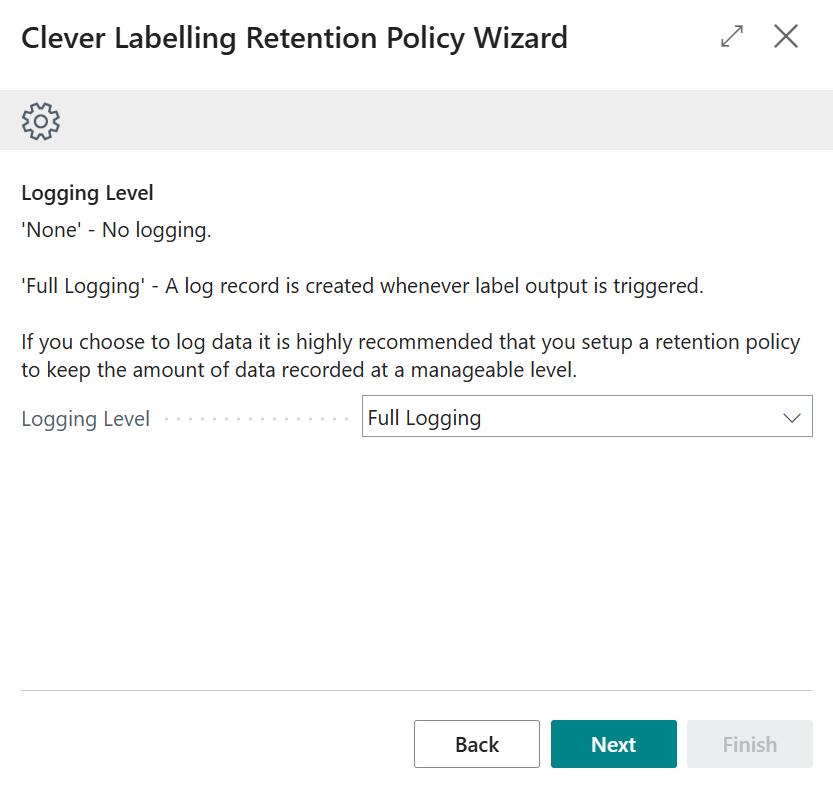
After pressing the Next button, you can set the Logging Level to Full Logging which will tell the system to track print transactions in the "Label Trigger Log" screen.
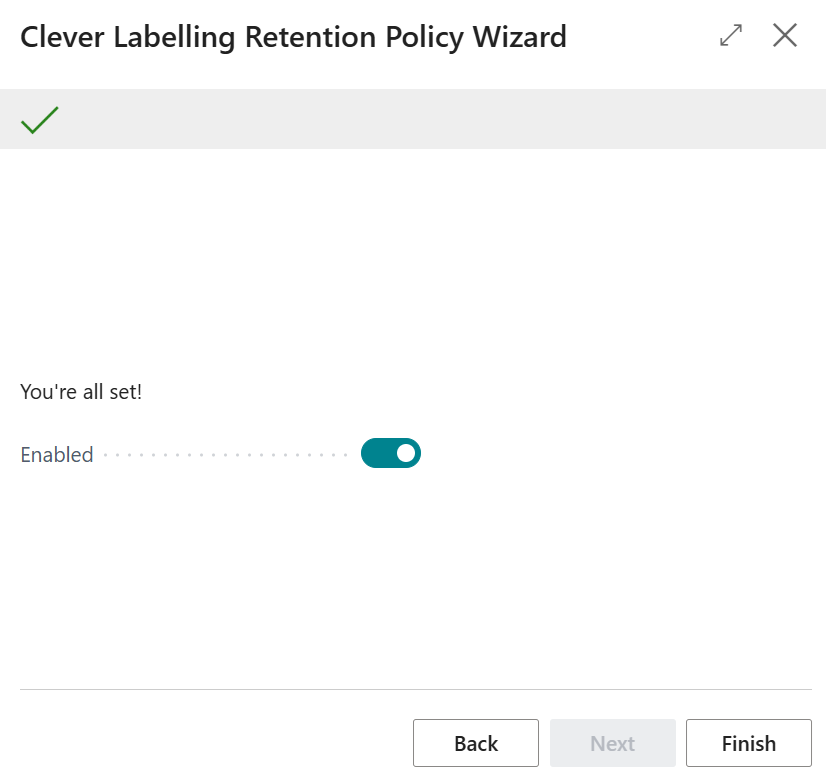
After setting the Logging Level, press the Next button. Now you can either select an existing Retention Period Code or create a new one following the link shown on the screen. The Retention Period will control the amount of data that you wish to keep when the deletion process is performed.

After confirming the Retention Period setting you wish to use, the final process within the Retention Policy Wizard is to Enable the Retention Policy, as shown below and pressing the Finish button on the Wizard. This will setup a Job Queue process for the Business Central Retention Policy JQ process, scheduled to run every day at 22:00. You can alter the setting for the job queue process from the "Job Queue Entries" screen.
With the logging process activate the system will track the label transaction within the "Label Trigger Log" screen, as shown below.

The following information is automatically recorded for each label print transaction and is non-editable.
| Entry No. | A unique identifier which is a simply a incremental number |
| Created At | The Date and Time of the label transaction |
| Trigger Type | Identifies what action triggered the label print transaction |
| Code | Specifies what label design was selected for printing |
| Short Criteria List | Shows any filter criteria (based on Trigger Management Setup) used to select the Label Design |
| User Type | Identifies whether the transaction was triggered from Business Central or a Warehouse Device |
| User ID | Shows the User that triggered the label print |
| Device Type | For Warehouse Devices, this will show the type of device |
| Device Name | For Warehouse Devices, this will show the name of the device |
| Location Code | For Warehouse Devices, this will show the Location that the device was working in |
| Print Area Code | For Warehouse Devices, this will show the Print Area that the device is assigned to |
| Record Position | This is the identifier for the source record (it's index value) used for the print transaction, e.g. if the label print is related to a Item Ledger Receipt Entry, then the value would represent the Entry No. of the Item Ledger Entry |