When setting up Clever Labelling you are able to control the events for which you wish to create Labels for your Inventory and to define the conditions (a set of filters) to apply, to ensure that the correct Label is printed.
From the "Trigger Management" the simplest way to create a New Trigger is to use the New Trigger menu option that is shown on the menu ribbon, as shown below.

The "New Label Trigger" wizard will be opened, which will guide you through the setup process for each new trigger that you want to create.
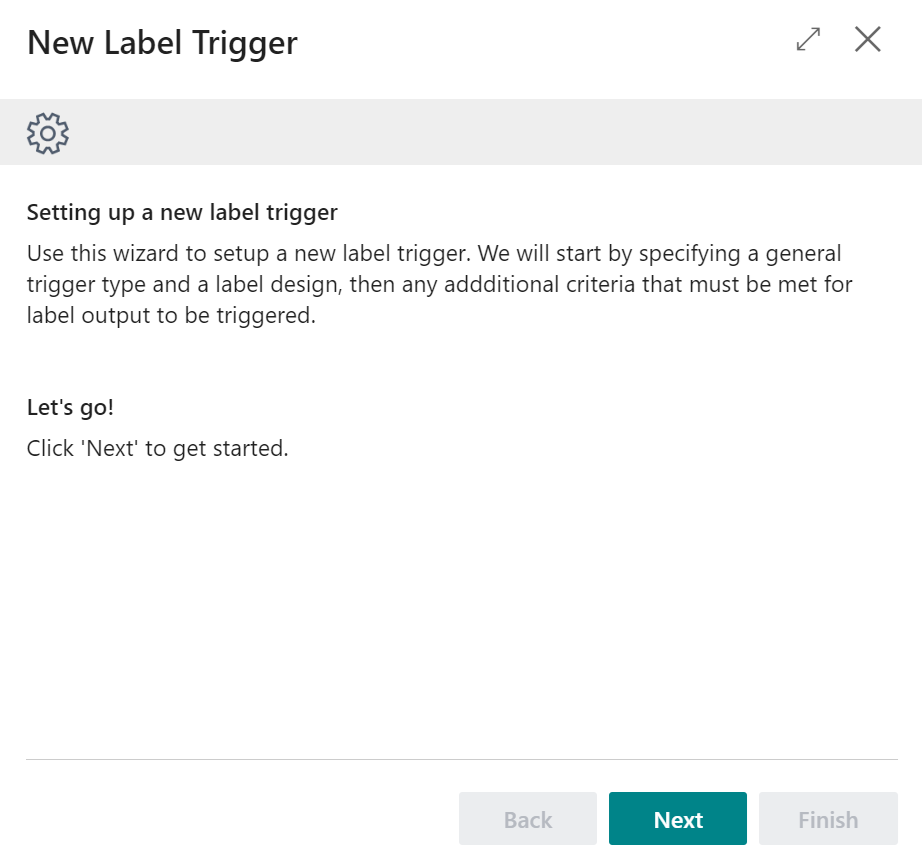
Simply press the Next button (from the above screen) to get started, from where you'll be able to select the Label Trigger Type, to identify the point at which the Label should be produced and the Label Design Code to select the label design that will be printed when the trigger is successfully validated.
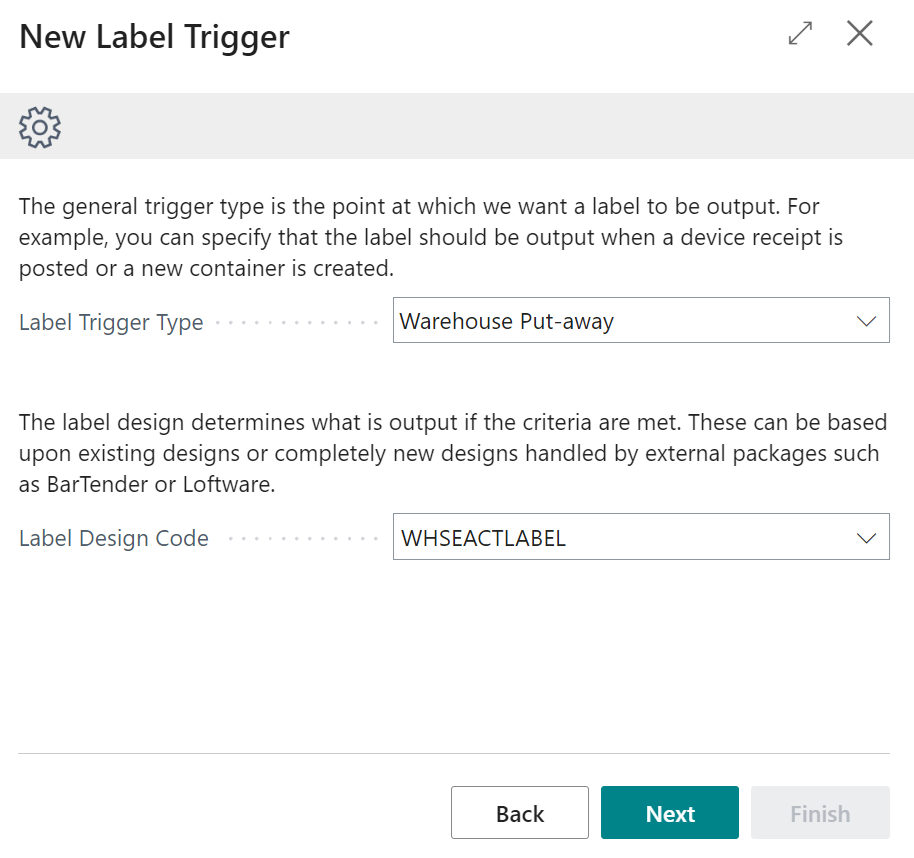
After selecting the trigger and label design, press Next to continue to the next step of the setup process, which is where you can control any specific filter/criteria requirements.
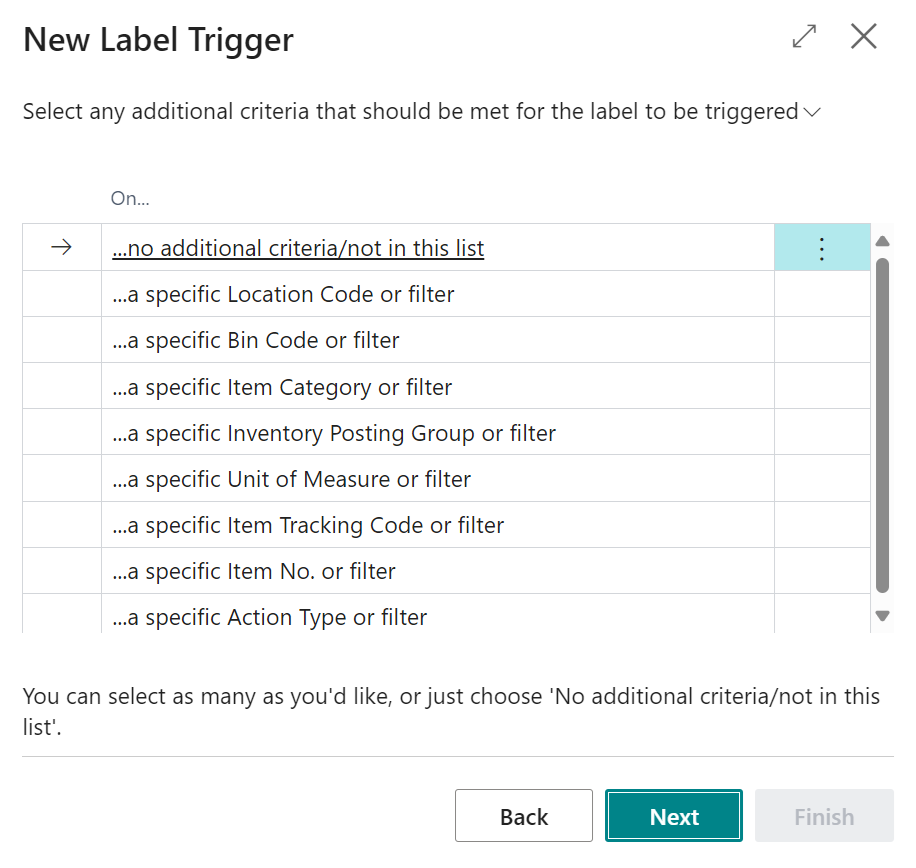
Within the criteria stage of the wizard there are a range of pre-defined rule templates that can be used (e.g. a specific Item Category) if suitable for your requirements and it is possible to select more than one of the pre-defined criteria where multiple criteria filters are to be used. To select multiple records simply select the first relevant criteria record and then hold down the CTRL key on your keyboard and select any other relevant criteria records, in the same way as you would on any Business Central list screen.
Once you have selected any criteria record that are applicable (or chosen the no additional criteria/not in this list option) you can press the Next button to continue where you'll be presented with the following screen, from which you can enter the specific filter rules that apply to your selected criteria.
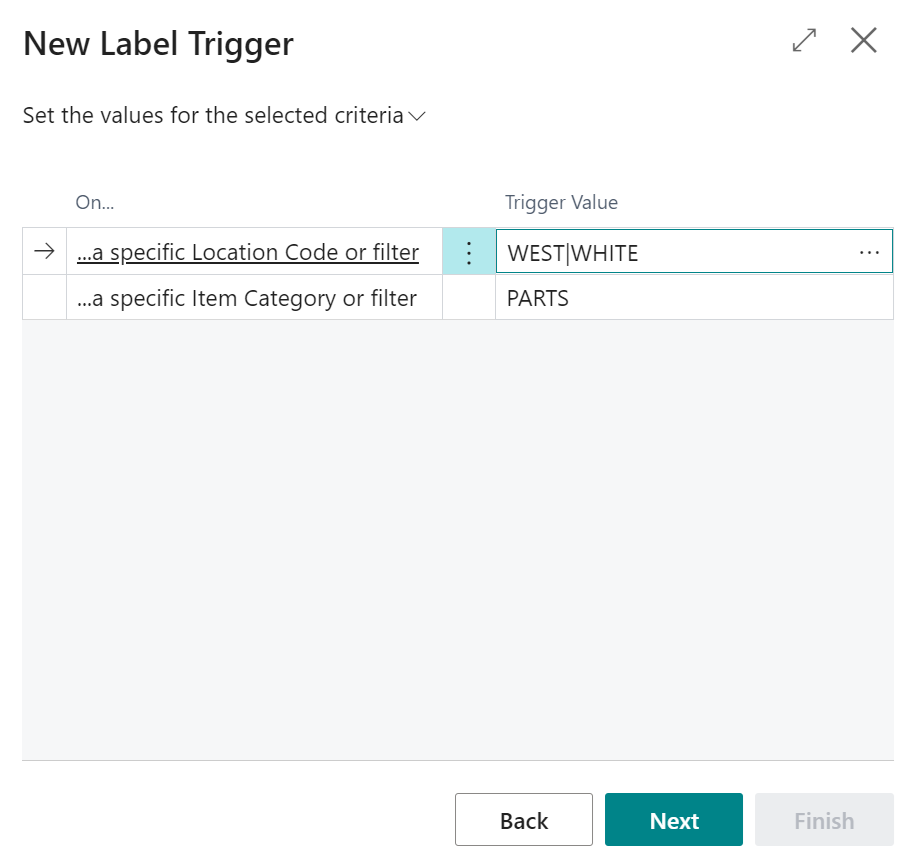
The Trigger Value can be input in the same way as you would input a filter for Business Central and furthermore you can use the AssistEdit (...) to popup a list of valid options based on the current information held inside of Business Central.
Note: if you chose the no additional criteria/not in this list option on the previous screen, then the list will be blank and you can simply press the Next button to move onto the confirmation screen, as shown below.
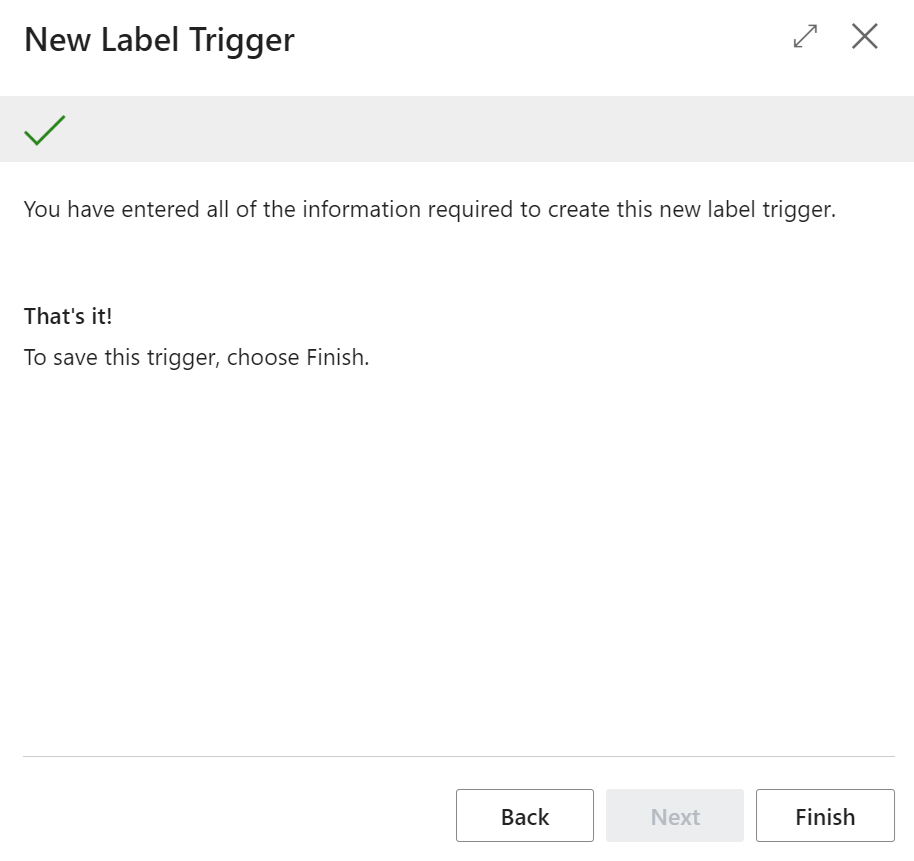
On the final screen simply press Finish to Save your Trigger, or if anything needs changing you can use the Back button to go back to correct any information as is required.
The "Trigger Management" screen will be automatically updated with the new trigger and will be setup as the last Trigger within the relevant Trigger Type section. The Active and Stop Processing After Trigger attributes will be Enabled by default, but you are able to update these are required and also to use the Up and Down menu options to adjust the priority sequence, as detailed here.
Suggestions using Copilot for Label Trigger Criteria
Copilot assists users by suggesting appropriate label trigger criteria based on the current setup and data patterns. This helps streamline configuration and ensures that labels are triggered correctly without requiring extensive manual input.

When creating a new Label Trigger click Suggest Trigger Criteria option on screen. The below screen "Suggest Label Trigger Expression" will then open. In here we can enter a prompt to generate a trigger rule. For example "I only want to print labels for the customer name Relecloud" then click Generate.
Note: The more detailed the prompt the better the suggestions will be

Once you have clicked Generate Copilot will then show you the Suggestions based on your prompt for he Trigger Rules.
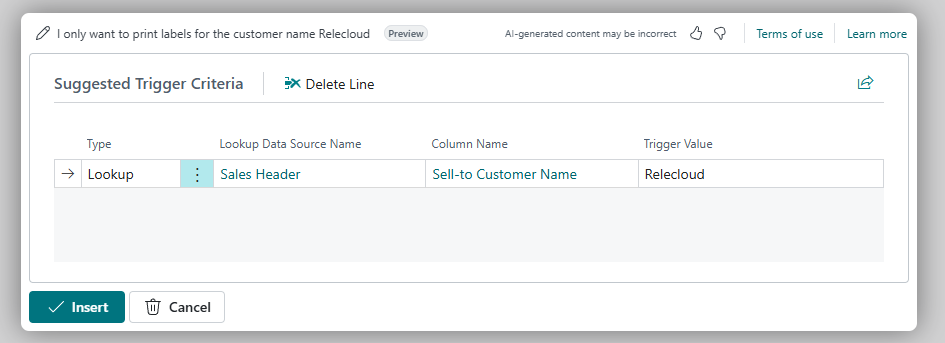
Click Insert to then apply the rules to the Trigger. Now you will see the Label Trigger Criteria has been setup and is ready to use.
