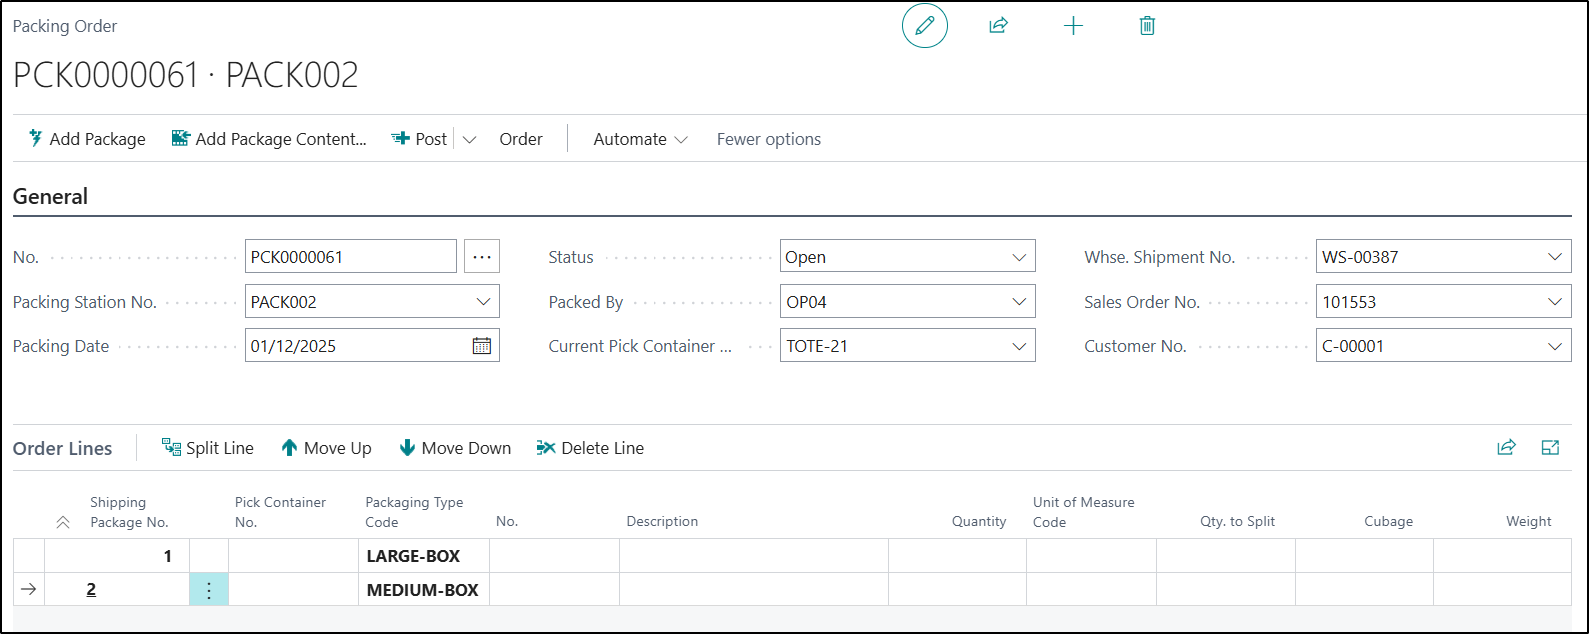
To create a Packing Order directly in Business Central, the user should open the Packing Order Page and click on the New button to create a new record.
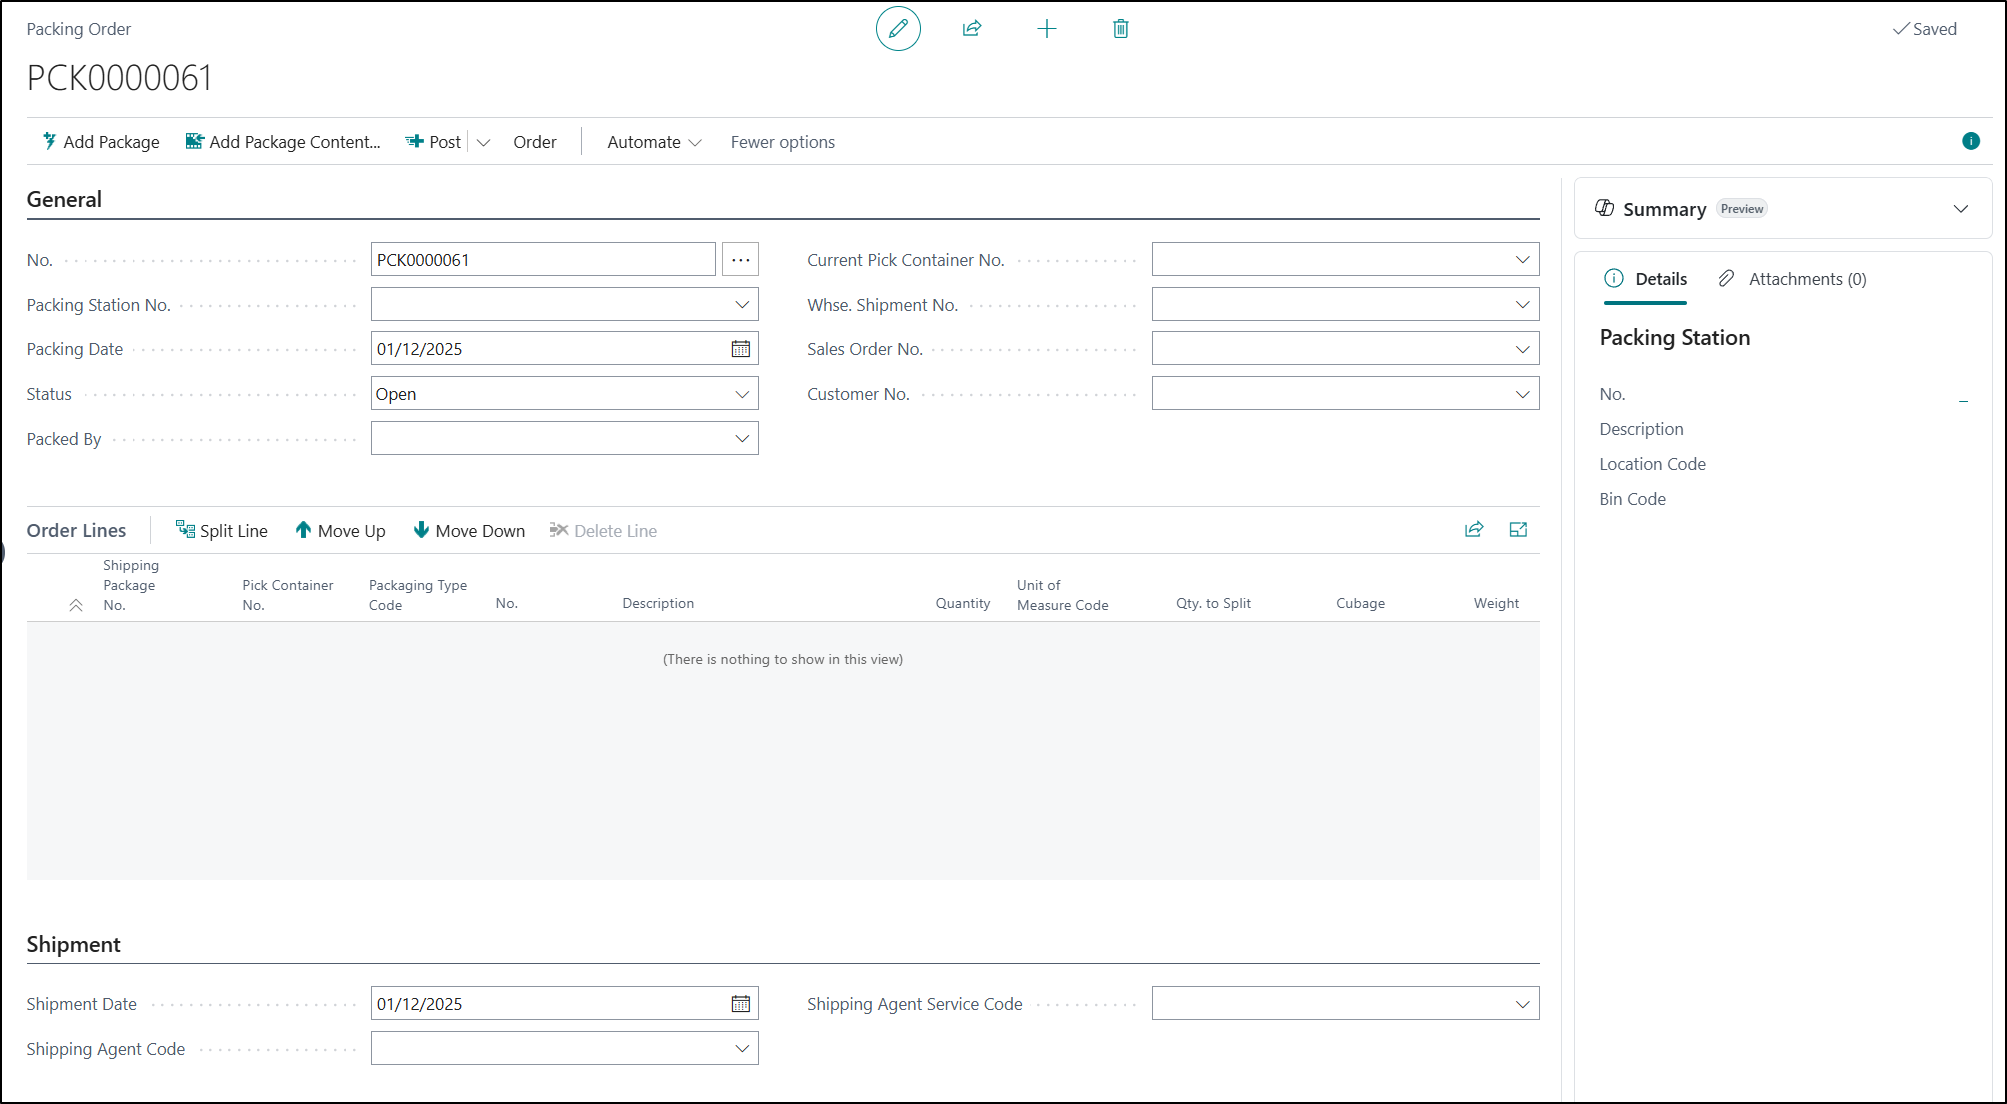
The Packing Operator should then populate the below Fields:
-
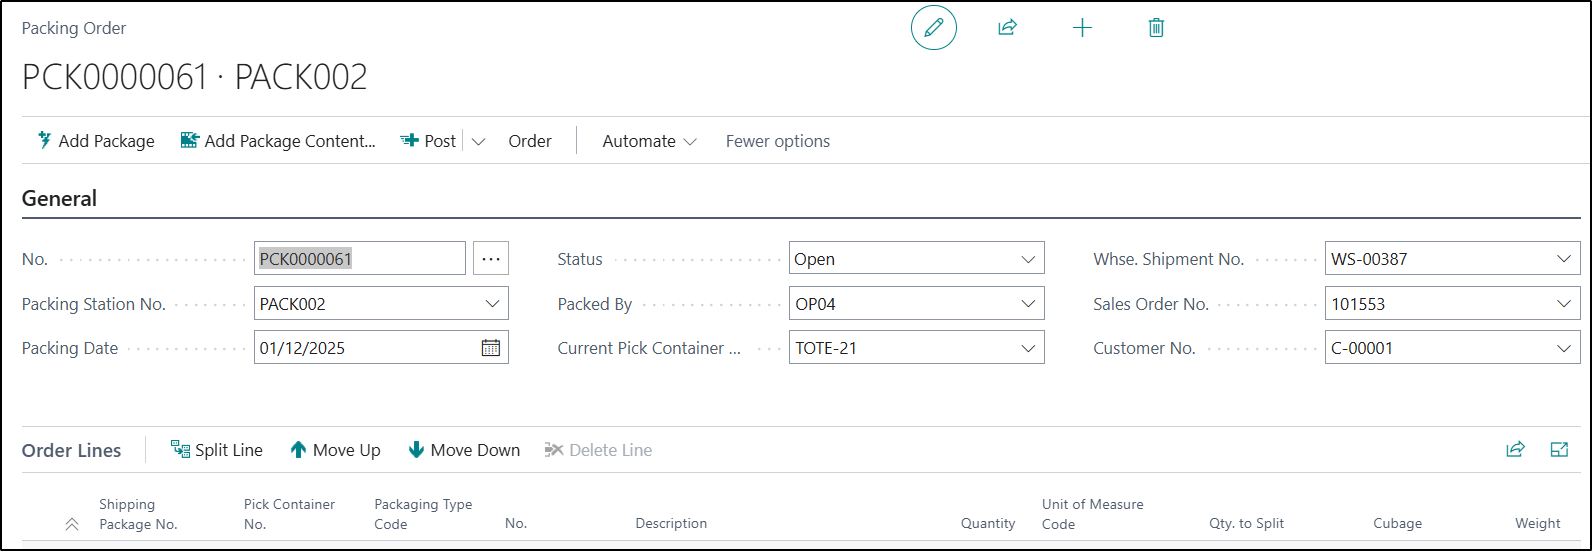
The Packing Station No Field with the relevant Packing Station they are working at
-
The Packed By Field with their Packing Operator Number
-
The Current Pick Container No field with the Container Number they are currently processing. This will automatically populate the Whse. Shipment No, Sales Order No, and Customer No fields from the associated Source Document.
The next step in the process is to select the Add Package button. This will automatically suggest the most suitable Packaging Type for the Packing Order. The Packaging Type can then be amended if required by drilling down on the Packing Type Code field and selecting the required option.
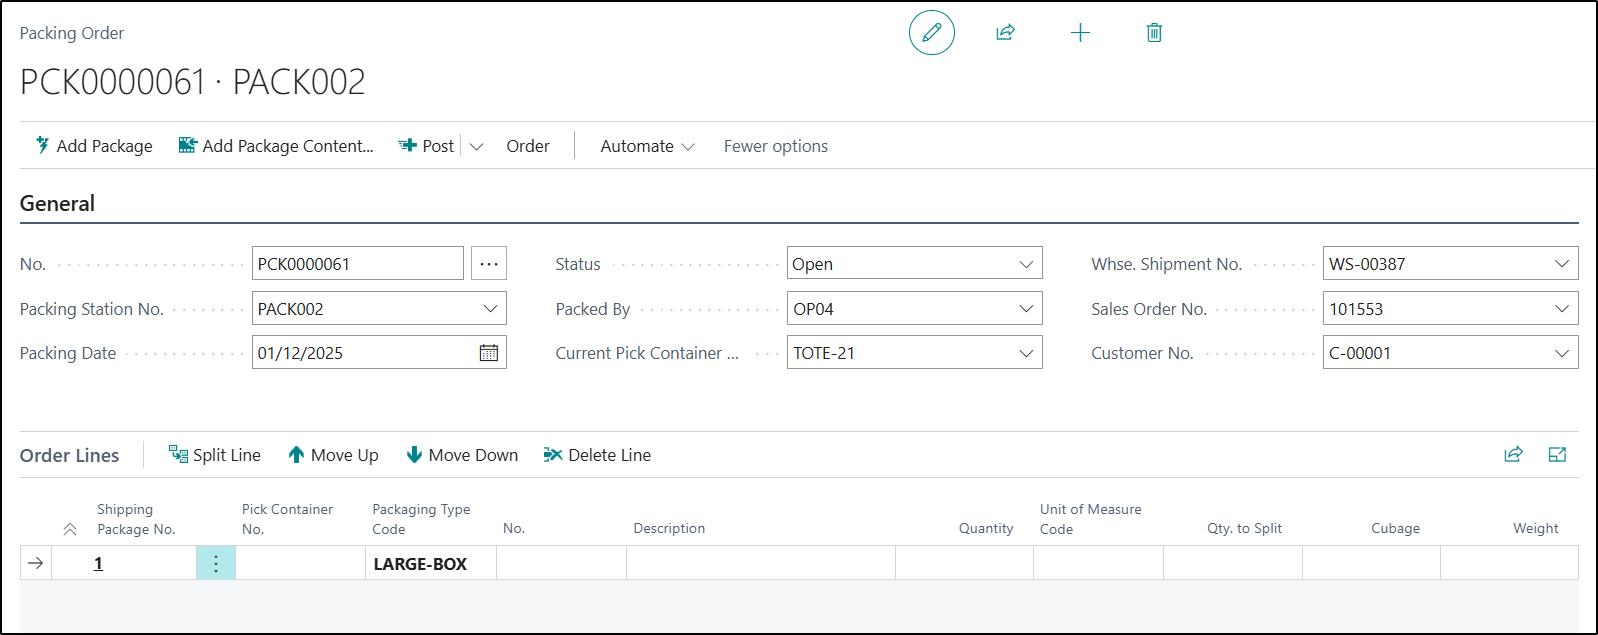
If more than one Package is required for the Packing Order, the user can click the Add Package button again to add a new Package.
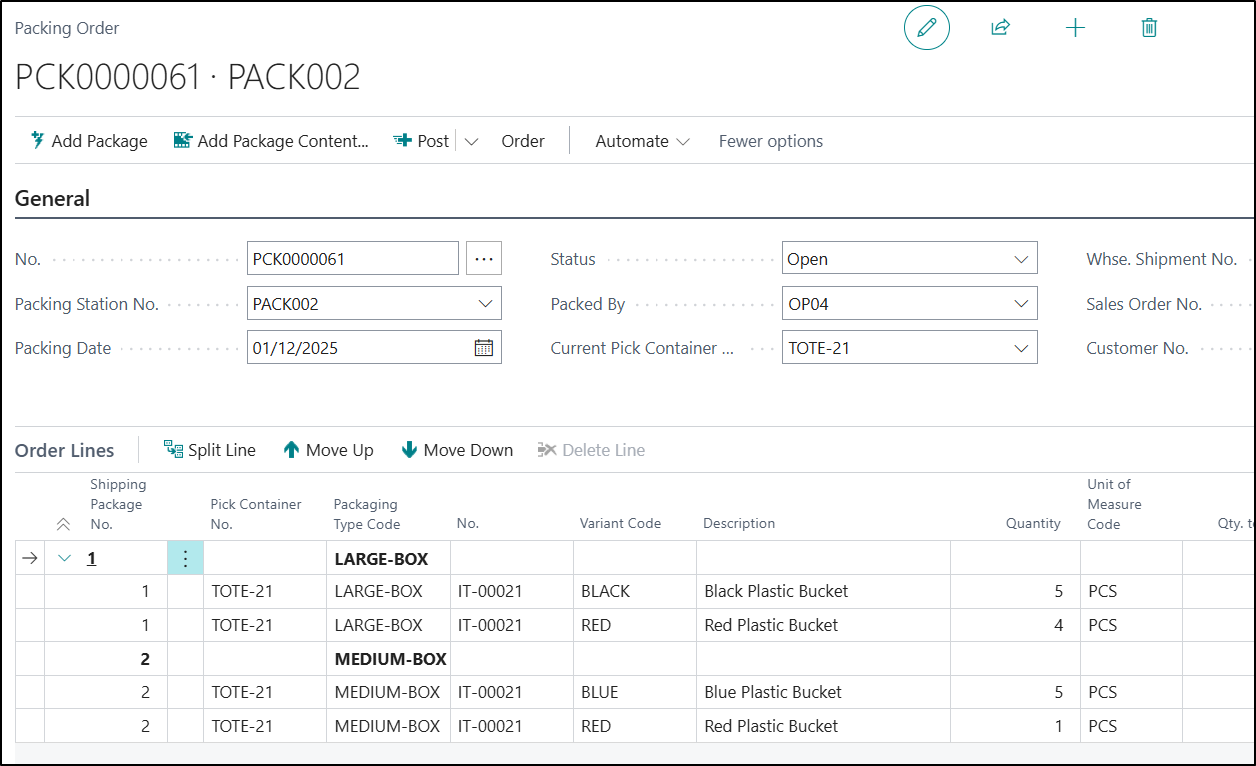
The next step is to assign Items to the Package or Packages. This is completed by selecting the relevant Packaging entry in the Order Lines FastTab and then clicking the Add Package Content button from the Ribbon. This will bring up the Add To Package Page.
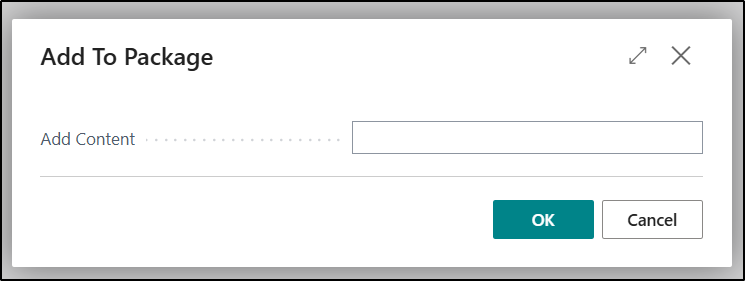
The user should then enter the relevant Item No and then click the OK button. The system will add the total quantity of that item from within that current Pick Container into the selected package.
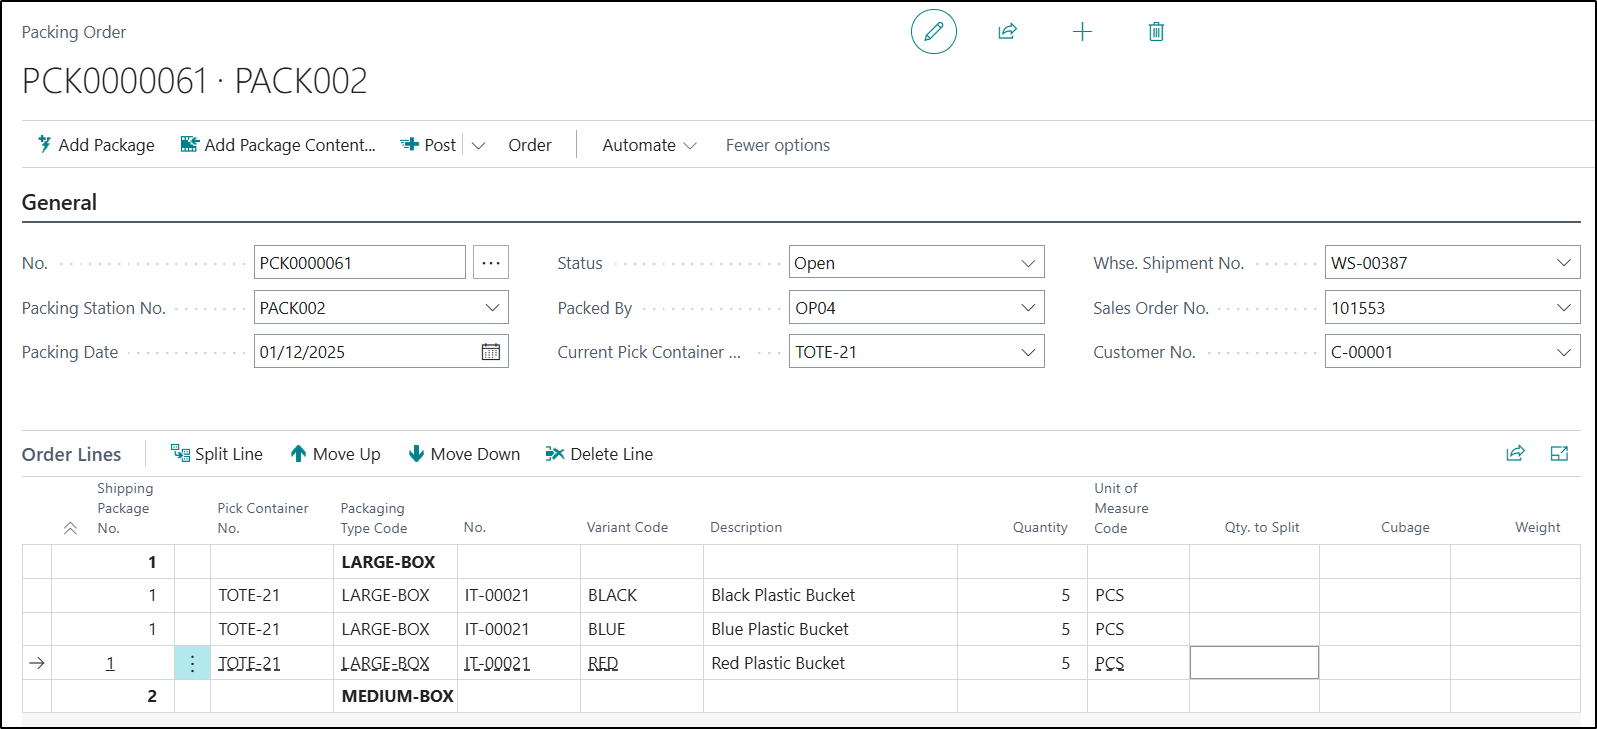
If the user needs to move a partial quantity of an item into another Package, this can be done by populating the Qty to Split field with the quantity that needs to be moved and then selecting the Split Line button on the ribbon.
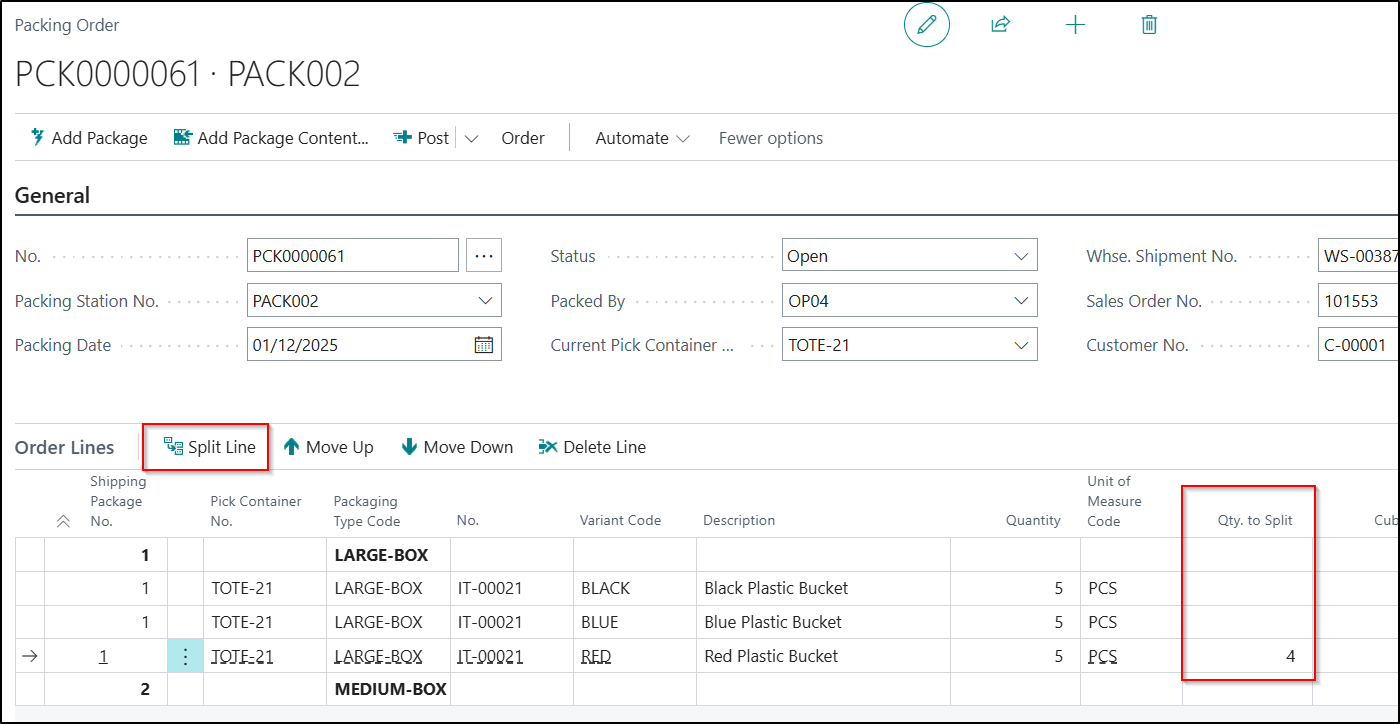
By completing the above process, a new entry within the same package for the split quantity.
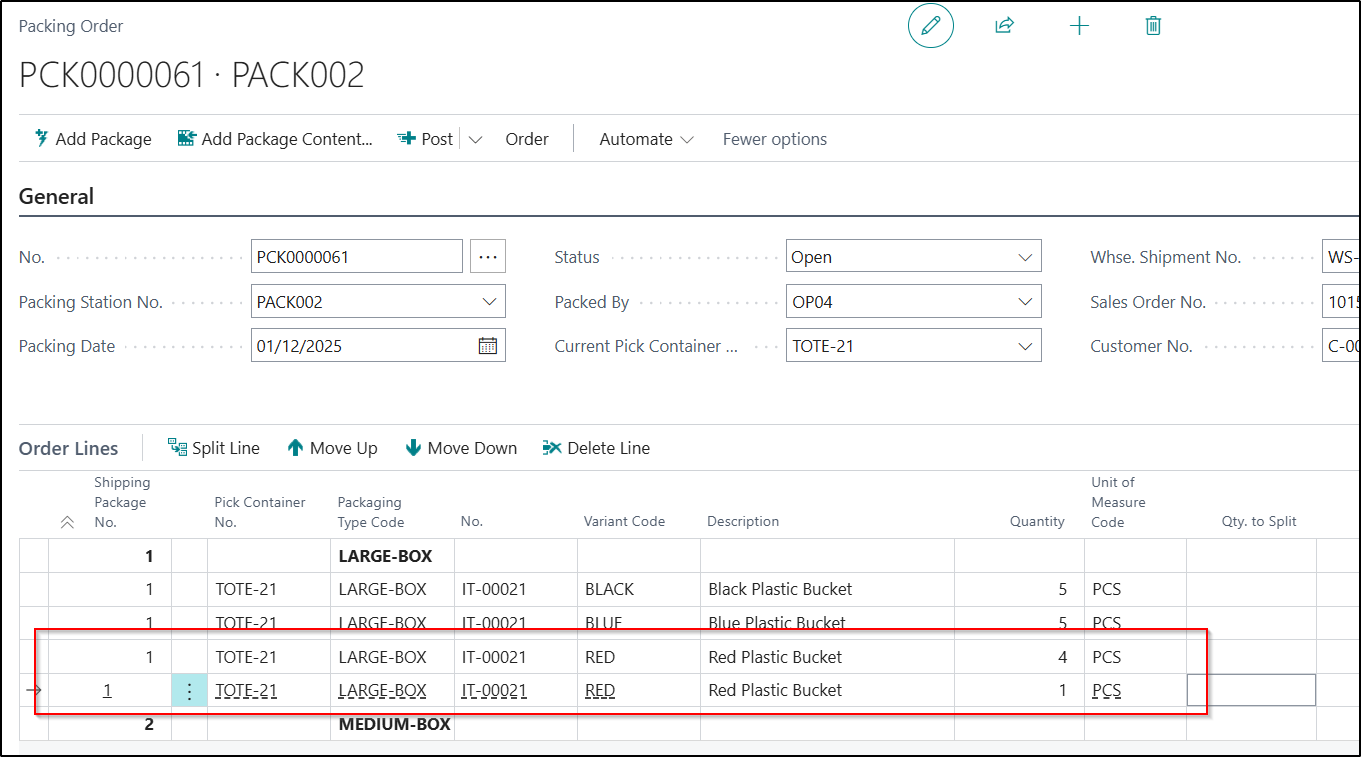
Once all the required items have been added to the Order Lines FastTab and lines split, if required, the Packing Operator can use the Move Up and Move Down buttons to move the lines into the correct packages.