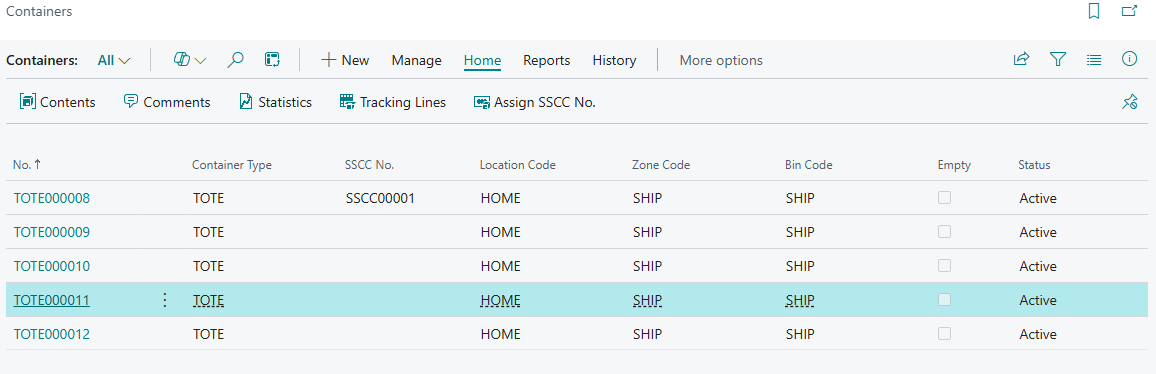
To create a new container, from the "Containers" Screen you click +New from the Menu Ribbon.

Note: you can create a container from any screen with the Create Containers button available.

Menu Ribbon
| Home |
Clicking Home reveals a submenu with key container-related actions:
|
| Reports |
Print Labels: Prints container labels for identification and tracking.
|
| History |
The History menu provides access to container-related records and tracking information:
|
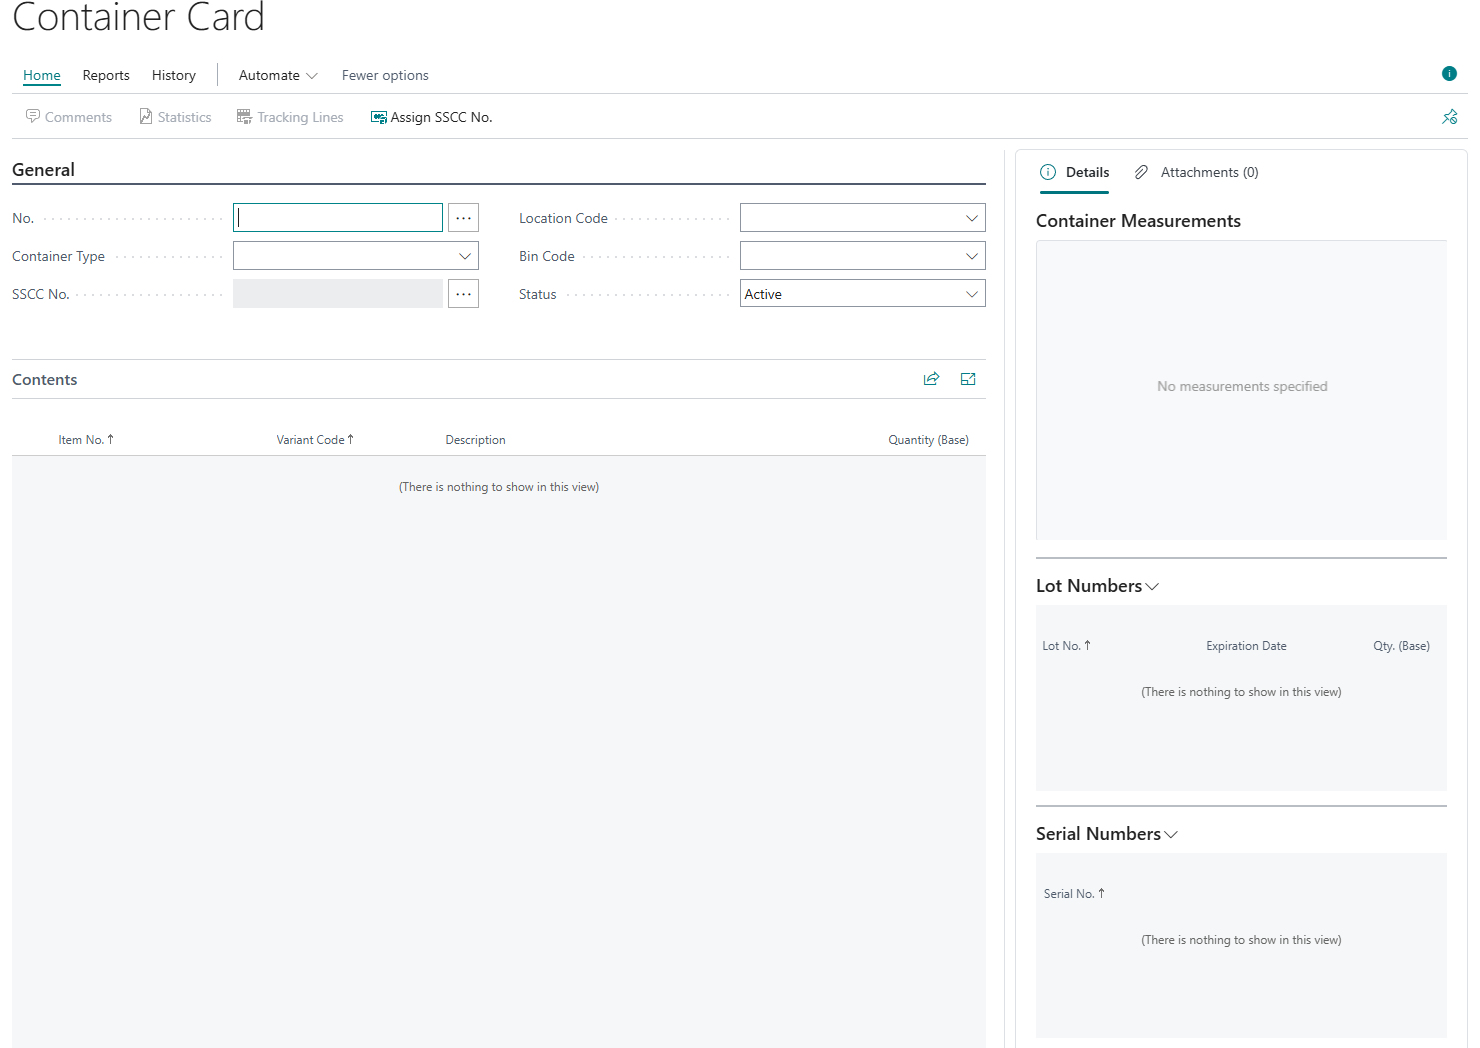
General FastTab
| No. | Enter a unique identifier for the container (e.g., TOTE000010). |
| Container Type | Select the container type previously defined (e.g., TOTE, PALLET). |
| SSCC No. | Enter or assign a Serial Shipping Container Code if required for global tracking. |
| Location Code | Choose the warehouse location where the container will be stored. |
| Bin Code | Specify the bin within the location for accurate placement. |
| Status | Set the container status Active, Blocked or External based on its current use. |
Once the above information has been populates you will be able to see your new container on the "Containers" Screen.
Contents FastTab
This section will autofill with contents once the container is in use as below.
| Item No. | The item number for each product stored in the container. |
| Variant Code | The variant if applicable (e.g., colour, size). |
| Description | The description of the item. |
| Quantity (Base) | The quantity of each item in base units. |
