The "Clever PrintNode Integration Assisted Setup" screen is a step-by-step wizard that guides you through the initial configuration of Clever PrintNode Integration. The wizard consists of 3 steps and can be navigated using the Back, Next, Finish and Finish and Review buttons in the footer of the screen.
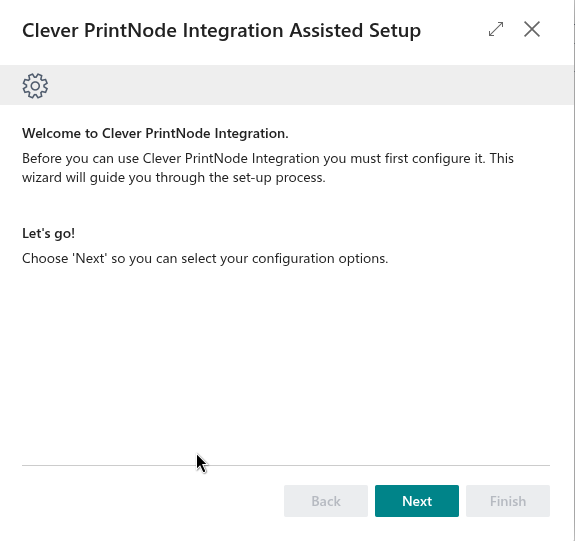
Step 1 – Welcome
The first step of the wizard welcomes you to Clever PrintNode Integration and confirms that configuration is required before the integration can be used. Select Next to proceed to the configuration options.
Step 2 – API Setup
This step requires you to configure your API settings in order to connect to PrintNode. You will need a PrintNode account and API Key to proceed.
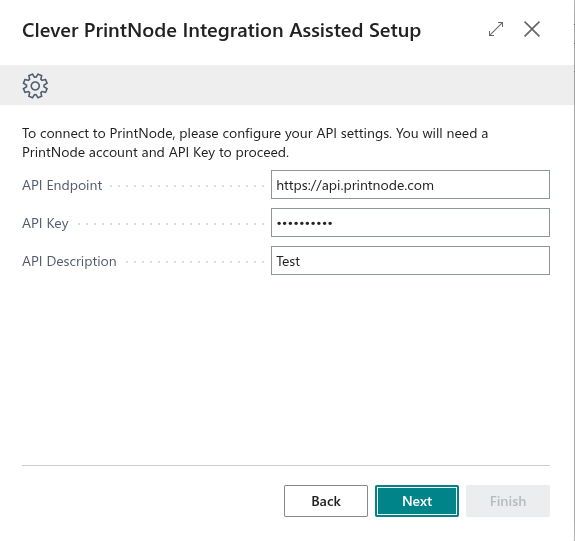
| Field Name | Description |
| API Endpoint |
Specifies the endpoint of the PrintNode API. This field will default to https://api.printnode.com. |
| API Key |
Specifies the API Key that is used to authenticate with your PrintNode account. If an API Key has already been configured, this field will be displayed as masked. |
| API Description |
Specifies the description for the PrintNode API. |
Note: The API Endpoint and API Key fields are mandatory and must be completed before you can proceed.
Step 3 – Finish
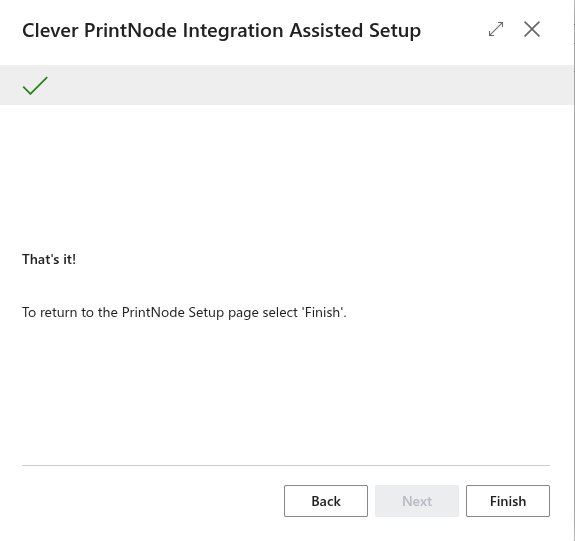
Once you have completed the configuration, the following options are available to close the wizard:
- Finish – Closes the wizard and takes you to Clever PrintNode Integration.
- Finish and Review – Closes the wizard and opens the "PrintNode Setup" screen, allowing you to review and amend your settings prior to use.