Within Clever Quality, there may be the scenario where goods have gone through a Quality Order and some of the Lot/Container has passed, with the remaining qty that Fails. Rather than posting them all together as 1 Quality Status, you can now split the Lot or Container within the Quality Order prior to posting. This means you can accurately represent what actually happened to the goods and treat them accordingly.
Below will take you through how to use these 2 functions.
Split Lot
Firstly, the Split Lot functionality is very similar to the Sub-Lotting function from the Lot No Information list, where part of the Lot Number can be split out and identified with a new number. Below will simply allow you to do this function from a Quality Order. For a brief overview of the Sub-Lotting functionality, see the Sub-Lotting article. You will also need to define the number format for your Sub-Lots before you create any. You can do this on the Clever Item Tracking Plus Setup page in the Sub-Lot Number format field. More information on how to use these are here.
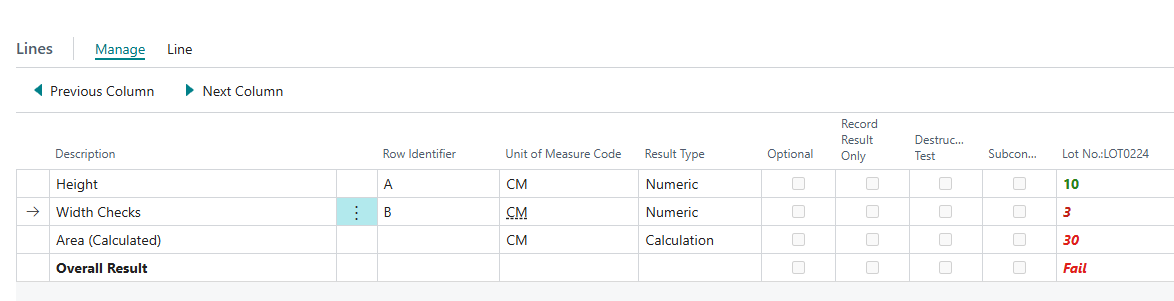
Within a Quality Order for 1 or multiple Lot numbers, there may be the instance where some of the checks pass and others fail. See below as an example.
In this instance, without splitting the Lot, it would fail my full sample qty here because the Overall Result is 'Fail'. However, realistically, some of the Lot is acceptable.
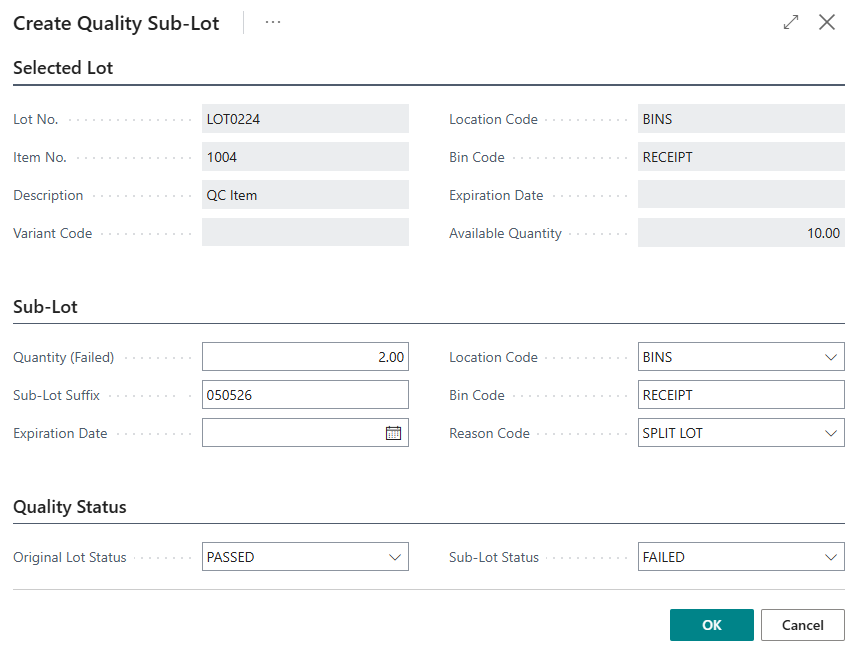
In the Failure Responses within the Quality Order ribbon, there is now the option to Split Lot. Clicking into this option will do one of two things. If the Quality Order has just 1 Lot number within it, it will open up a screen like the below. This will pre-populate most of the fields within the Sub-Lot card and it will also show the Original Lot Status and Sub-Lot Status. It defaults these values (so original will always default to your Passed status and Sub-Lot Status will default to the Failed Status but they can be overwritten.
The Quantity (Failed) will always default to the full qty that was tested but again, this can be overwritten. Whatever value you enter here will be removed from the original lot Number and pushed to the new one. You can simply press OK to this screen.
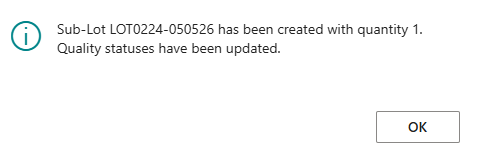
A confirmation box will appear after, confirming the new Lot number and corresponding Qty, and to confirm the statuses are updated accordingly. Where I only sub-lotted 1, you'll now see this has been confirmed and my Lot Numbers are now updated.
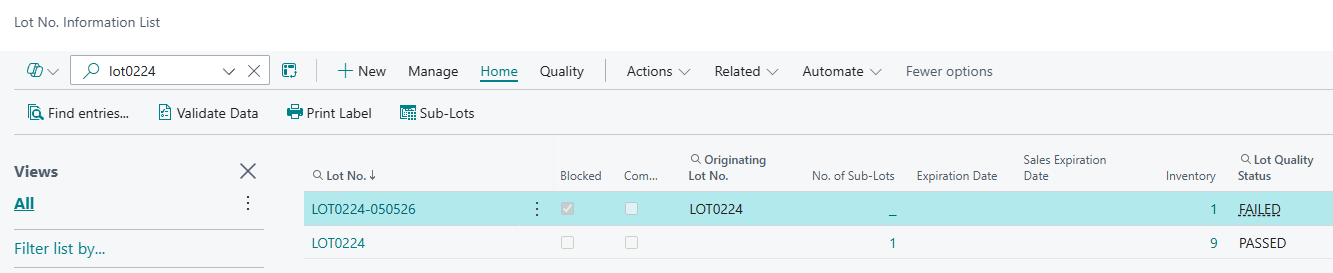
You'll see the correct Inventory Qtys are shown, along with the No of Sub-Lots available from my original Lot Number for traceability. I can also view the Originating Lot No from the new Sub-Lot.
In the instance of the Quality Order displaying more than 1 Lot Number, when the Split Lot function is clicked in the Failure Responses, a different initial screen will appear, displaying the Lot Numbers along with their Qty Passed/Qty Failed statistics. You can then select which Lot number to split and click the Split Lot action which takes you through the above process to confirm the qtys, reason code and Status.
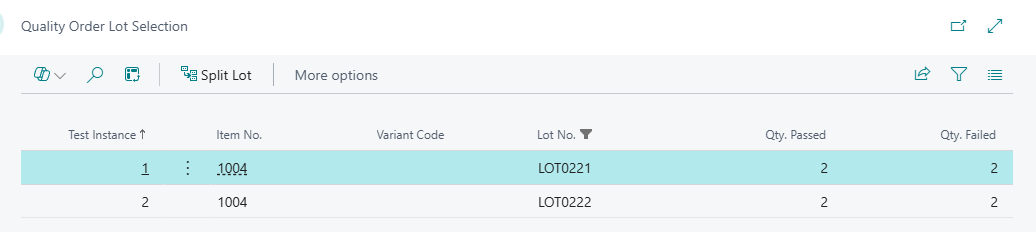
You can of course choose to only create a Split Lot for 1 or some of the Lot's shown in this list.
Sub-Lots can also be created directly from the Lot No Information list & Card. See here for instructions on how to do this.